
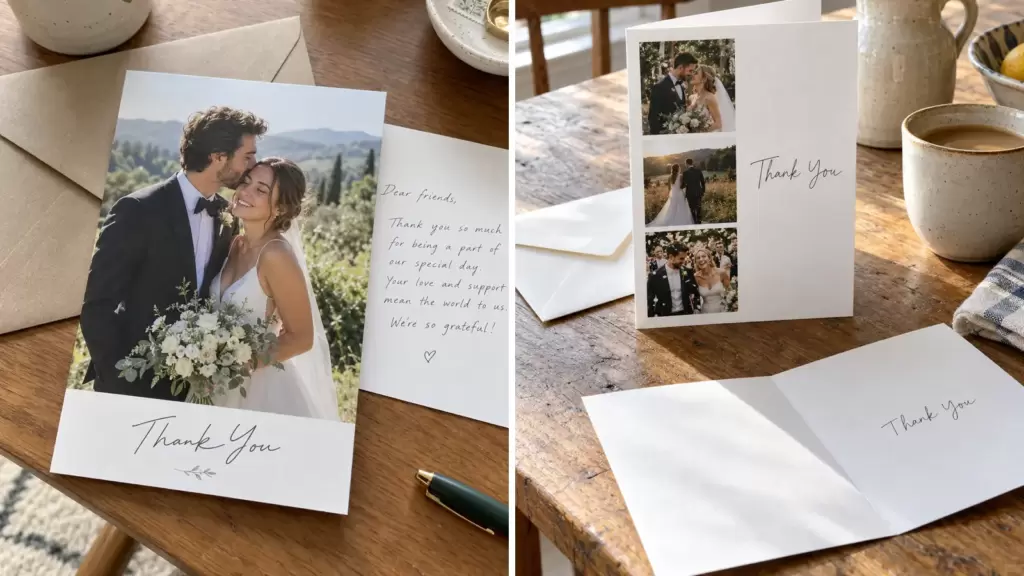
Wedding thank-you cards can be practical and deeply personal at the same time. The format, photo treatment, paper, illustration, and envelope details set the mood before your guest reads a single handwritten line.
These 50 wedding thank-you card ideas focus on finished designs you can save, adapt, print, and mail. Each example changes a meaningful physical or visual feature, so the list goes well beyond repeated templates in different colors.
Choose one design system that fits your photographs. Personalize each message with the guest’s name, specific gift or support, and one honest detail about why it mattered.
Photo Cards and Foldout Keepsakes
Start with the photograph itself, then choose a format that gives the image room and leaves a believable place for handwriting.
1. Full-Bleed Portrait Postcard
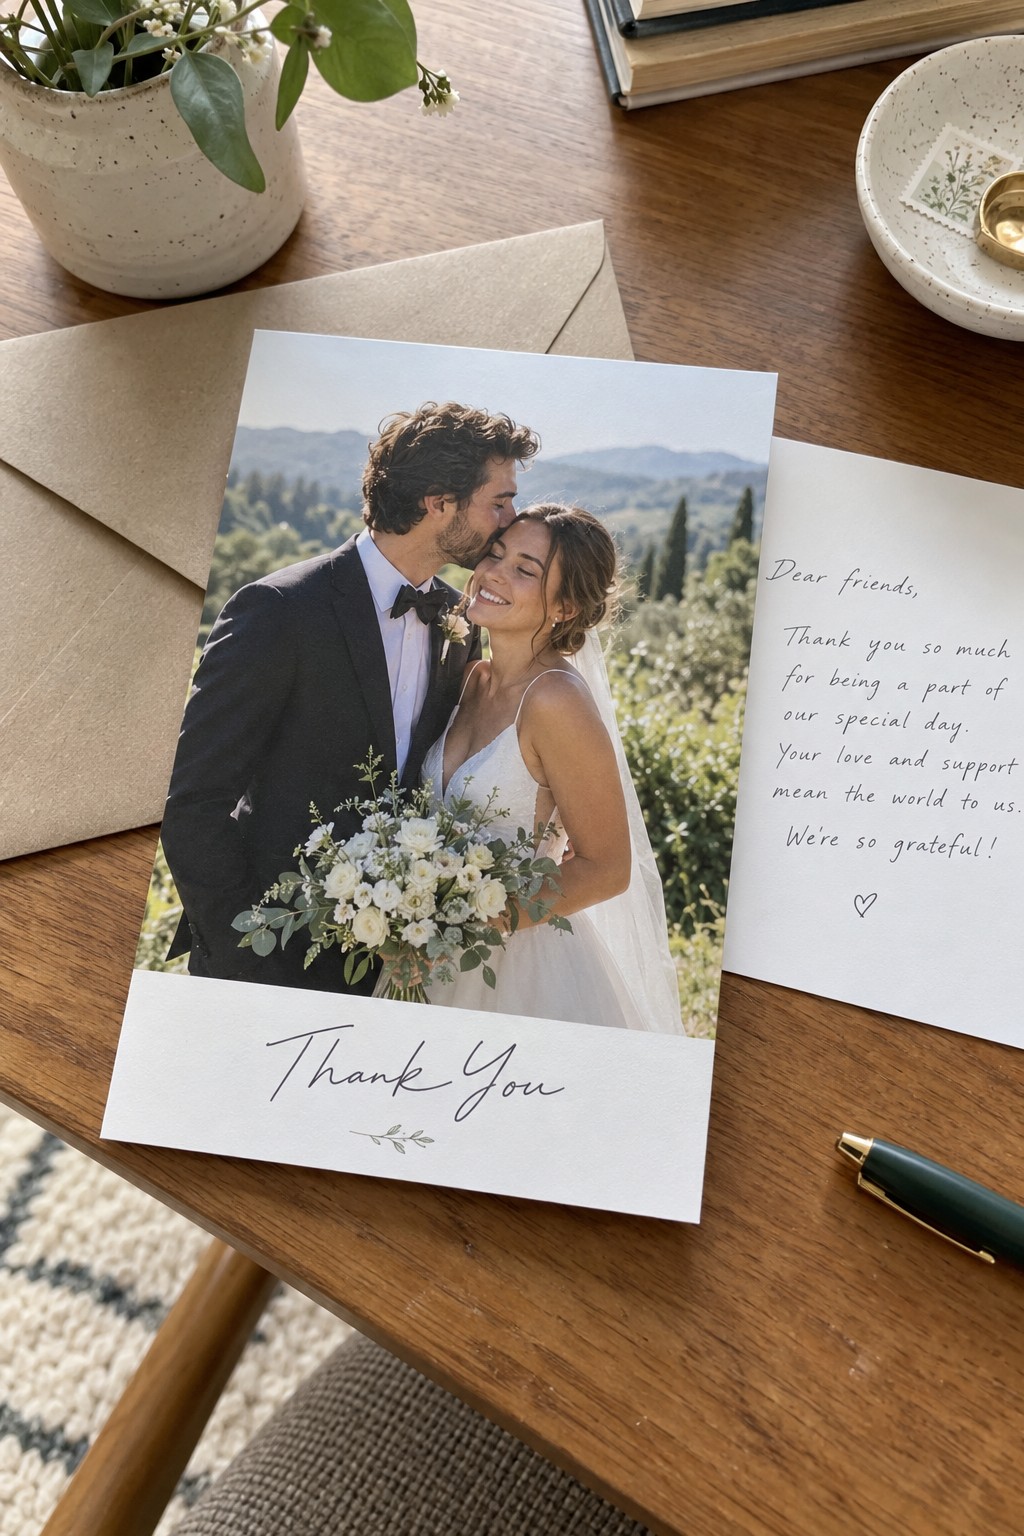
Let one expressive portrait carry the entire front, then reserve the back for a short handwritten message and address. A slim paper margin keeps the image from feeling like a loose print while the postcard format simplifies folding and stuffing.
Choose a photograph with open space around faces and bouquets so trimming does not feel tight. Order one proof first, because skin tones and shadow detail can shift on matte card stock.
2. Three-Frame Photo Strip Folded Note
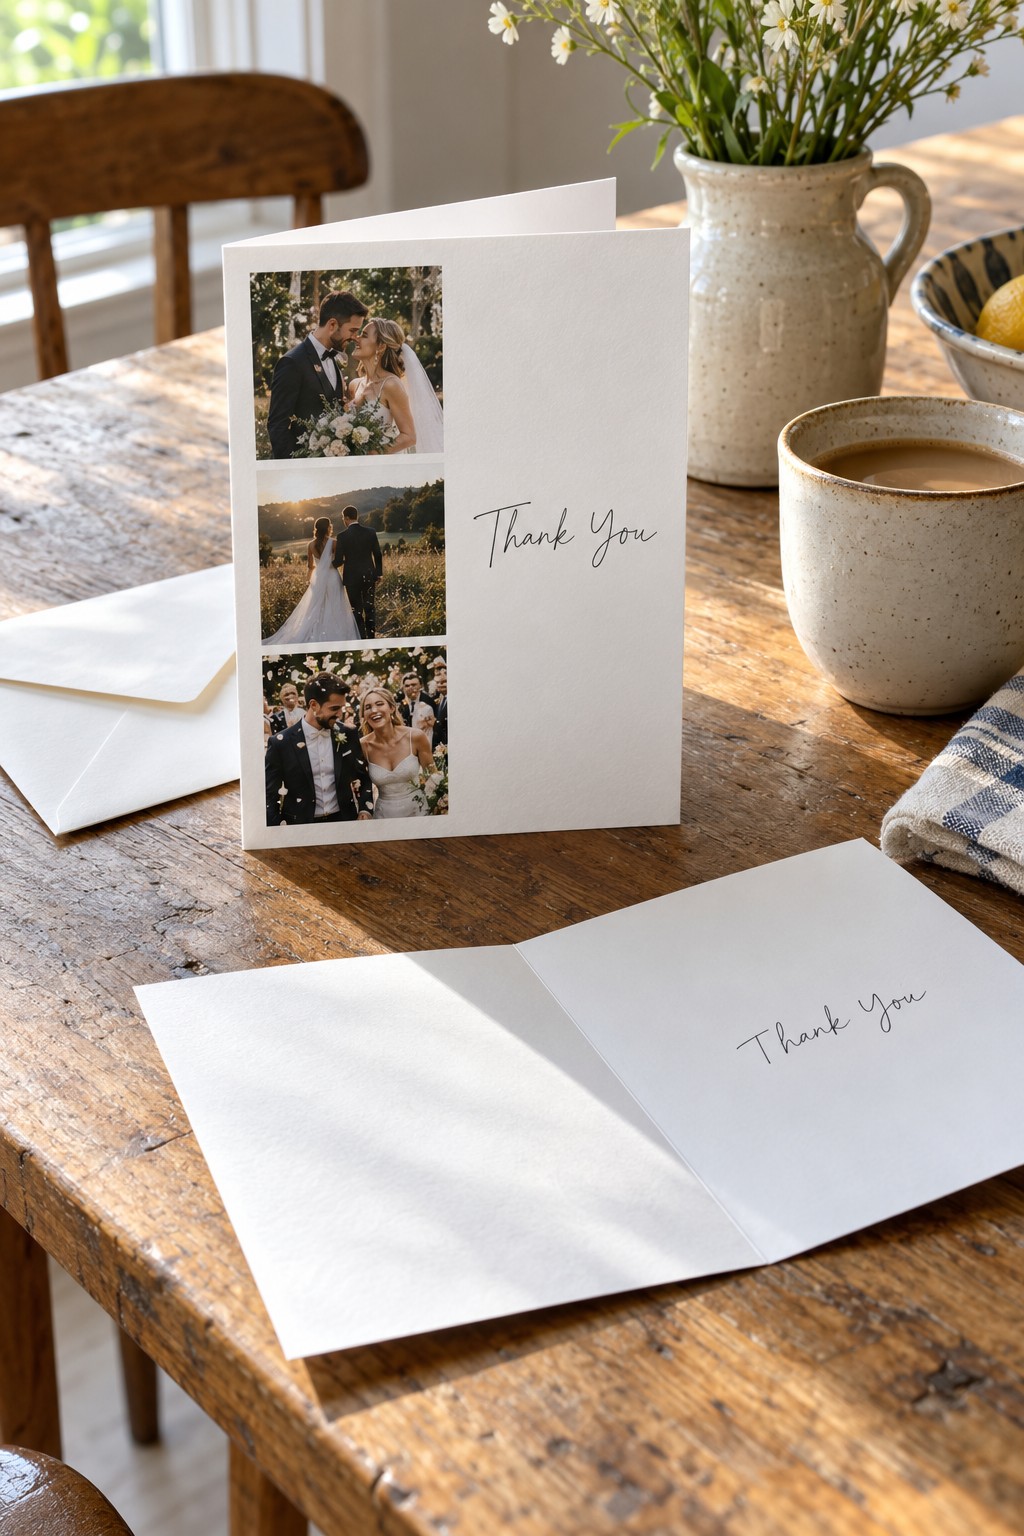
Stack three different moments down one side of a folded cover: a portrait, a wide scene, and an unscripted guest moment. The narrow strip leaves calm space for a small thank-you line and gives the card a mini-story without crowding the interior.
3. Black-and-White Editorial Photo Card
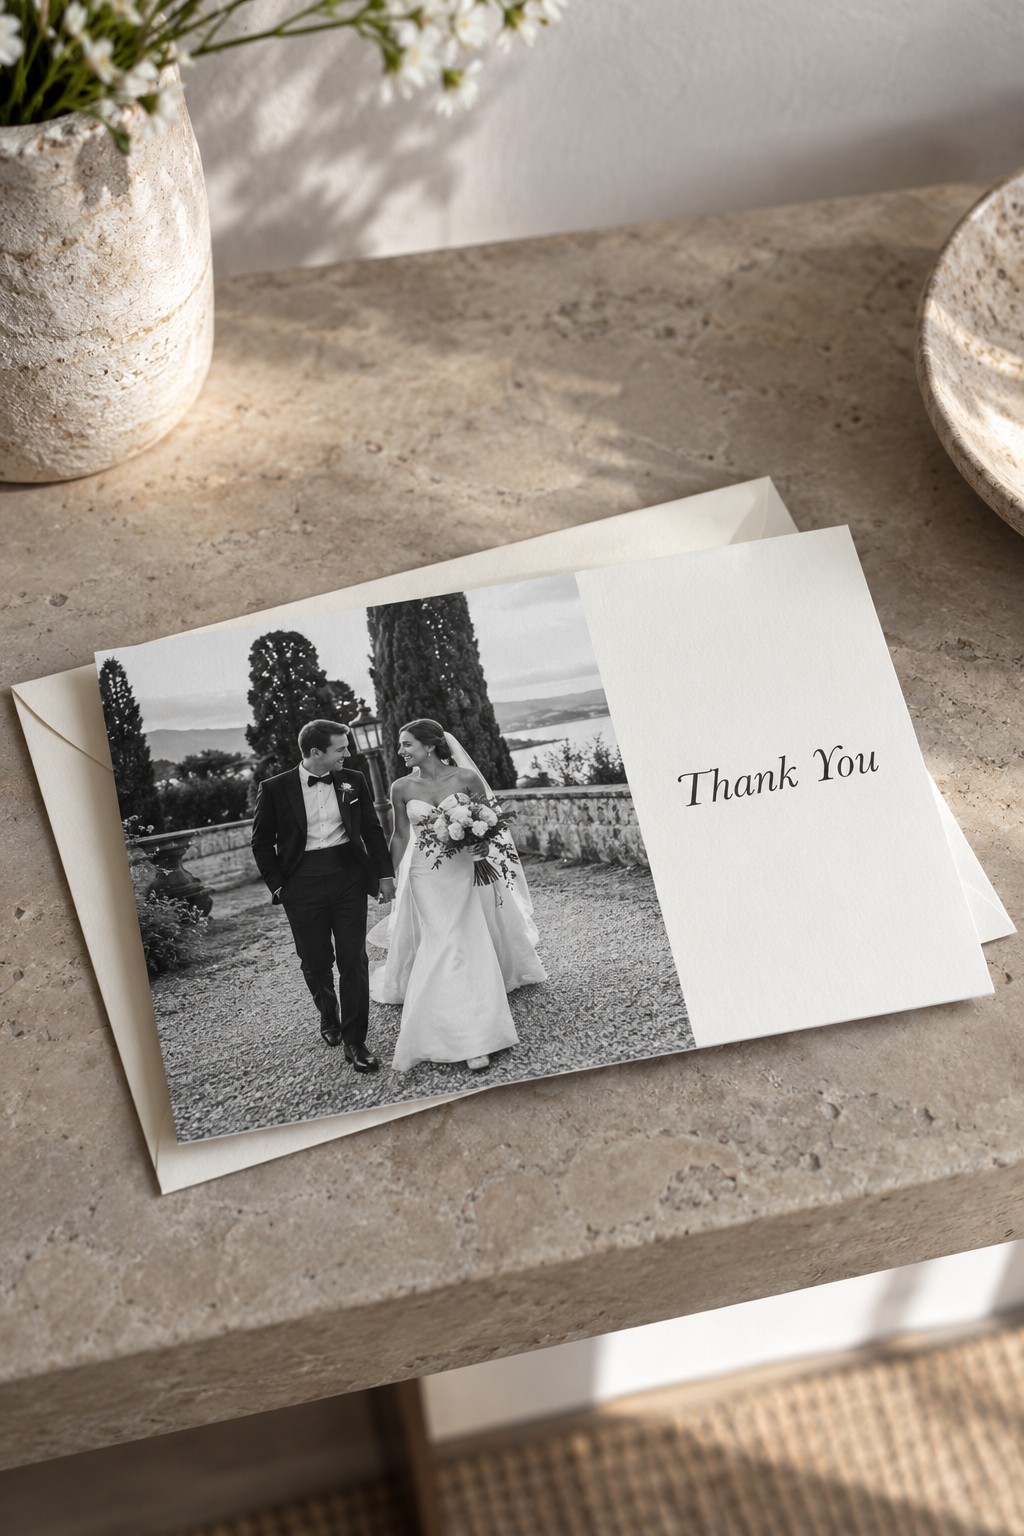
Convert one movement-filled photograph to black and white and pair it with a broad, off-center paper field. The contrast gives a simple flat card an editorial look, especially when the photo has strong light, fabric texture, or architecture rather than a busy floral background.
4. Film Contact-Sheet Thank You
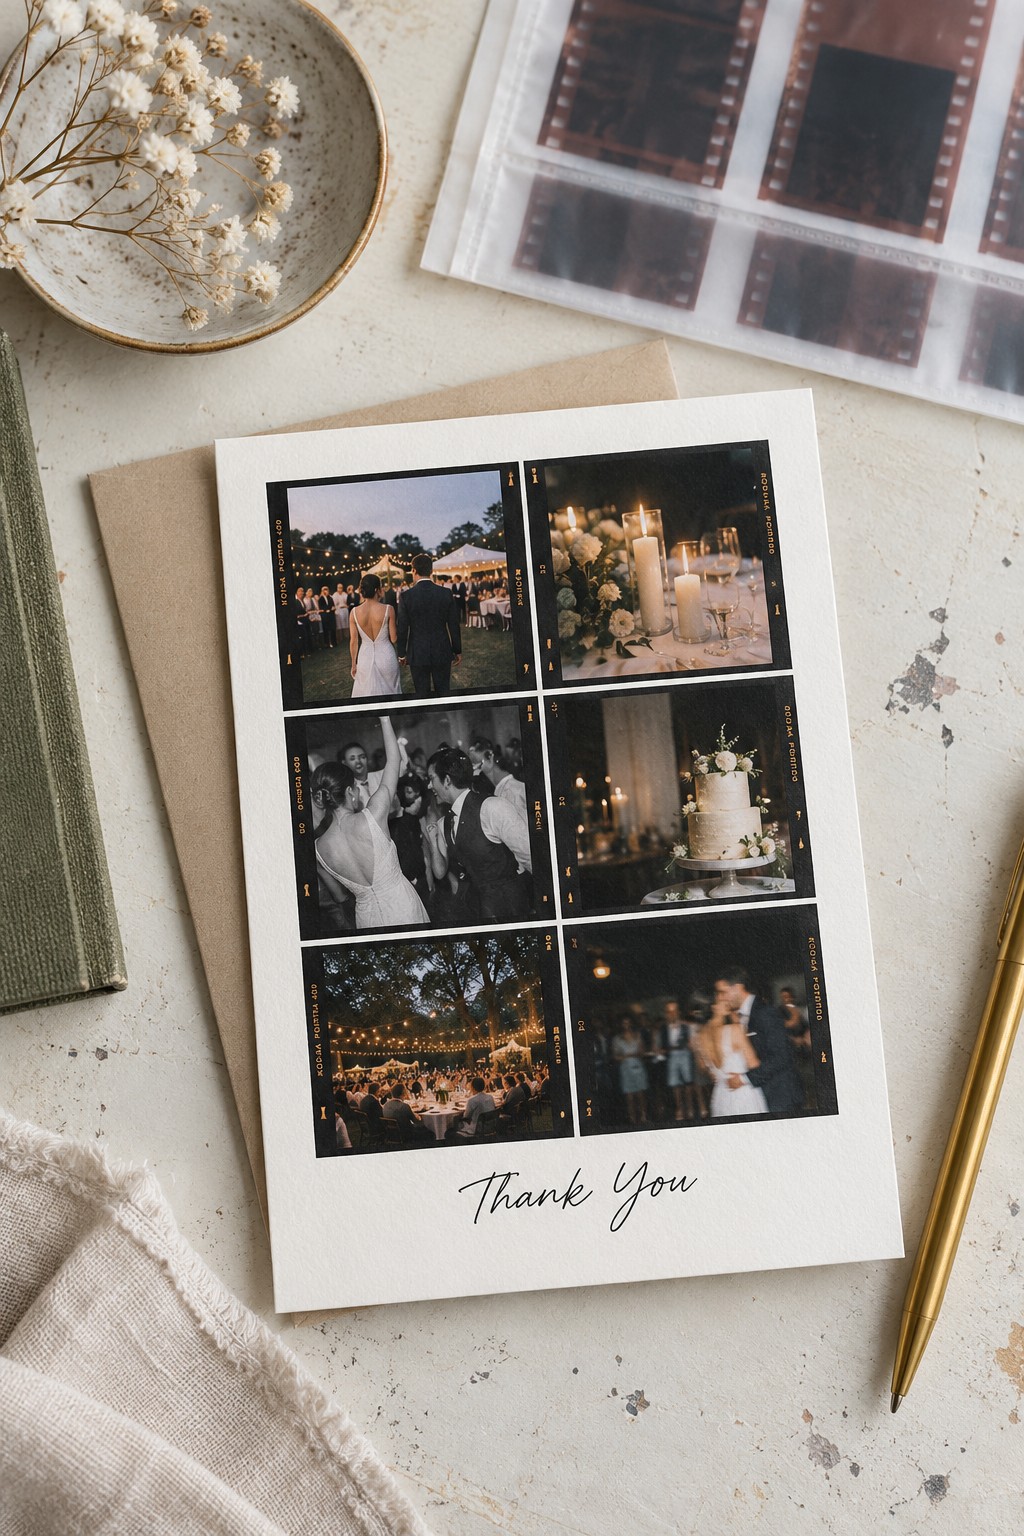
Arrange six small reception images inside dark film-style borders, keeping each frame genuinely different. Mix ceremony, dinner, dancing, details, and guests so the card reads like a compact recap rather than six near-identical couple portraits.
5. Panoramic Venue Photo Foldout
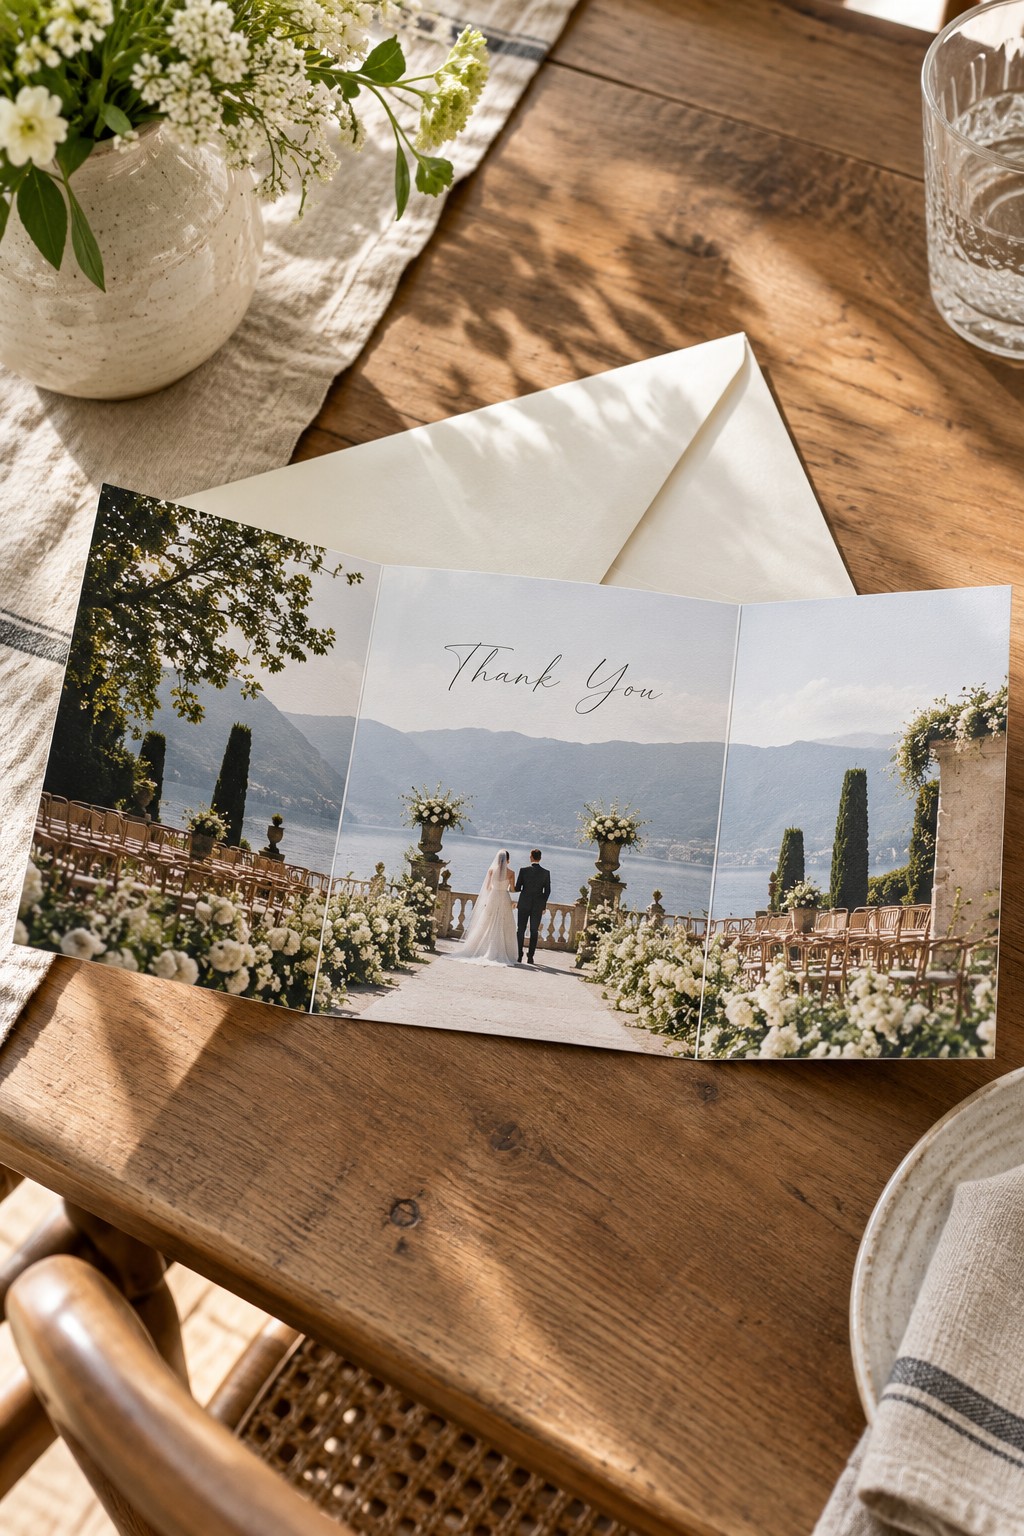
Spread one wide venue photograph across a three-panel accordion fold. This works beautifully for mountain, coastal, garden, or architectural settings where the place was part of the experience, while the reverse panels provide separate areas for the printed greeting and personal note.
6. Classic Double-Sided Photo Postcard
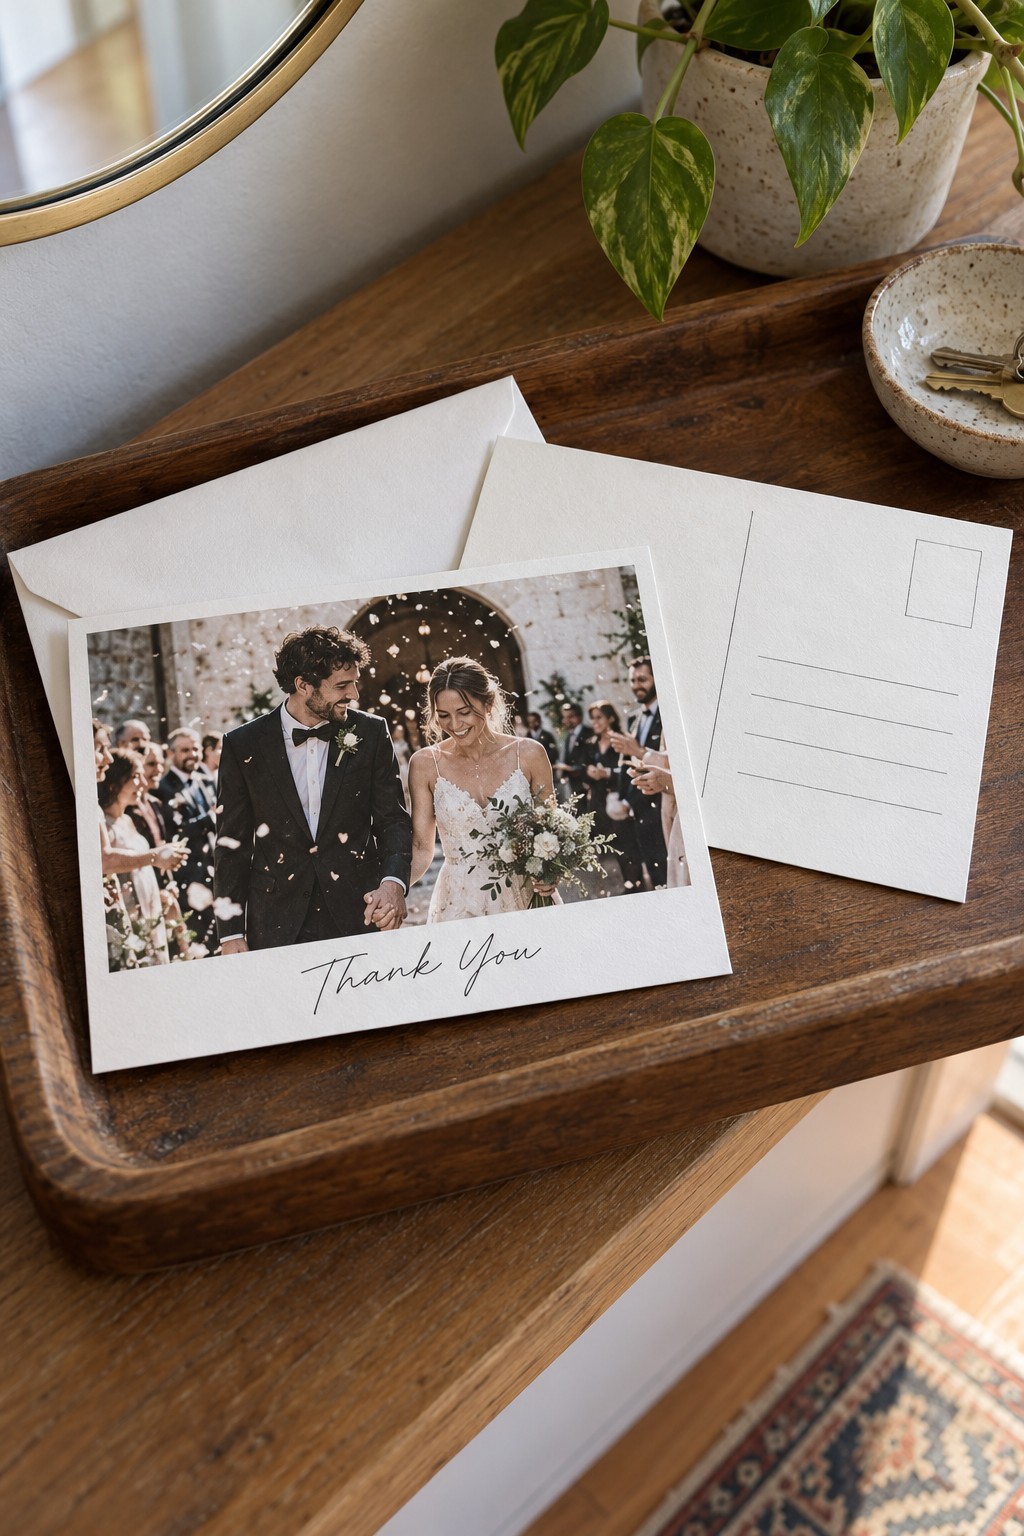
Use a horizontal ceremony-exit image on the front and a clearly divided message-and-address layout on the back. Keep the printed greeting brief so there is room to name the gift and add one specific memory in your own handwriting.
7. Mini Accordion Wedding Album
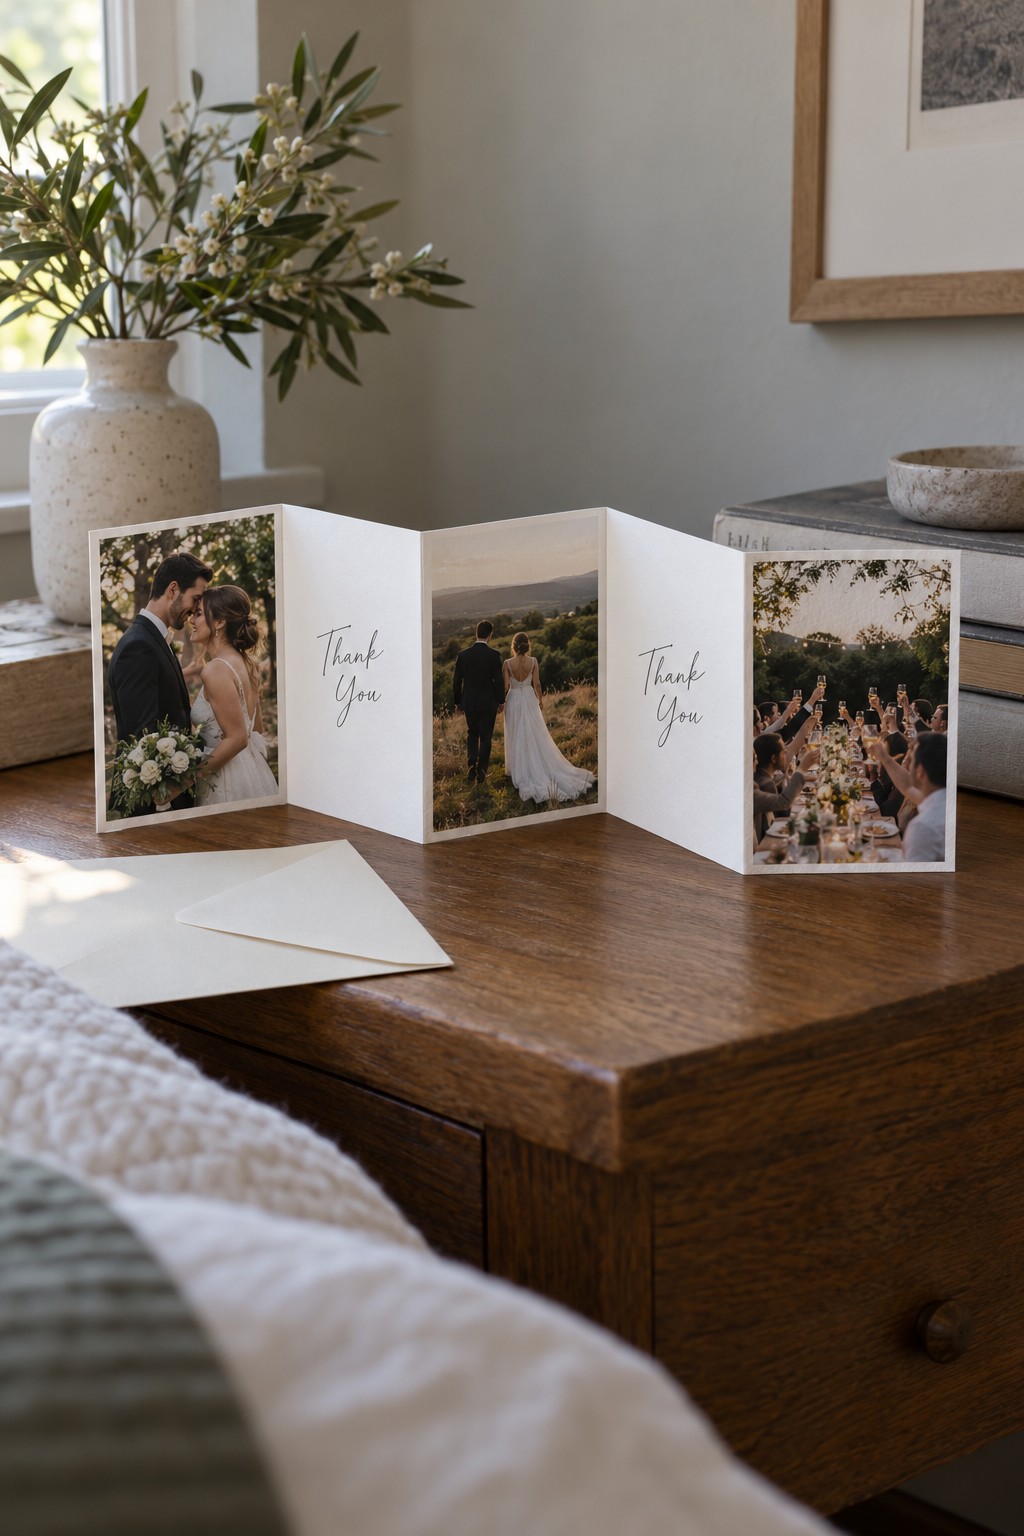
Turn the thank-you into a tiny standing album with alternating photographs and message panels. Five panels are enough to show a sequence without becoming bulky, and the folded piece can sit on a shelf after the note has been read.
Keep the paper direction and fold scores consistent before ordering a full batch. A test copy should close flat, fit the chosen envelope, and leave every face safely away from a crease.
8. Gatefold Photo Reveal Card
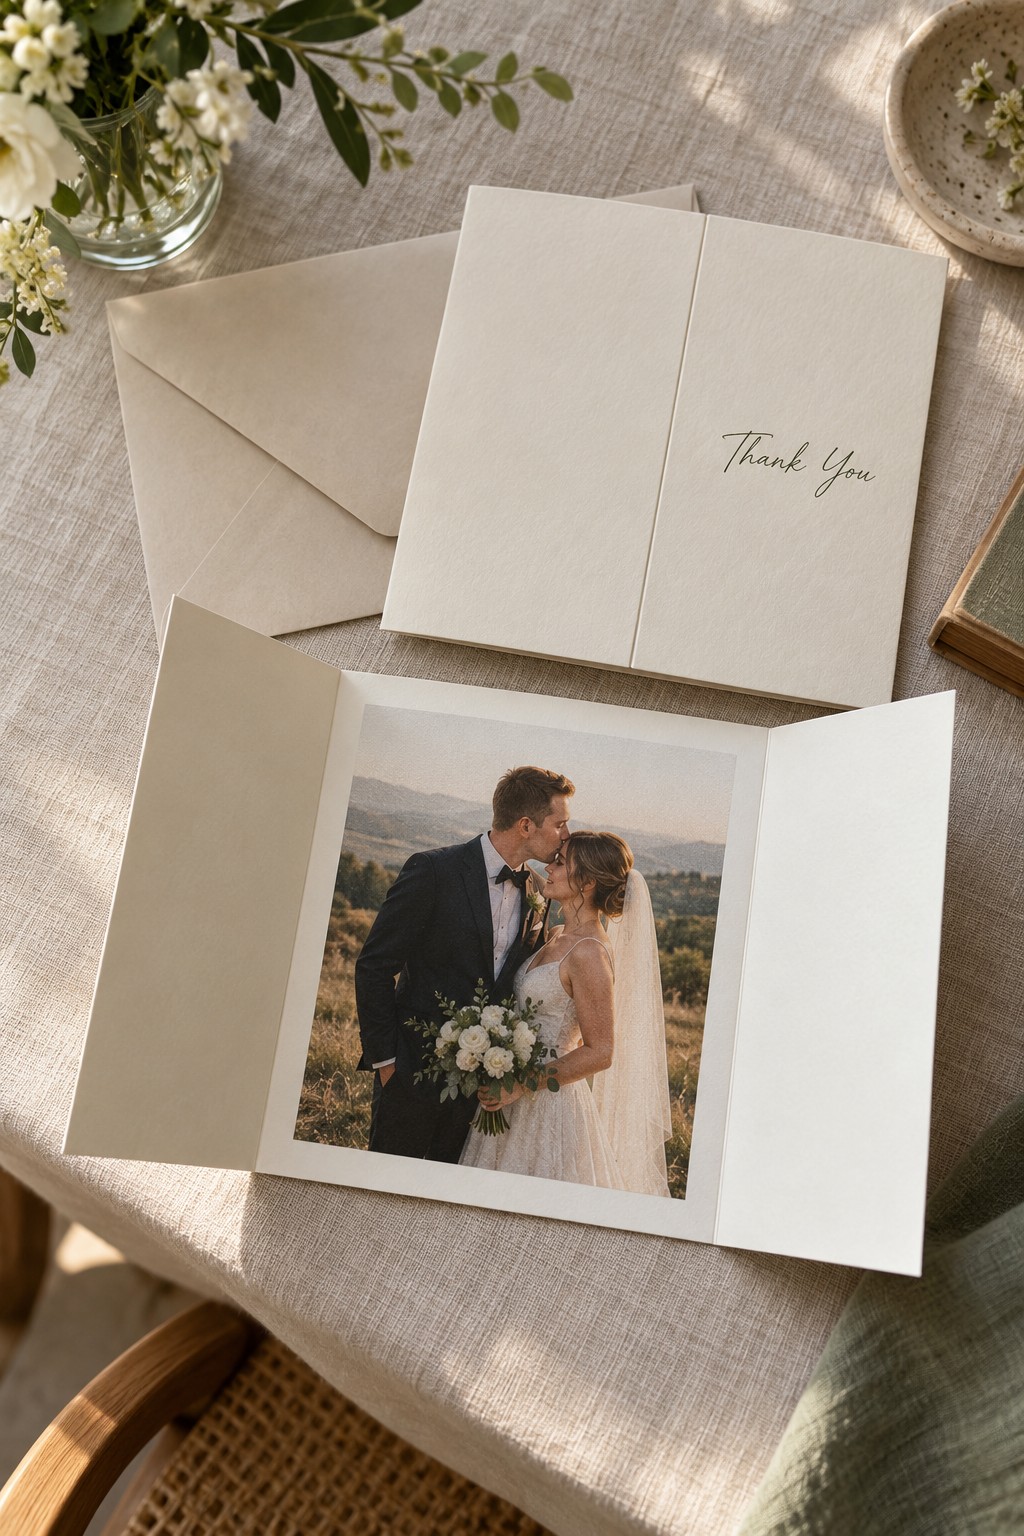
Use two quiet outer doors that meet at the center and open to reveal one meaningful photograph. The gatefold creates a small moment of discovery, so the inside image can stay simple while personal wording lives on the back or inner side panels.
9. Square Photo With Handwritten Margin
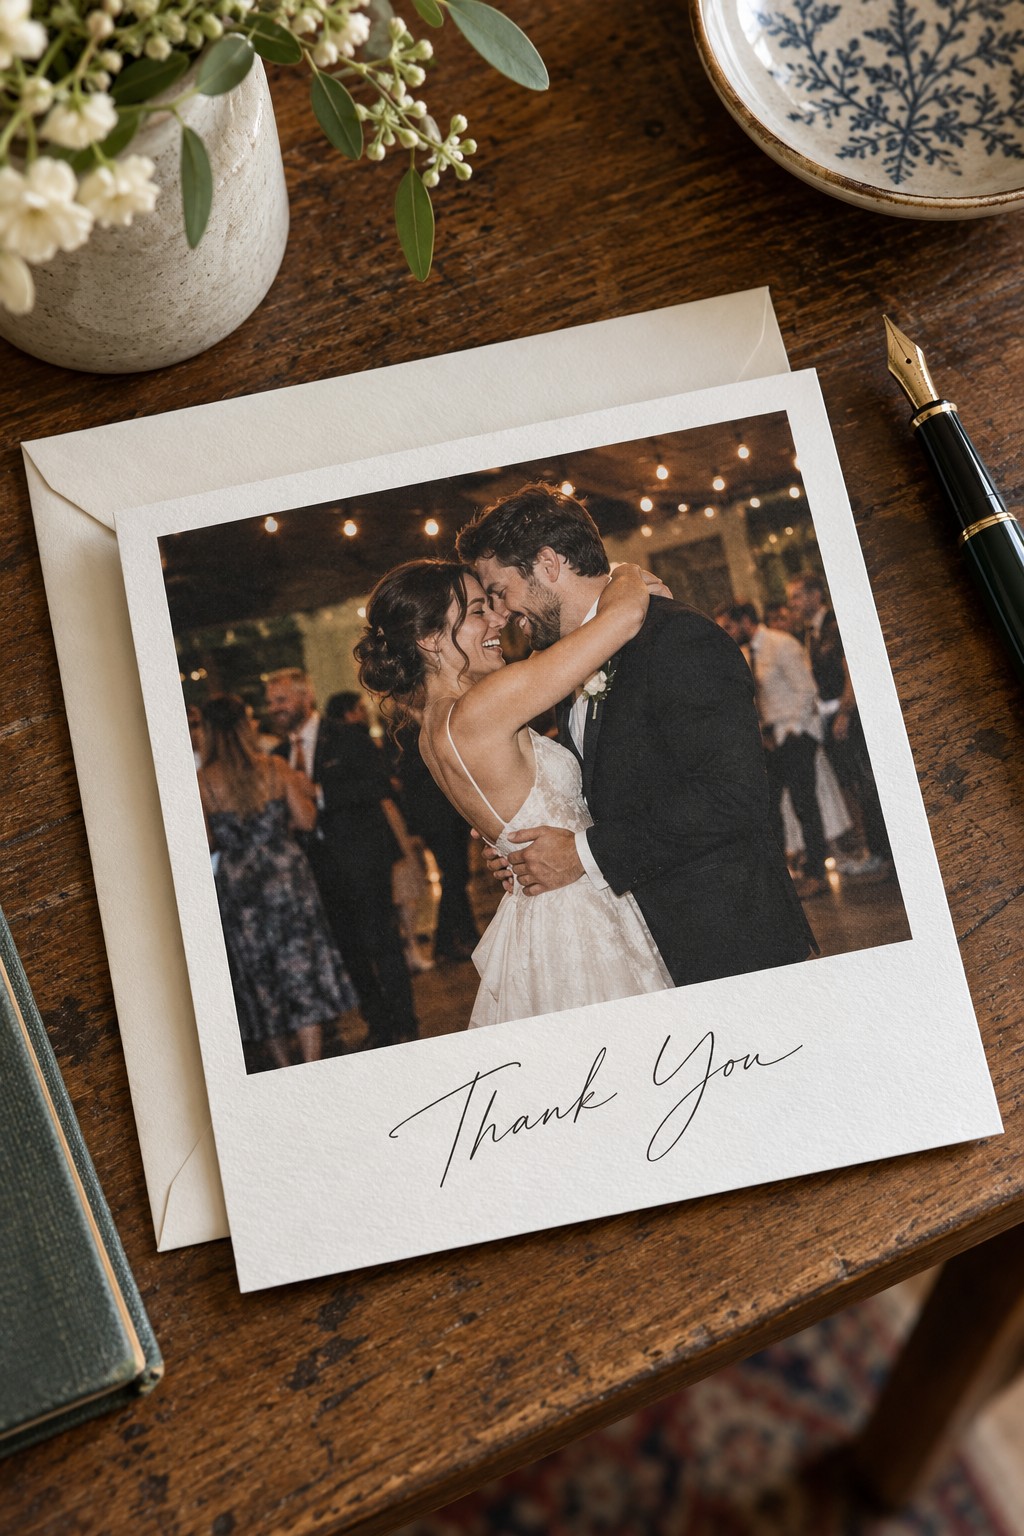
Place a square candid photograph above a generous lower margin and sign directly on the paper. The wide margin makes every card feel personally finished without requiring a long interior message, which suits couples using one strong dance-floor or reception image.
10. Wallet Photo Insert Note
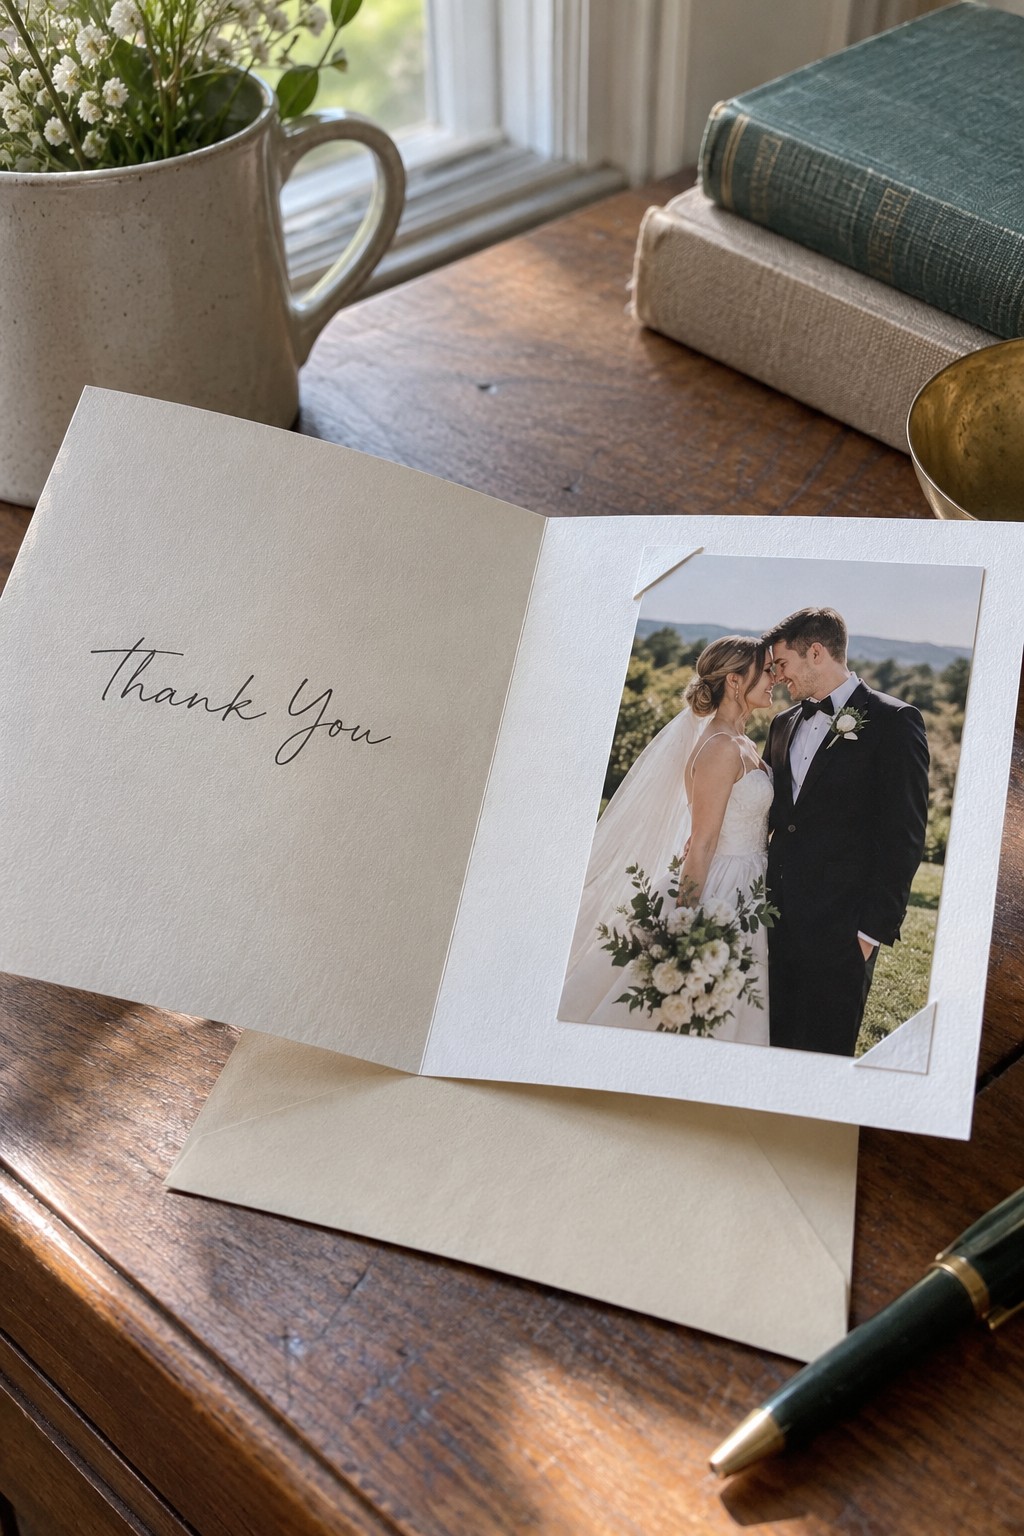
Cut two neat corner slits inside a folded cotton note and tuck in a wallet-size wedding print. Guests receive a removable keepsake while the facing panel stays available for a full handwritten message, making this especially thoughtful for close family members.
Choose an image that still reads clearly at wallet size, then test the slit spacing with the final paper weight. The photograph should slide out smoothly without bowing the card.
Typography, Paper, and Die-Cut Details
These designs rely on type scale, paper texture, print methods, and silhouette rather than repeating another photo-led front.
11. Blind-Debossed Cotton Note
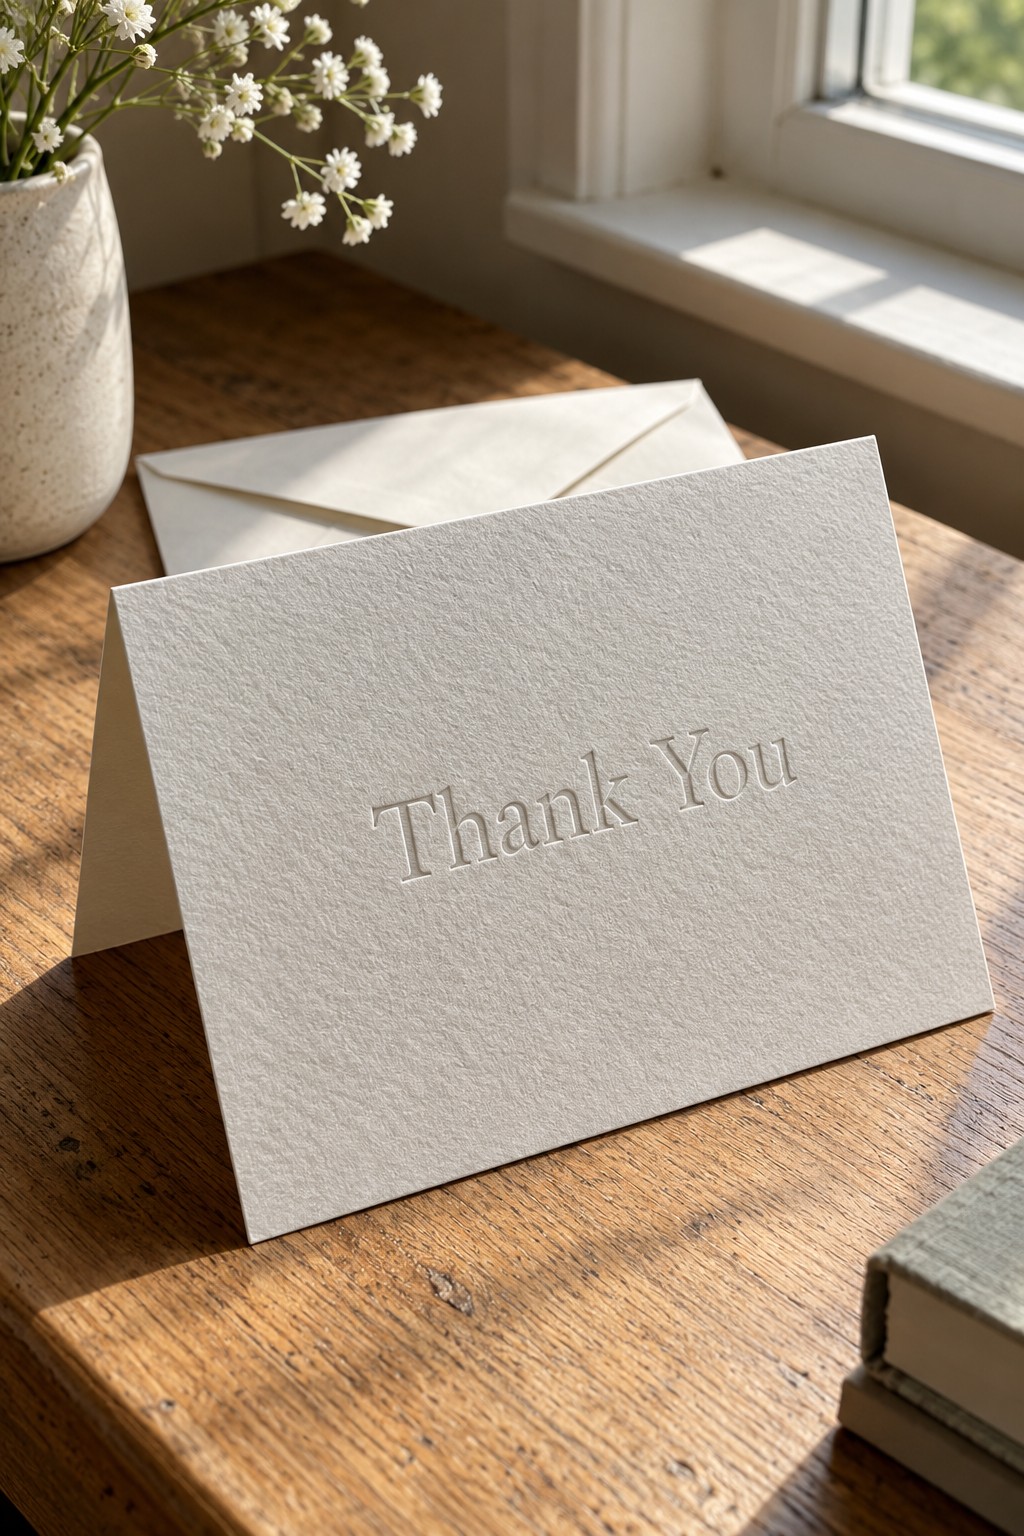
Press the thank-you into thick cotton stock without ink, letting light and shadow reveal the lettering. This treatment feels refined without adding metallic color or illustration, and it leaves the inside visually quiet for handwriting.
12. Oversized Script Flat Card
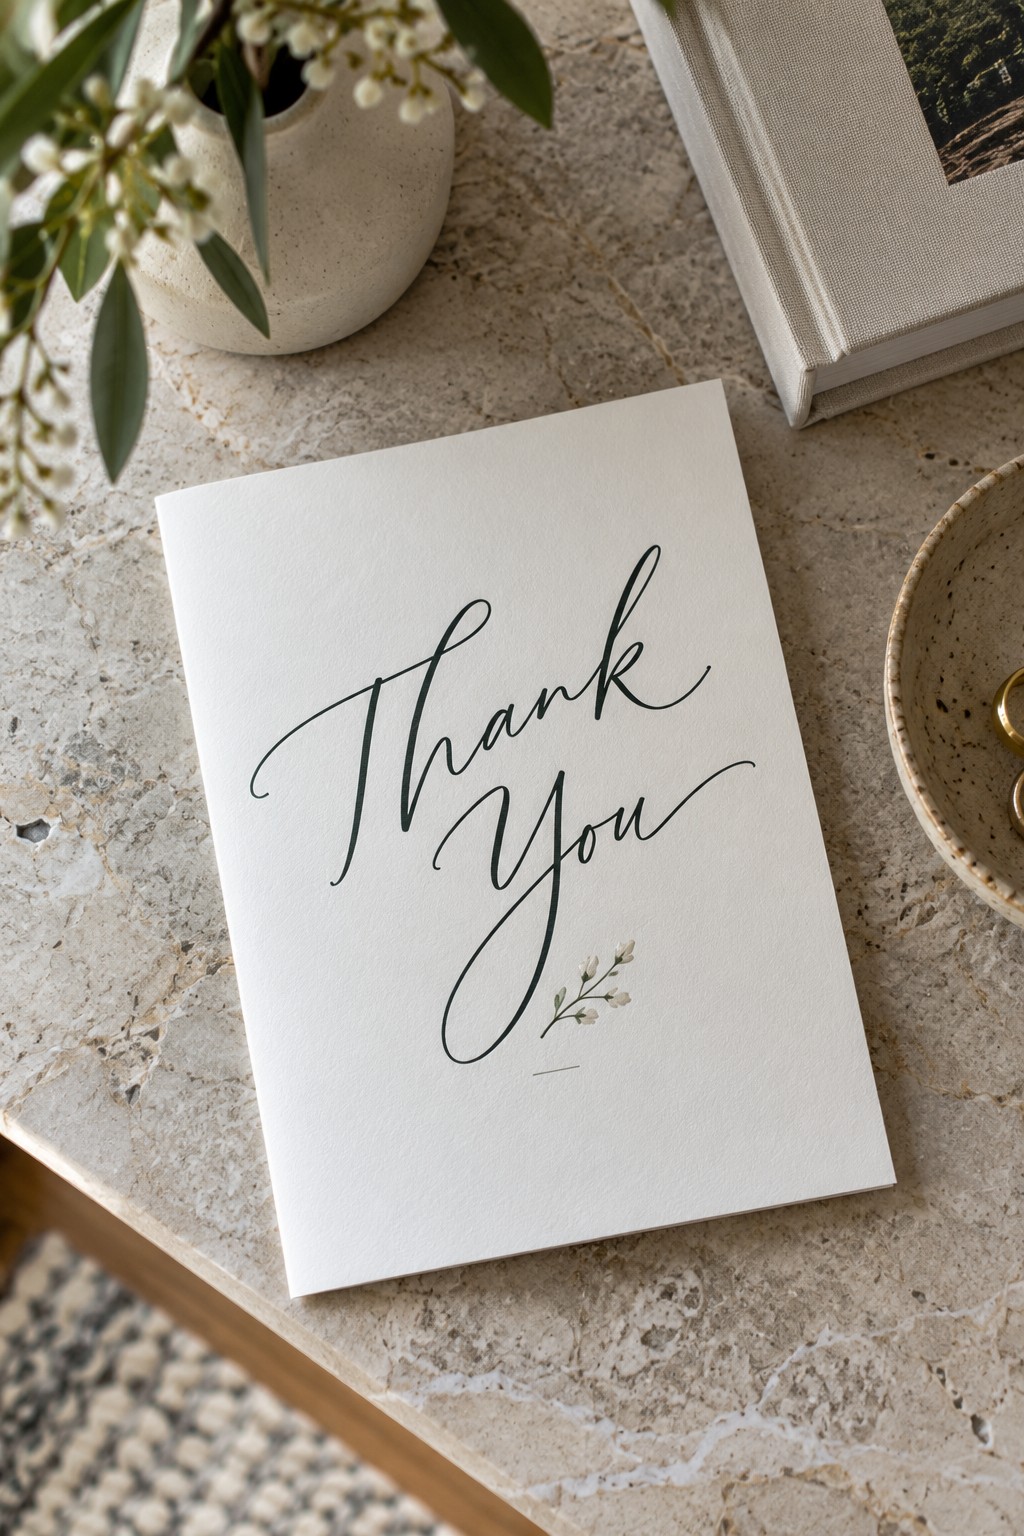
Scale one hand-lettered phrase across most of a vertical flat card and keep names or the wedding date tiny. The deliberate size contrast creates a strong graphic front, so the back can remain uncluttered and easy to write on.
13. Modern Serif Monogram Note
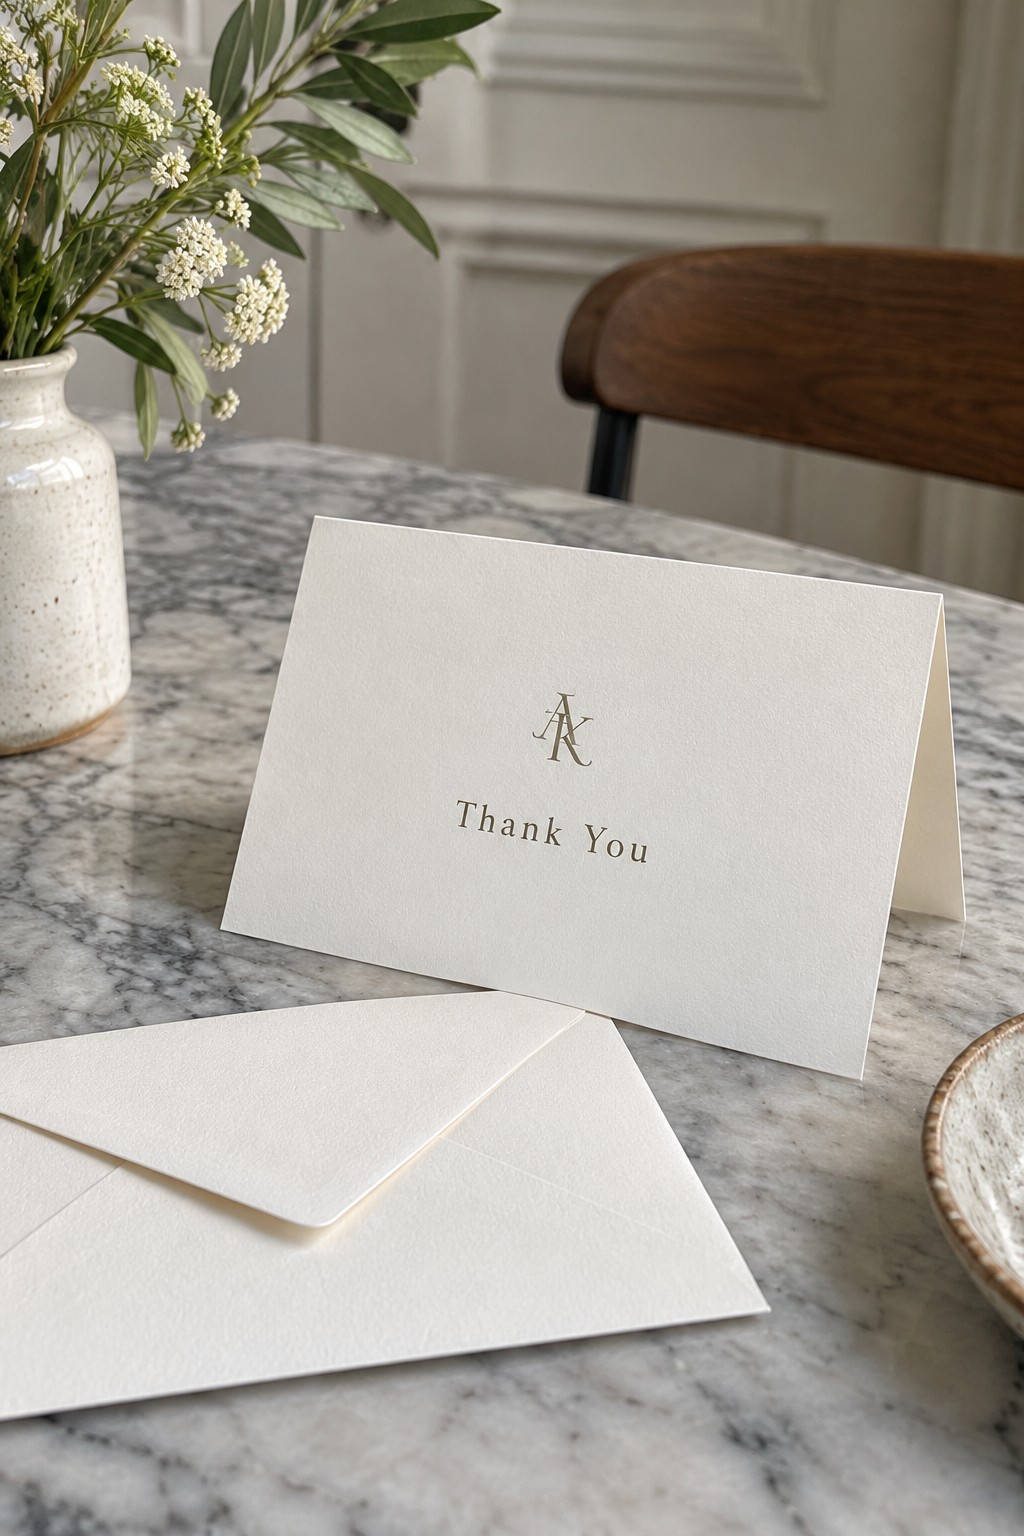
Center a small interlocking monogram above one restrained serif line, surrounded by generous white space. Reusing the couple’s invitation monogram makes the note feel connected to the wedding suite without repeating the entire invitation design.
14. Letterpress Initials With Deckled Edge
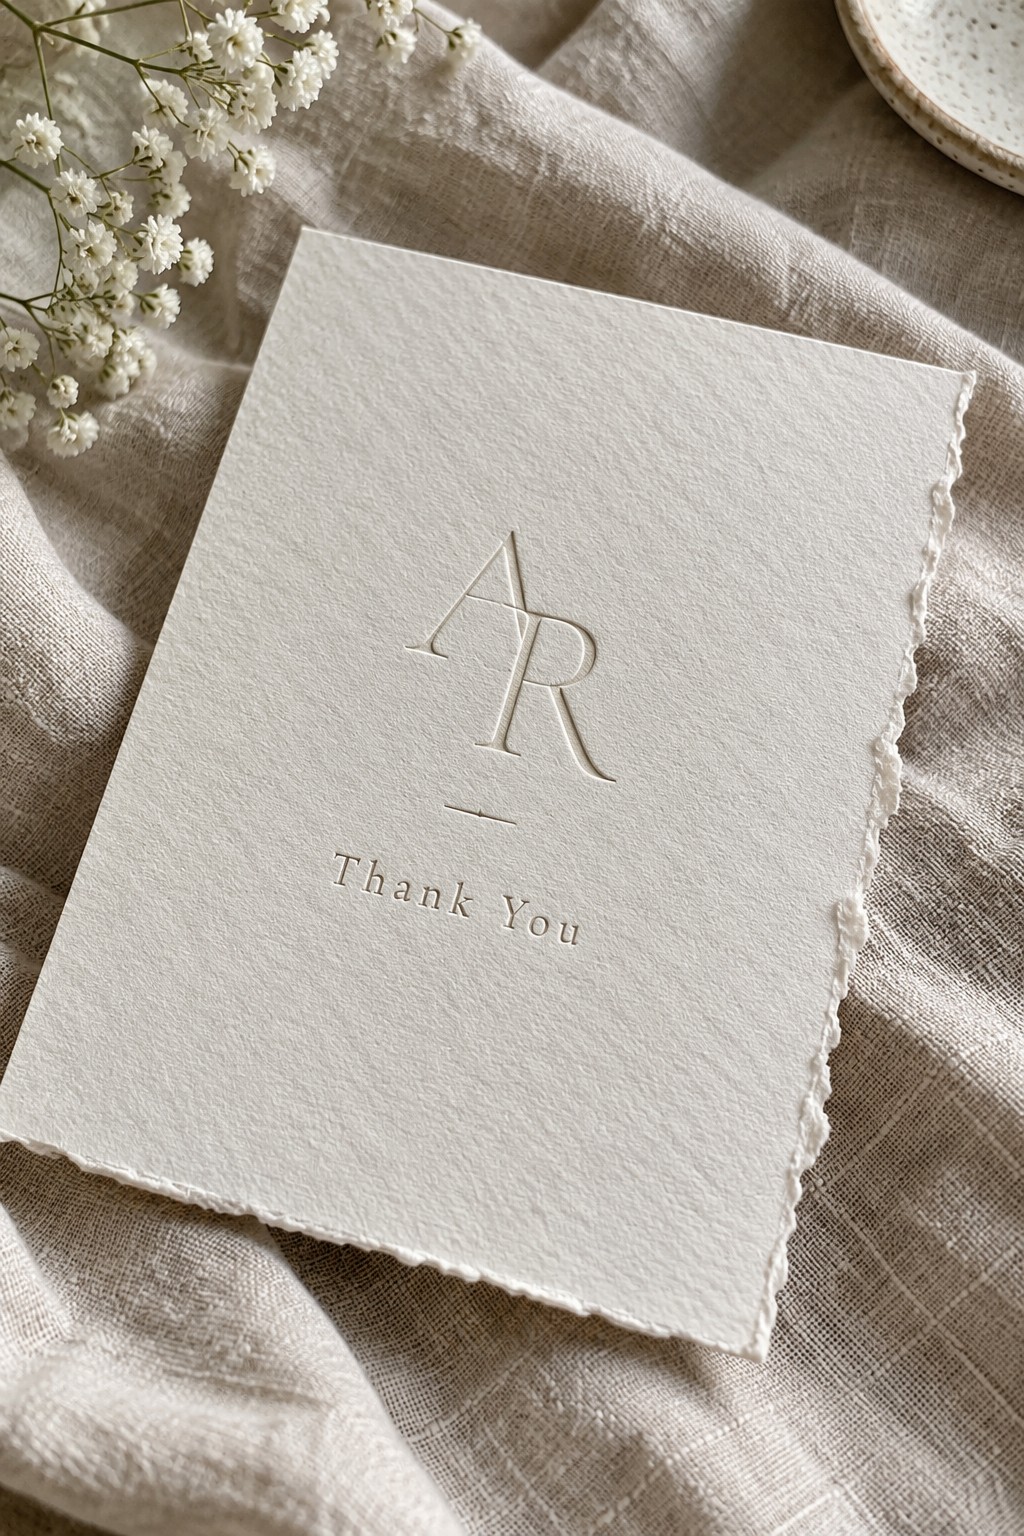
Combine deeply pressed initials with one visible deckled edge on heavy handmade paper. Limit the cover to a monogram and short gratitude line, because the impression depth and irregular fibers already supply the visual detail.
15. Foil Wedding-Date Card
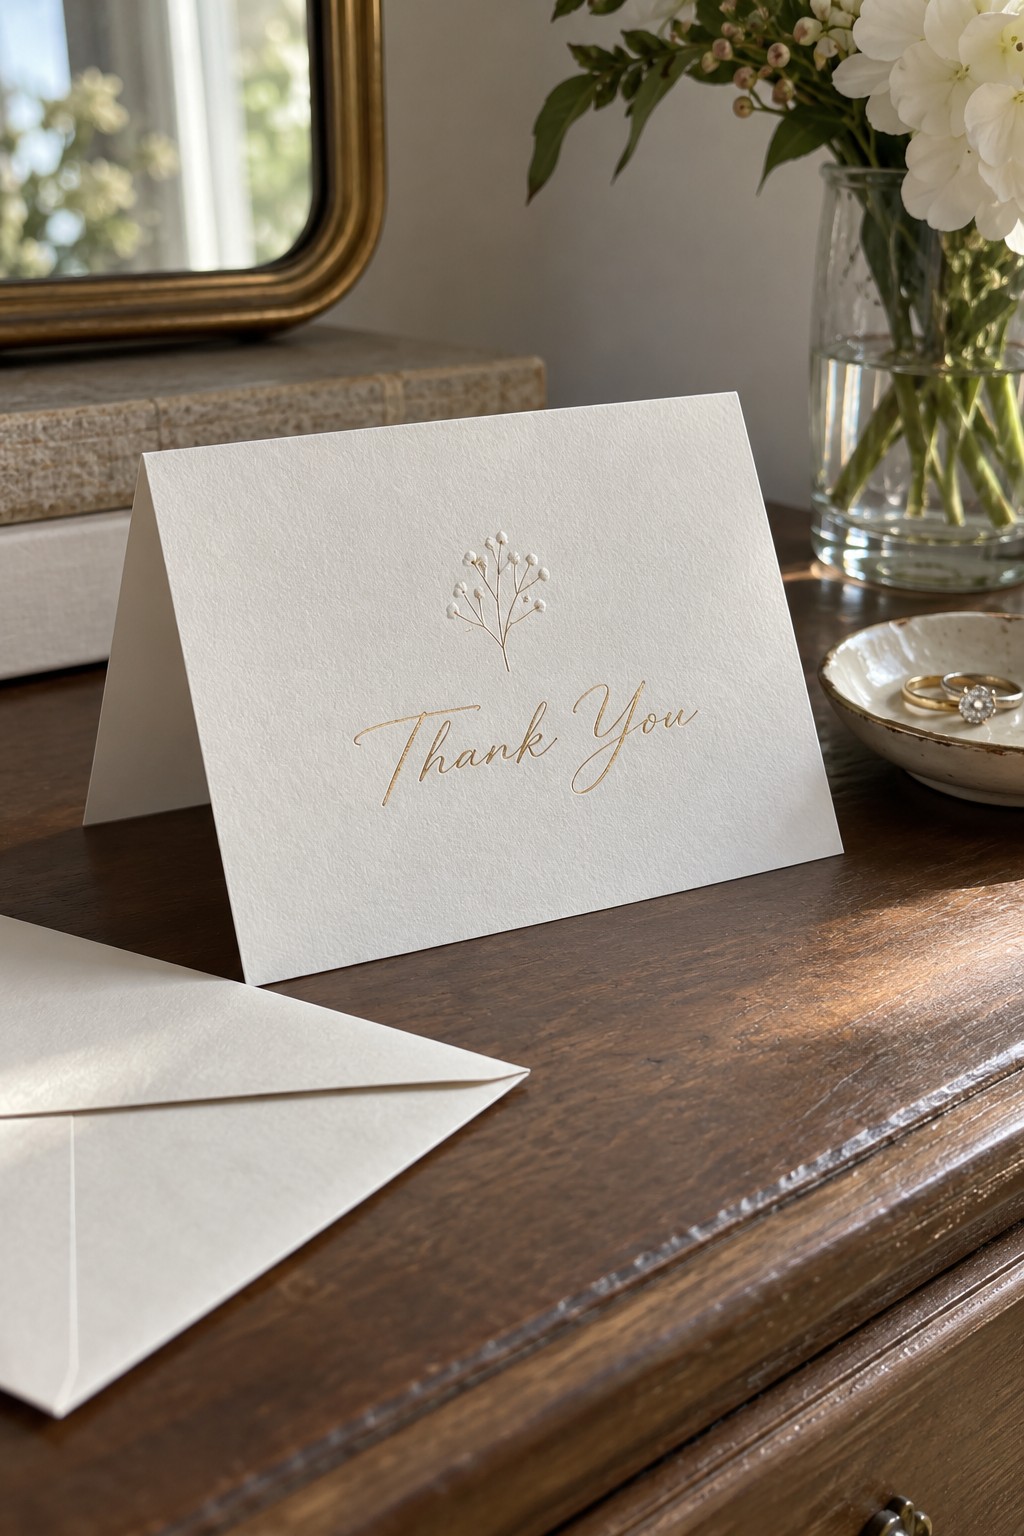
Use foil only for a slim wedding-date line or tiny motif rather than covering the whole message. A restrained metallic detail catches side light, coordinates with formal stationery, and keeps the card readable when the surface is viewed straight on.
16. Typewriter-Style Personal Note
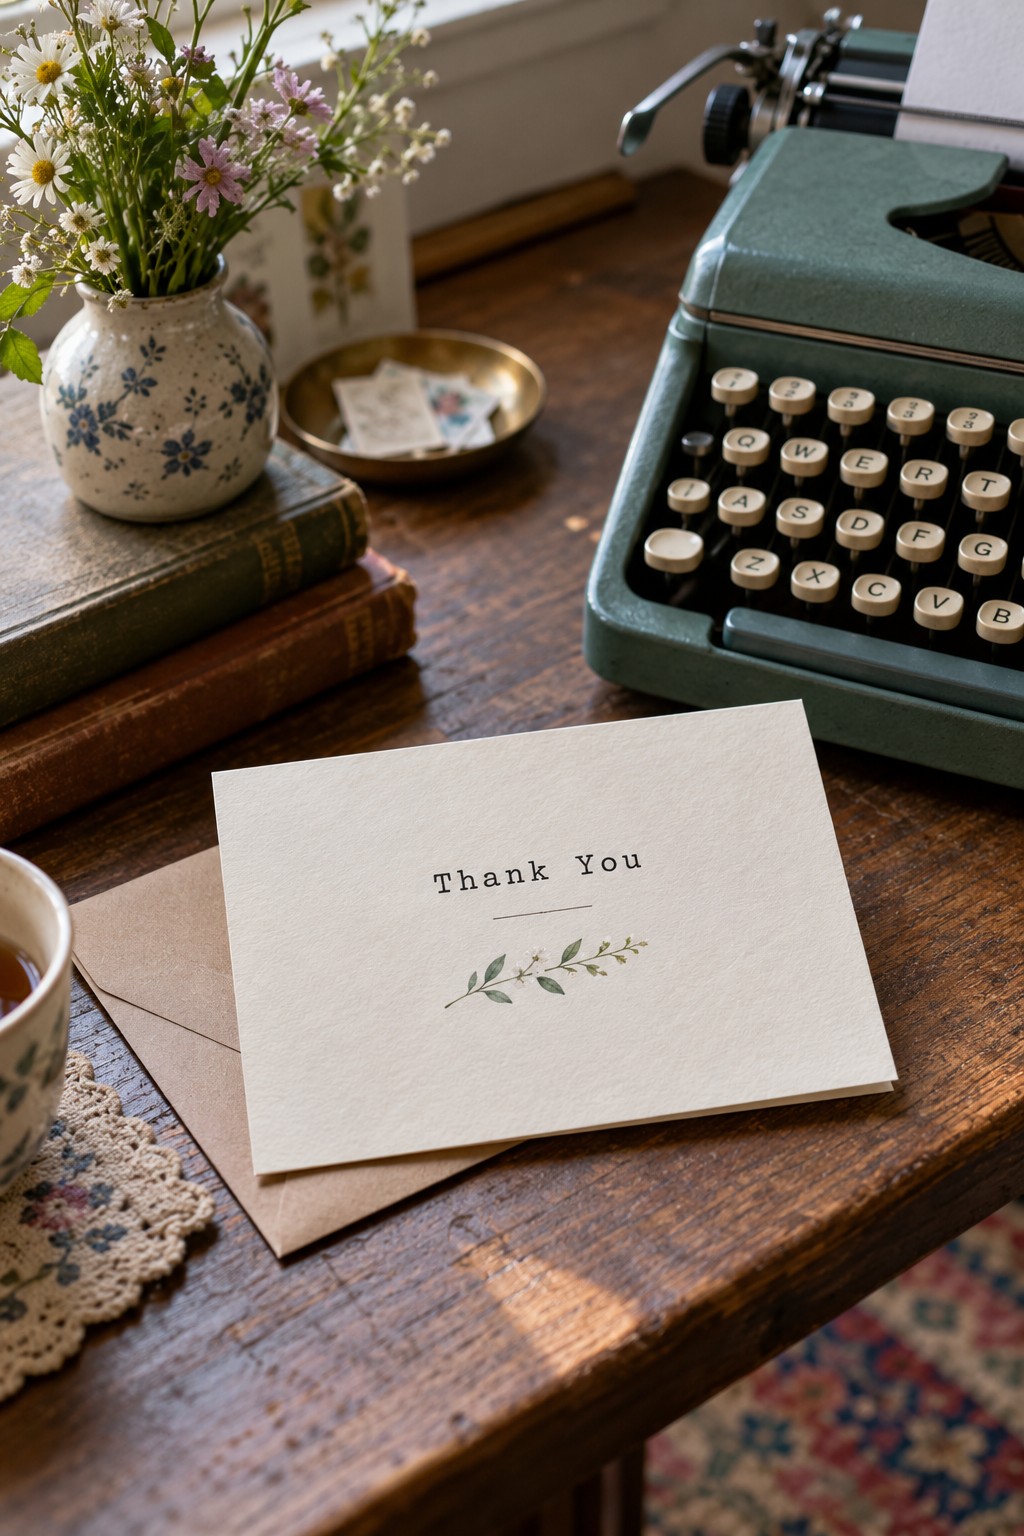
Set a short base message in monospaced type, then add each guest’s salutation, gift detail, and signature by hand. The combination feels personal but efficient, and it suits couples whose wedding style leaned literary, vintage, or quietly informal.
17. Bold Retro Type Card
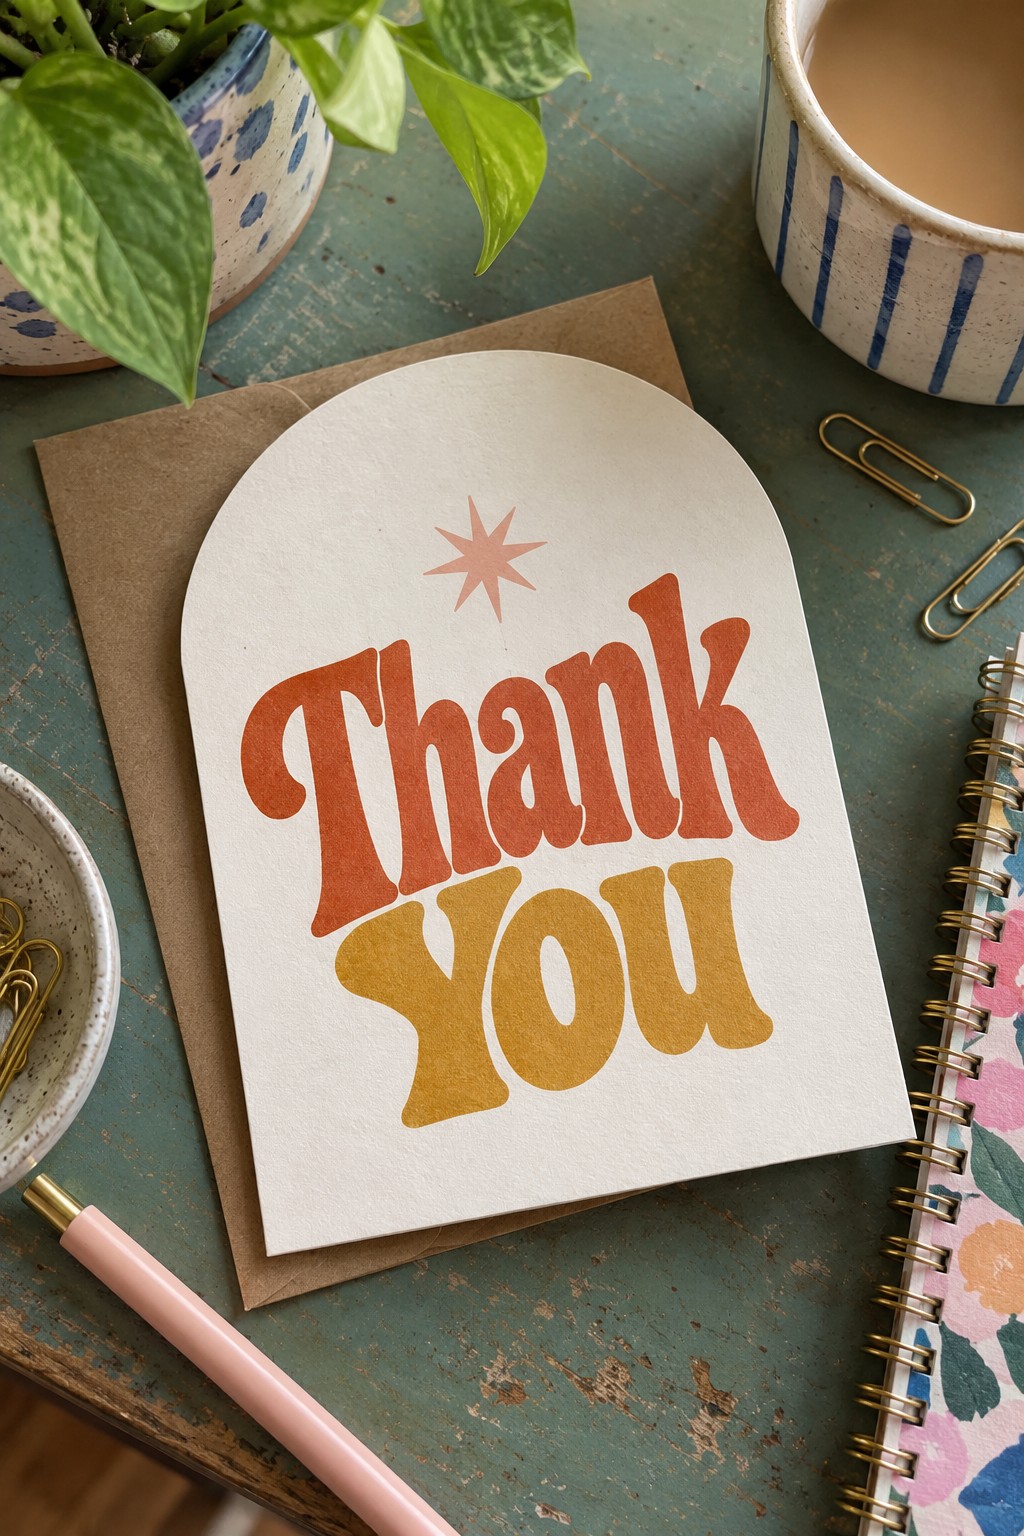
Pair an arched silhouette with chunky stacked lettering and one small starburst or flower mark. The shape and typography do the work, so this no-photo option stays clearly distinct from minimalist monogram cards and feels lively without added decoration.
18. Arched-Top Die-Cut Card
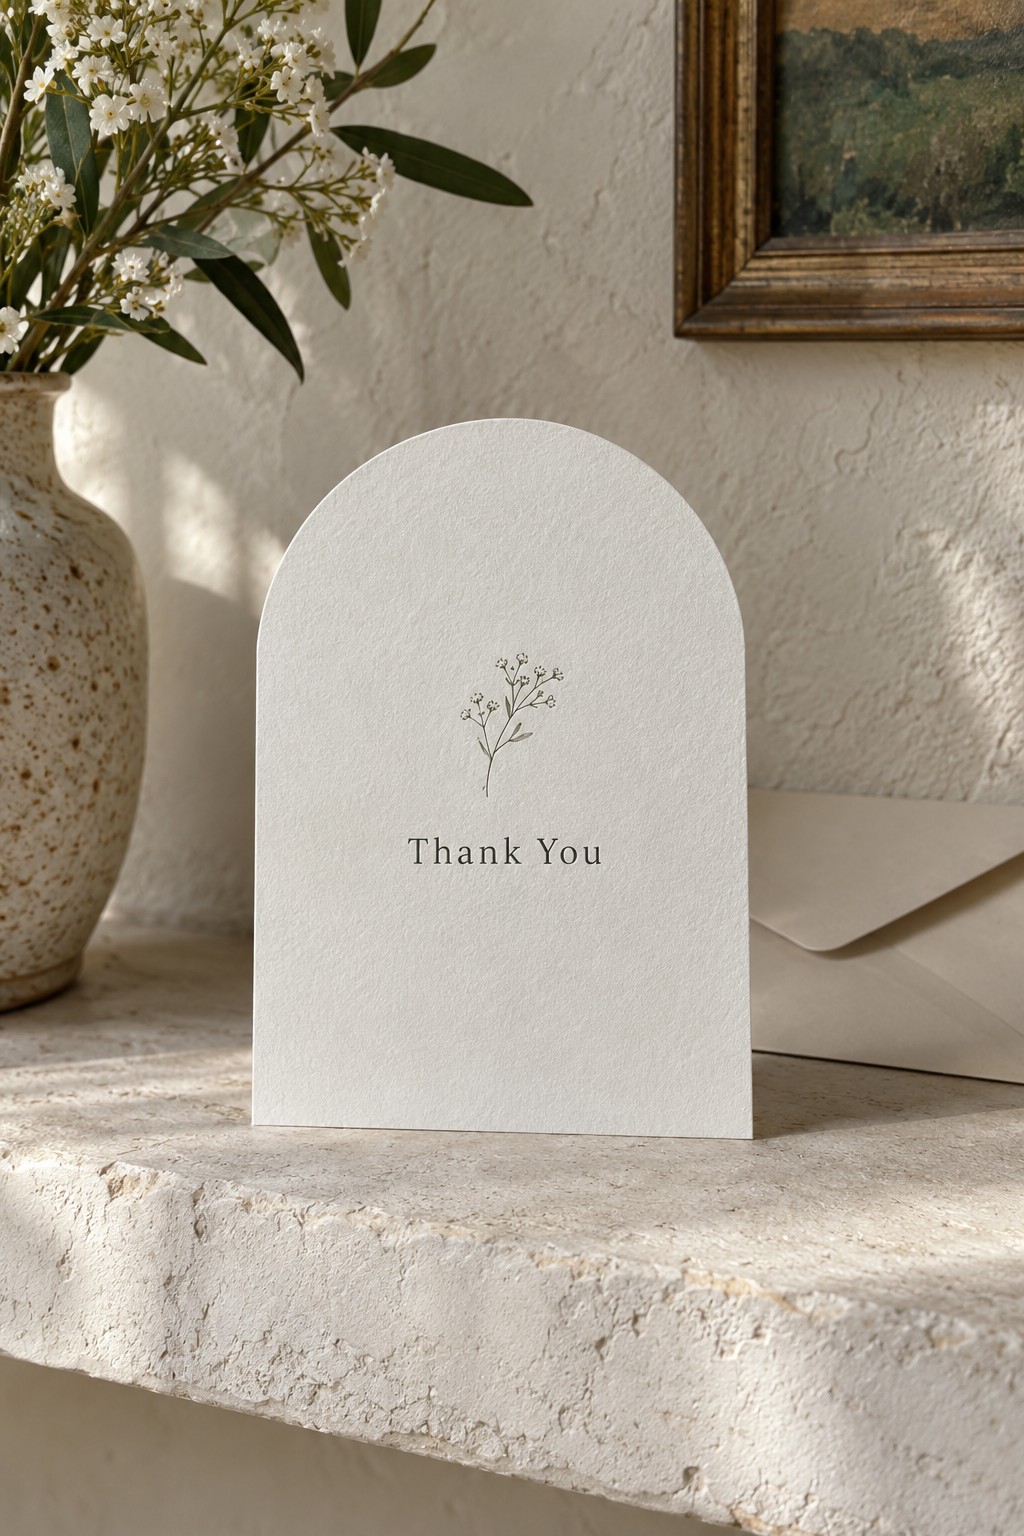
Cut a tall rounded arch into thick stock and place a tiny line drawing above centered wording. The silhouette makes the card memorable even with very little ink, and a standard rectangular envelope can still protect the curved edge.
Print a paper mockup before ordering so the greeting sits comfortably below the curve. Extra headroom prevents the arch from crowding names or dates.
19. Scalloped-Edge Folded Note
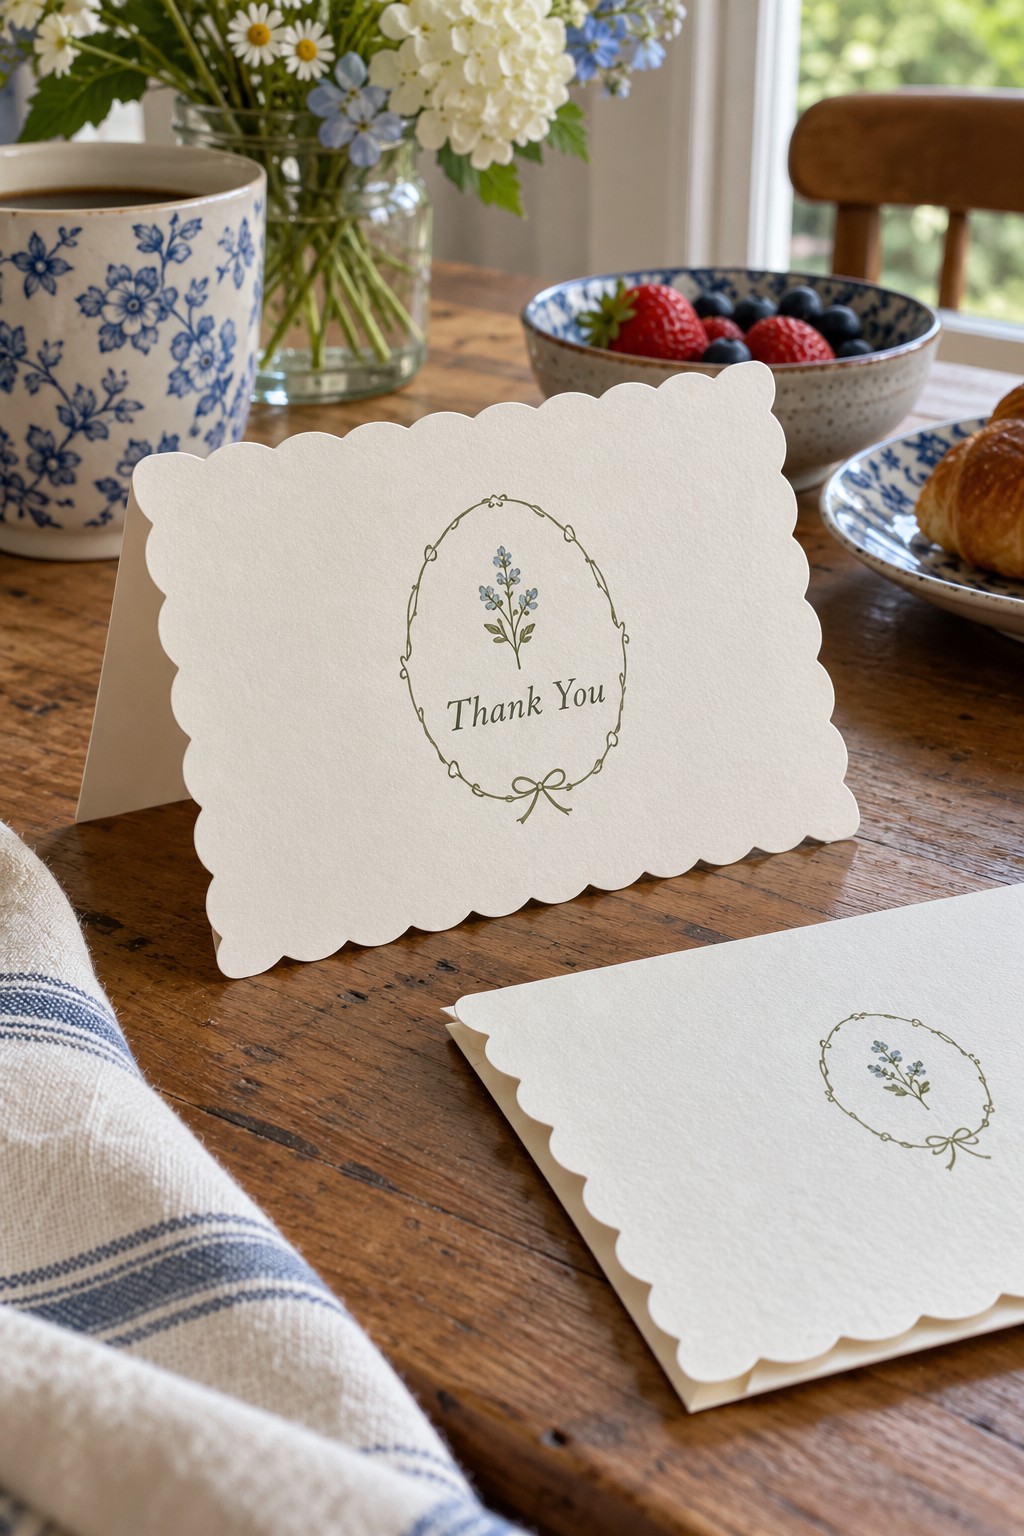
Run a consistent scalloped cut around the entire folded note, then keep the center simple with a monogram or petite botanical. Check the lowest curve against the envelope opening so the decorative edge does not catch during mailing.
20. Vellum Overlay Photo Card
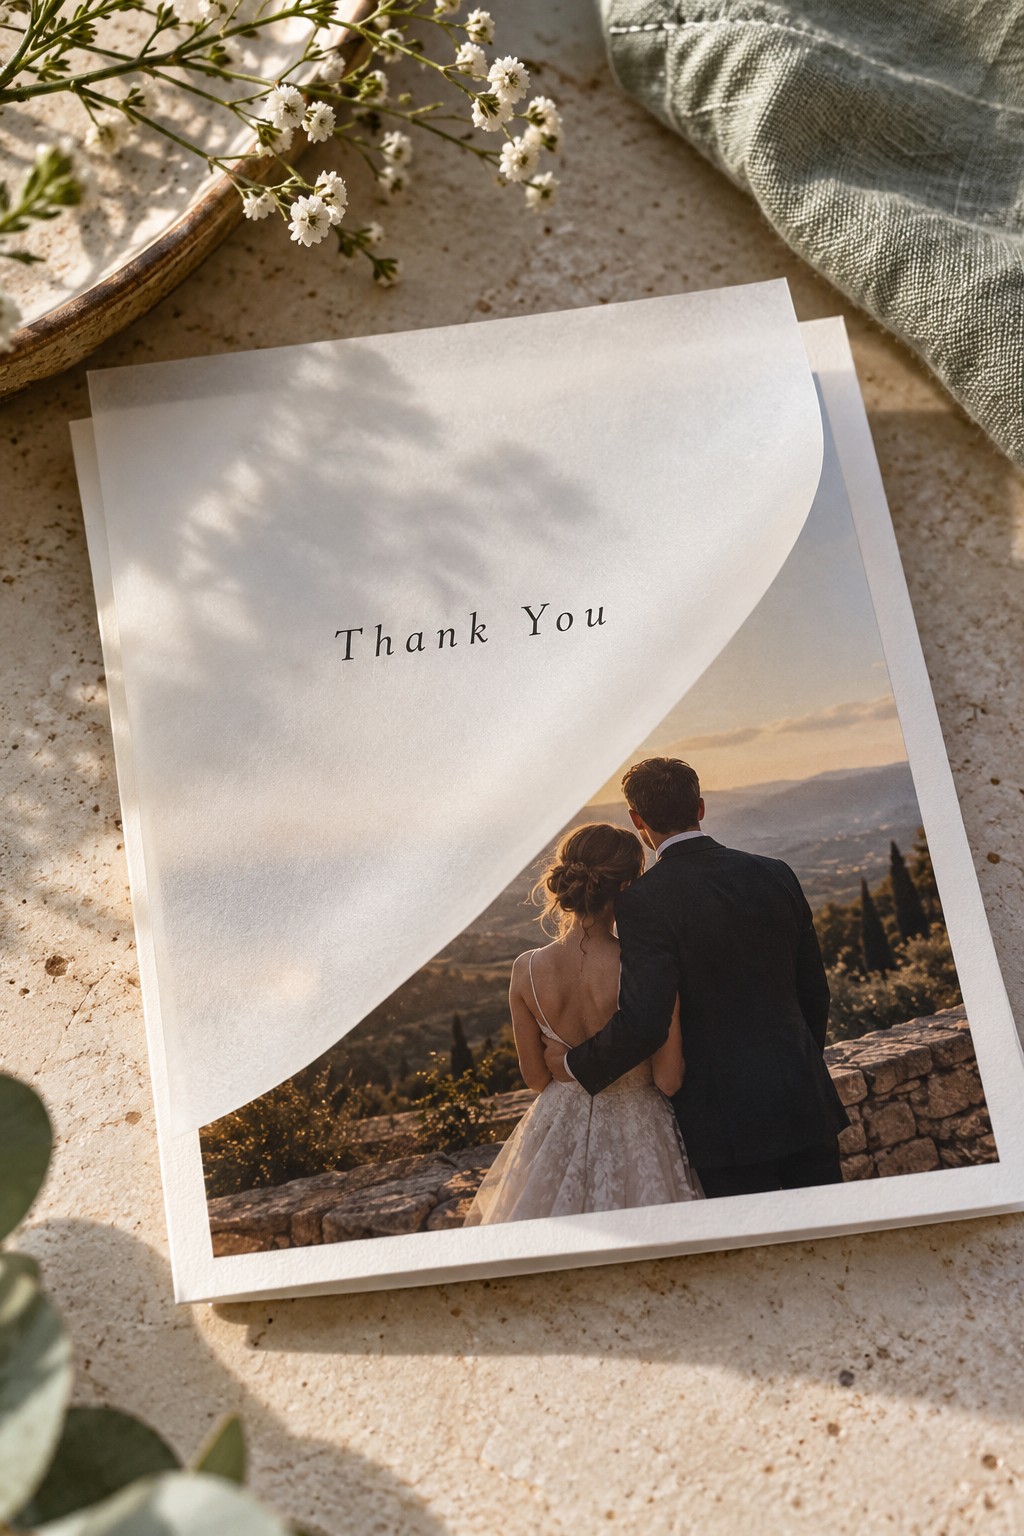
Layer a frosted vellum sheet over a full wedding photograph and print the greeting on the translucent surface. Attach the overlay at one edge or corner so guests can lift it easily and the portrait remains the clear focal point.
Illustrated and Story-Driven Designs
A custom drawing can preserve the venue, bouquet, pet, cake, route, or visual symbols that made the wedding personal.
21. Watercolor Venue Portrait Card
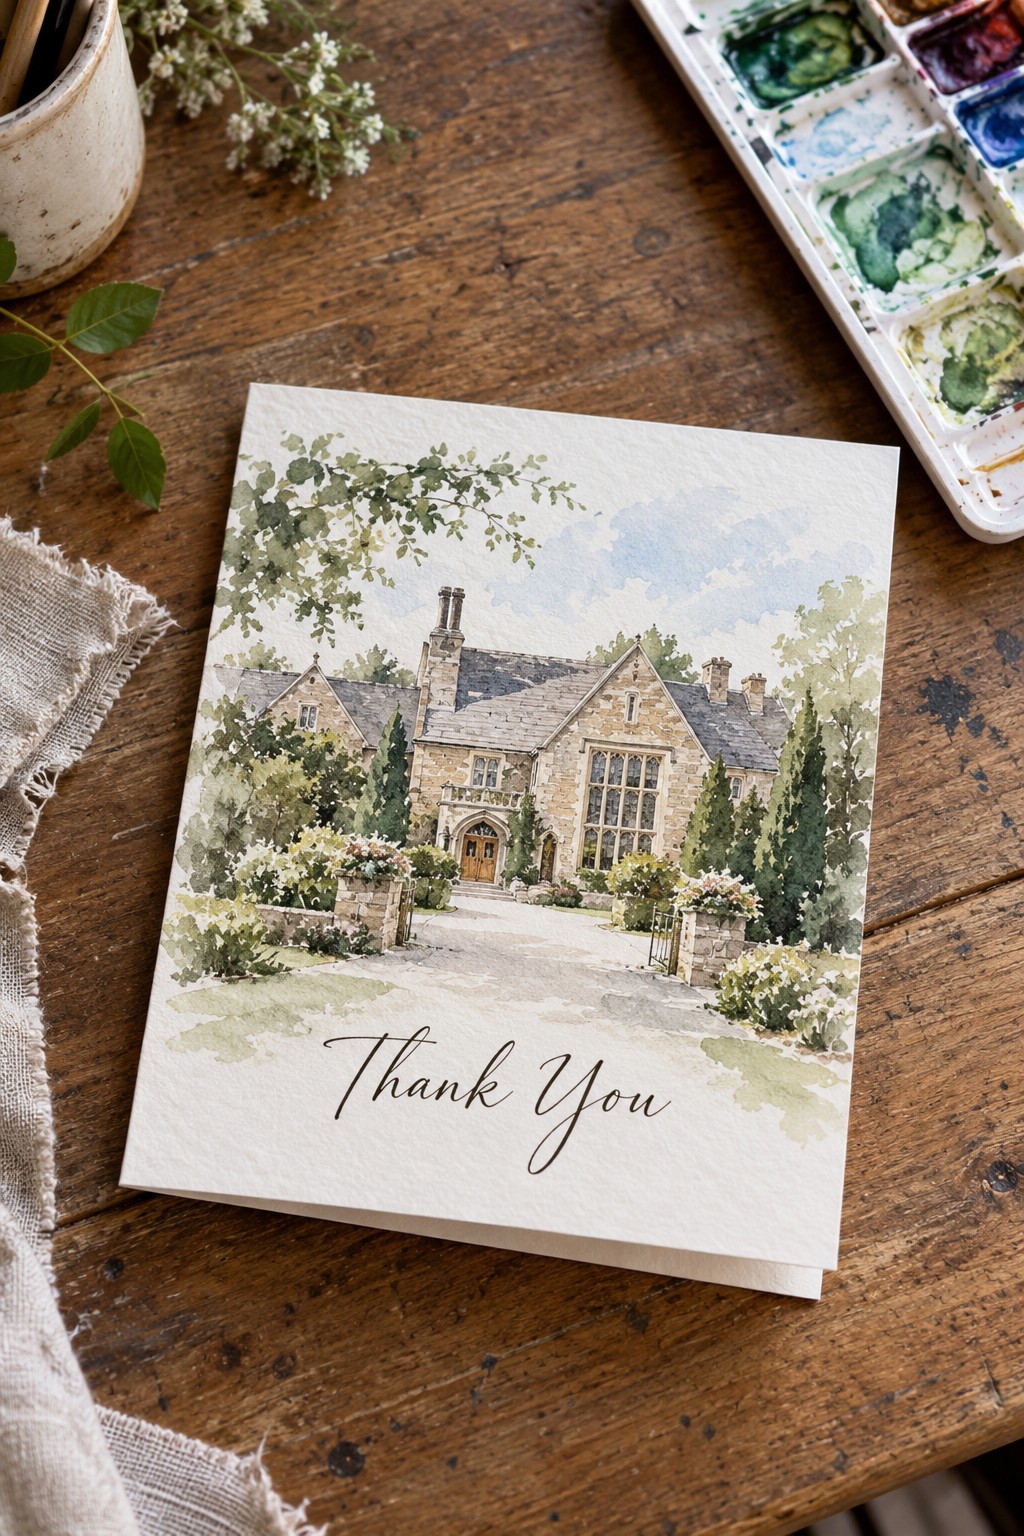
Commission or paint the front elevation of the ceremony venue, preserving recognizable windows, stonework, or landscape. The illustration turns the place into a keepsake and offers a meaningful alternative when the couple prefers not to feature their own photograph.
Print one proof on textured stock to confirm fine architectural lines remain visible. Soft brushwork can handle foliage and sky, but the venue silhouette should still read at card size.
22. Single-Line Couple Illustration
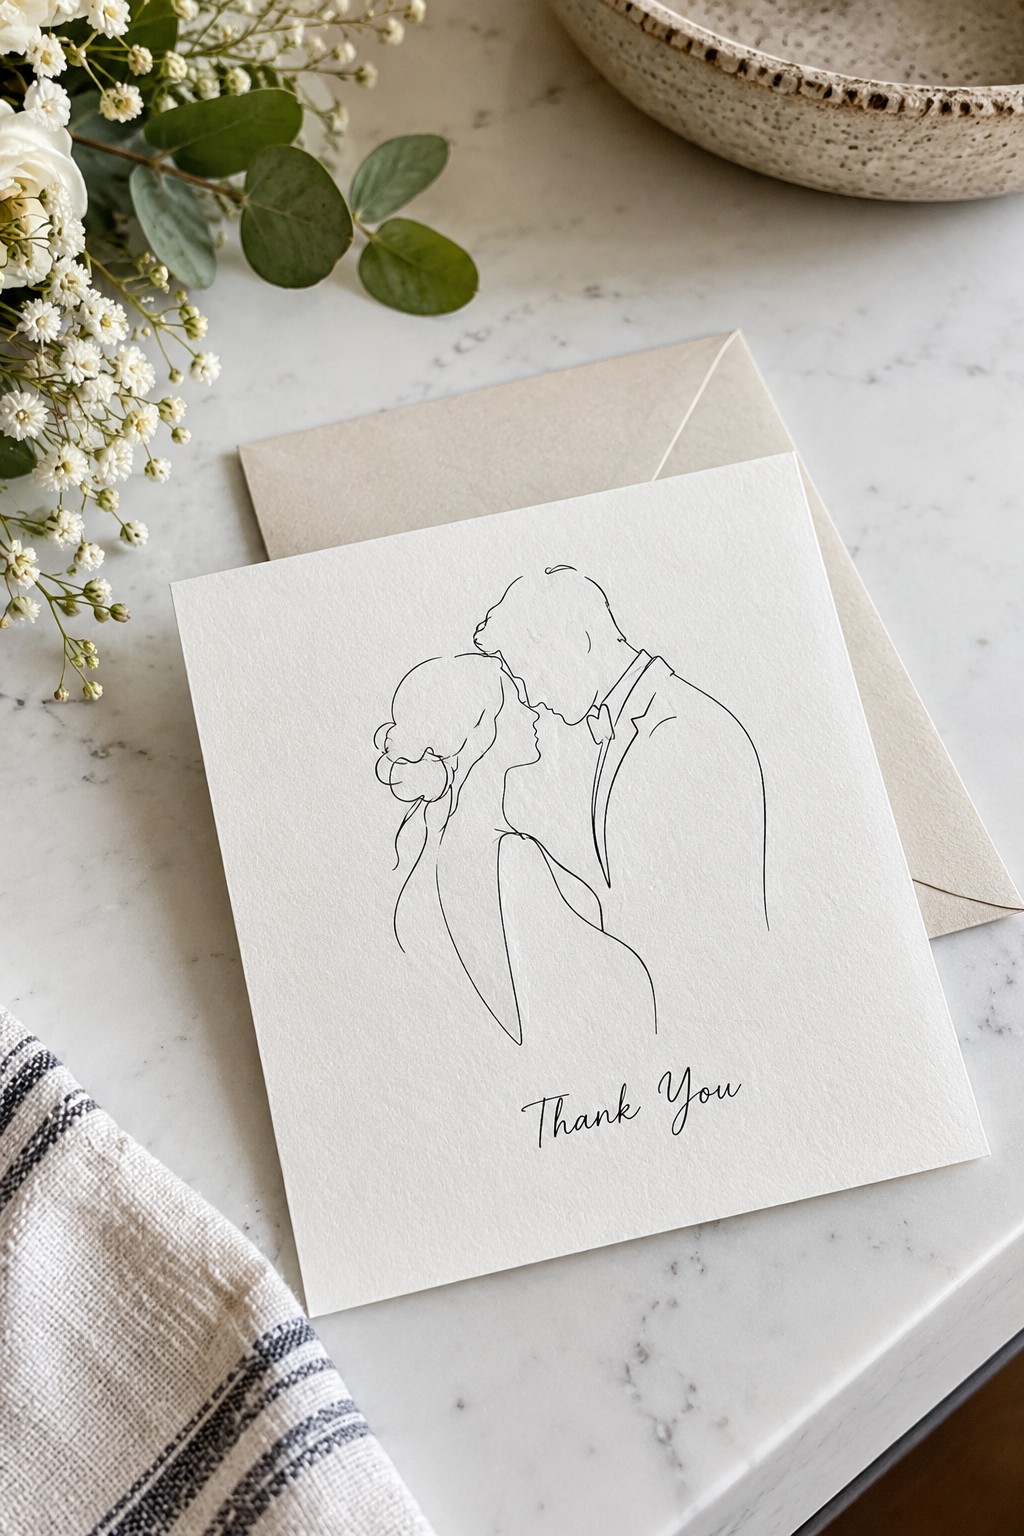
Reduce a favorite portrait to one continuous ink line and leave the rest of the card open. The drawing keeps the couple recognizable without becoming a second photo card, and the simple mark works equally well on flat or folded stationery.
23. Pet Cameo Thank You
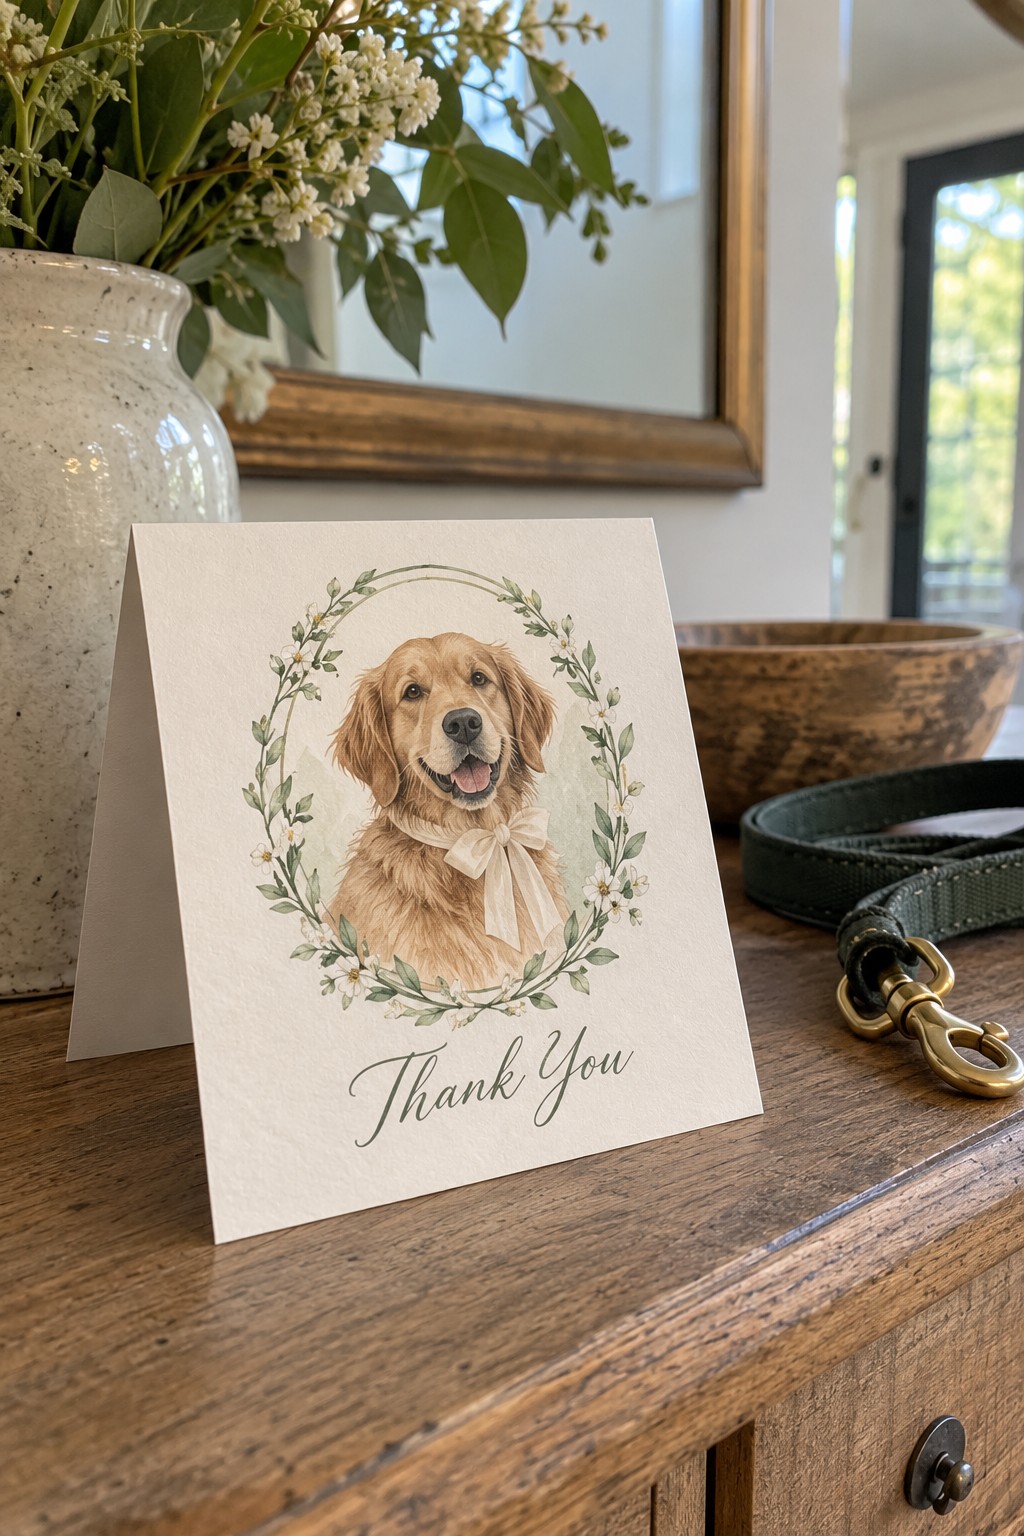
Feature a painted cameo of the pet who attended, appeared in portraits, or simply belongs to the couple’s story. A small ribbon or floral collar signals the wedding connection while the surrounding layout stays clean enough for the artwork to feel intentional.
24. Storybook Wedding Crest Card
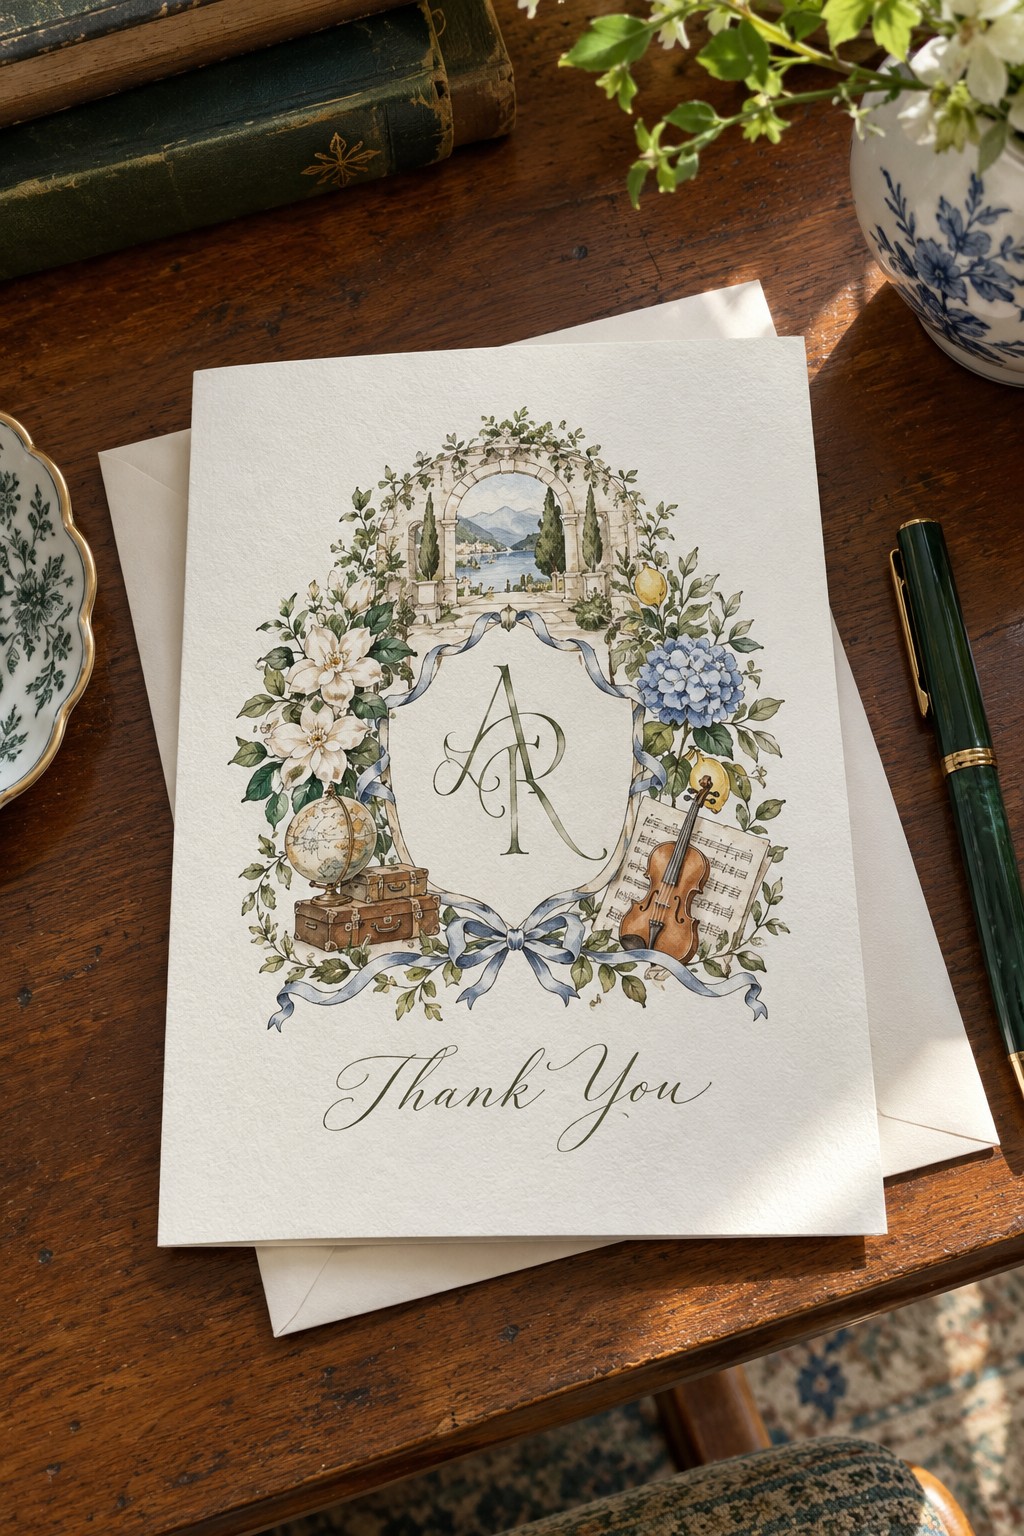
Build a crest from initials, the venue arch, local flowers, and two or three shared symbols such as music, travel, or a pet. Repeating the crest from invitations gives the thank-you card continuity and turns the design into stationery the couple can reuse.
Ask the illustrator for a simplified one-color version as well as the detailed artwork. It will reproduce more cleanly on envelope flaps, stamps, and future correspondence.
25. Bouquet Botanical Border
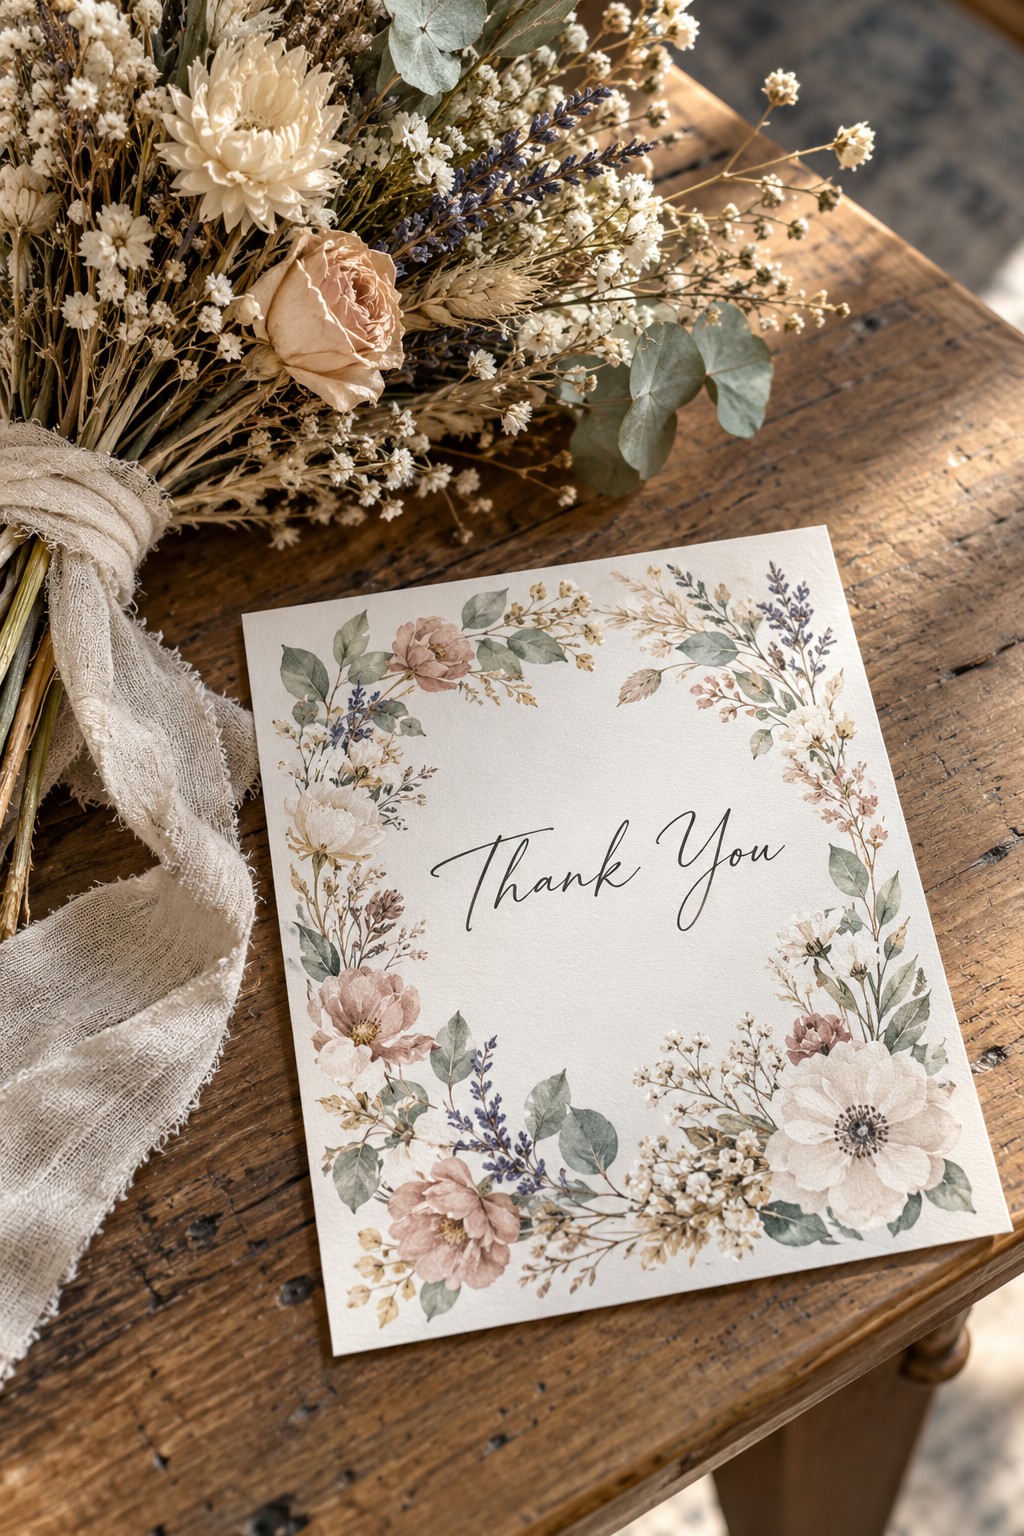
Paint the actual bouquet flowers around an irregular border and leave the center open for the greeting. Match recognizable shapes rather than exact colors; roses, grasses, orchids, or wildflowers can preserve the bouquet’s character without making the card look crowded.
26. Relationship Map Route Card
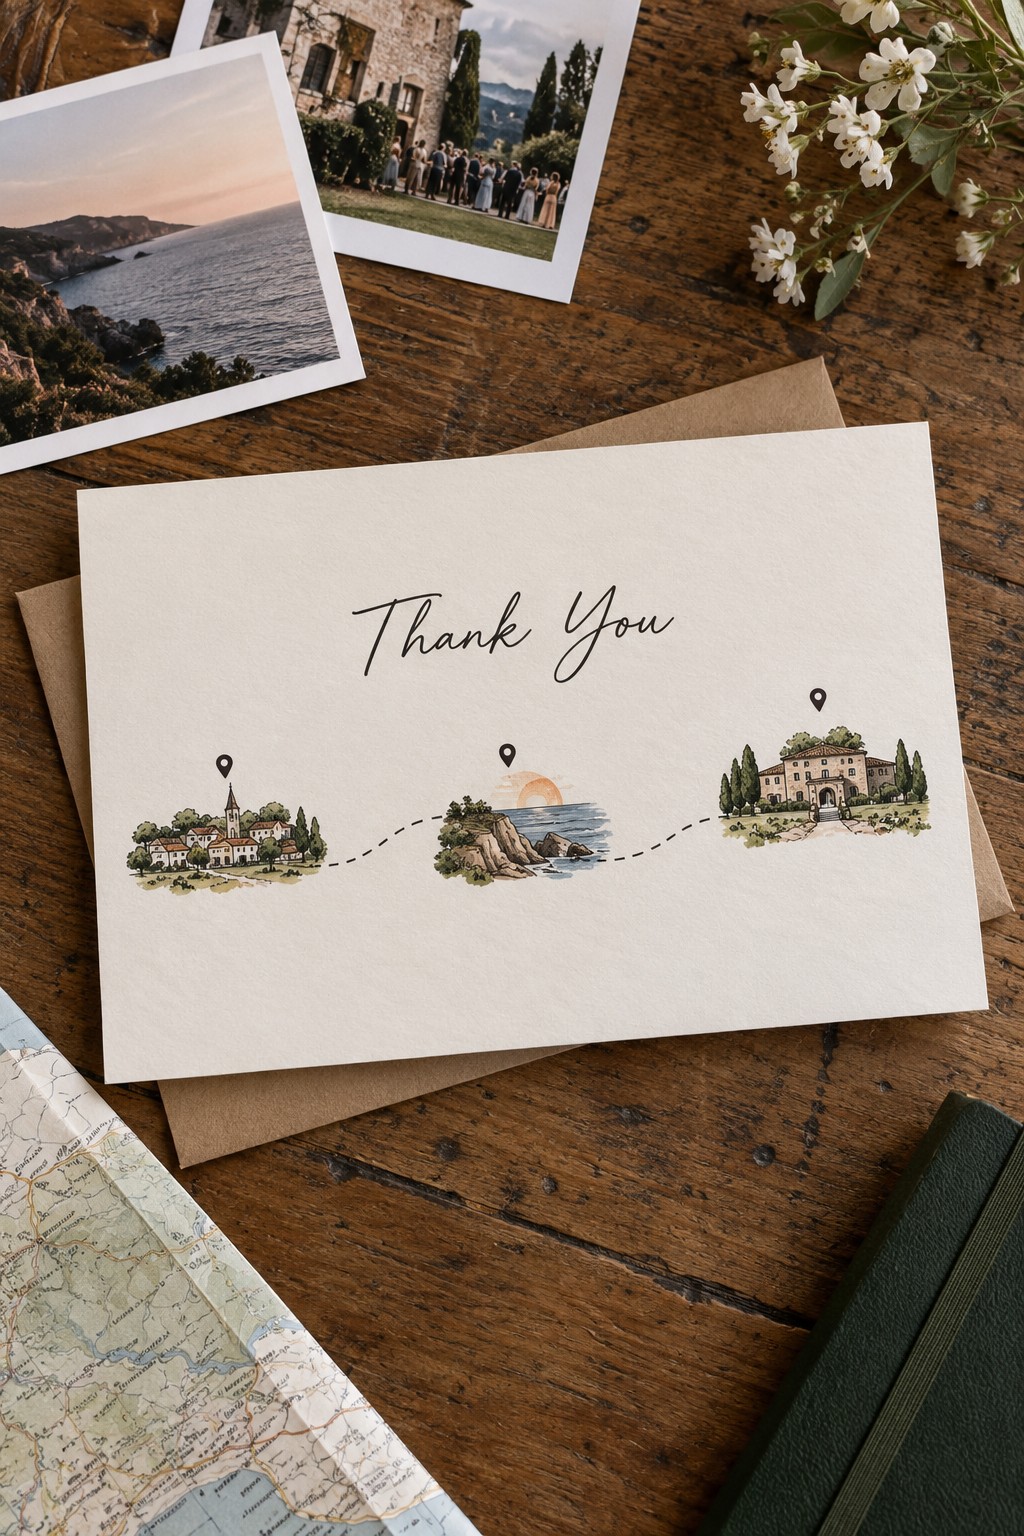
Connect three meaningful places with a simple dotted route: where the couple met, where they became engaged, and the wedding venue. Use small recognizable icons instead of dense labels, then reserve the reverse for the guest-specific message.
27. Wedding Cake Sketch Note
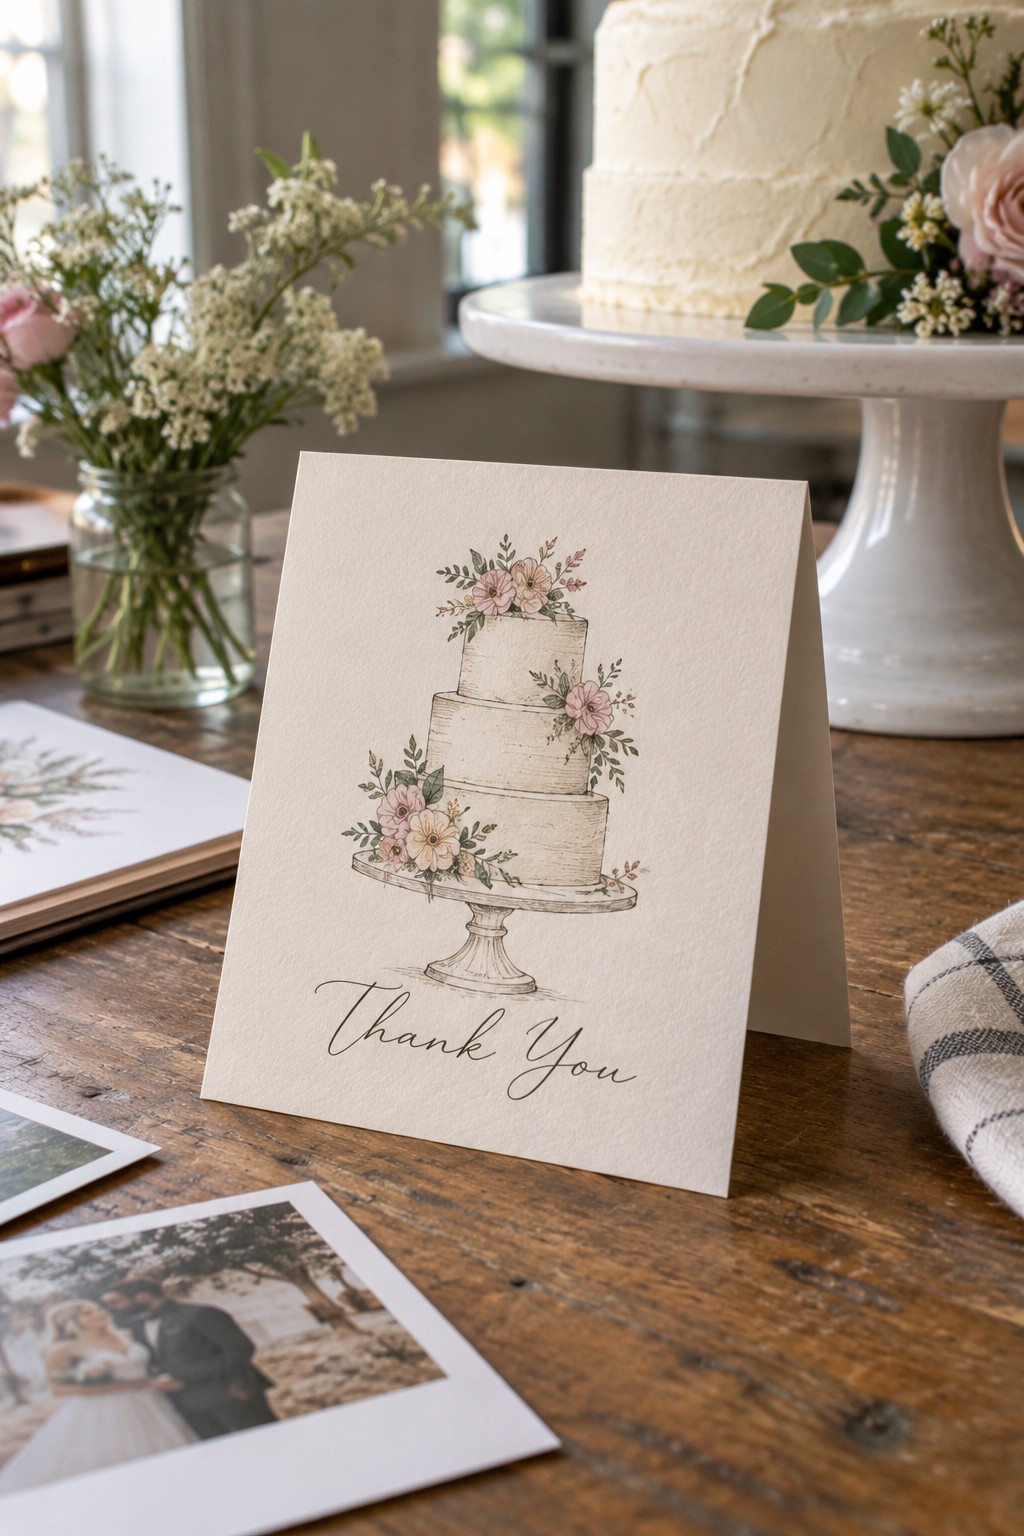
Turn the wedding cake into a fine line drawing, including its distinctive tiers, florals, or topper. This gives couples a playful keepsake of a detail guests remember, while the folded interior remains spacious enough for handwriting.
28. Matchbook-Inspired Graphic Card
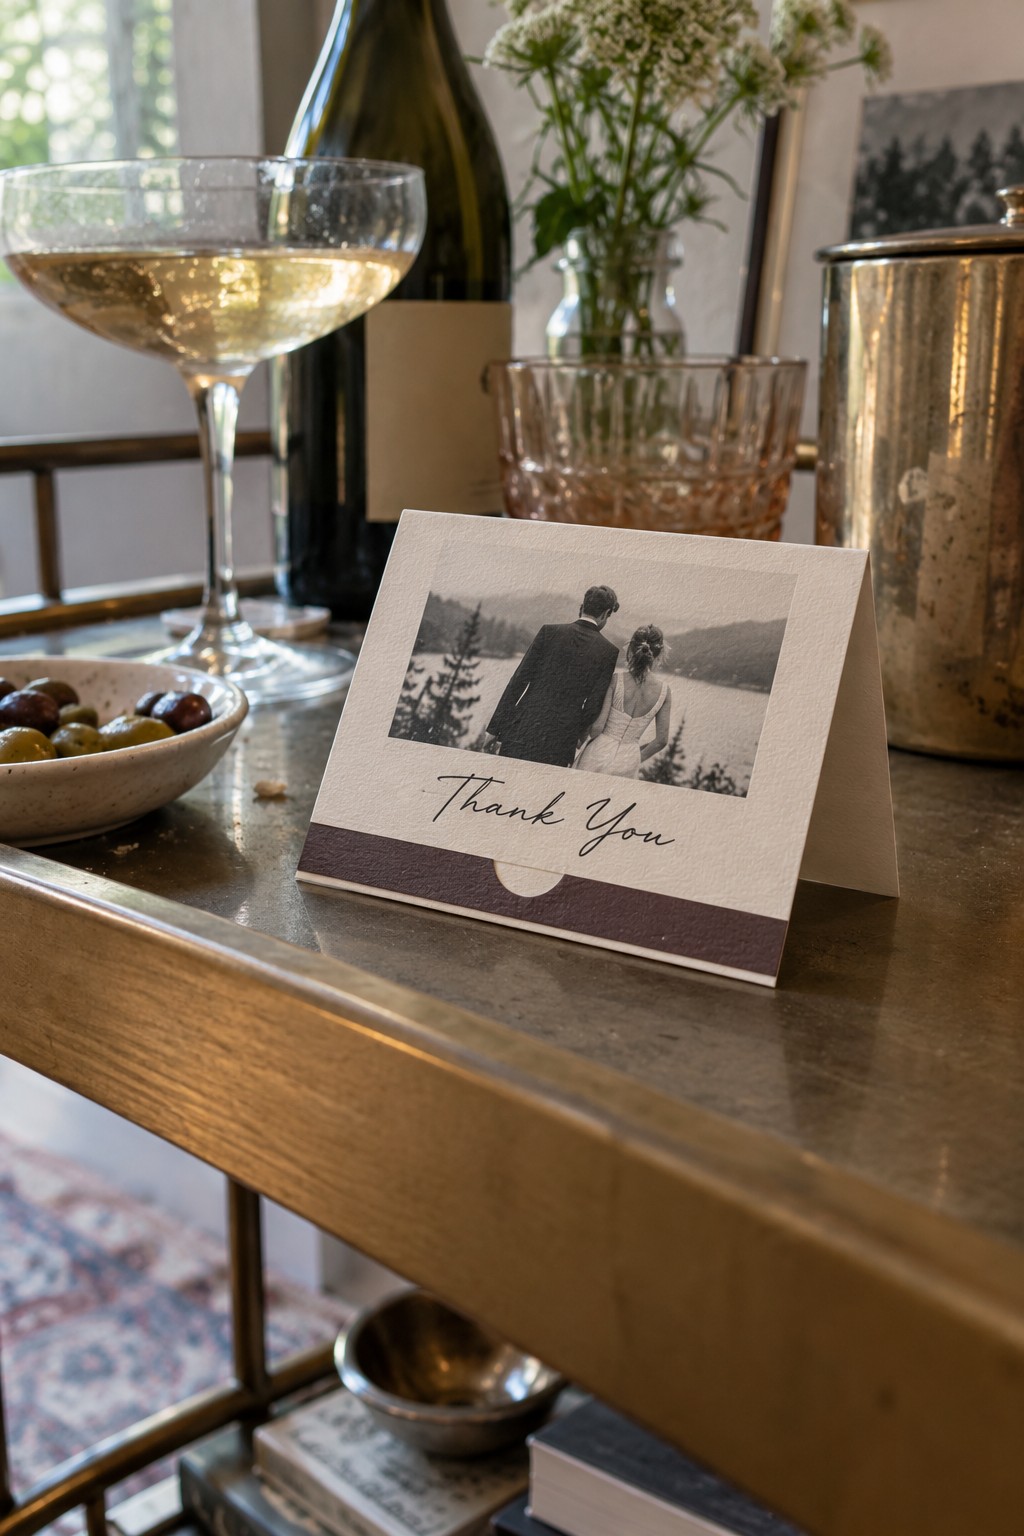
Use compact matchbook proportions, a tucked lower flap, and a graphic band inspired by a strike strip. Keep the piece safely paper-only, and treat the unusual fold as the main feature instead of adding more decorative layers.
29. Vintage Postage Collage Card
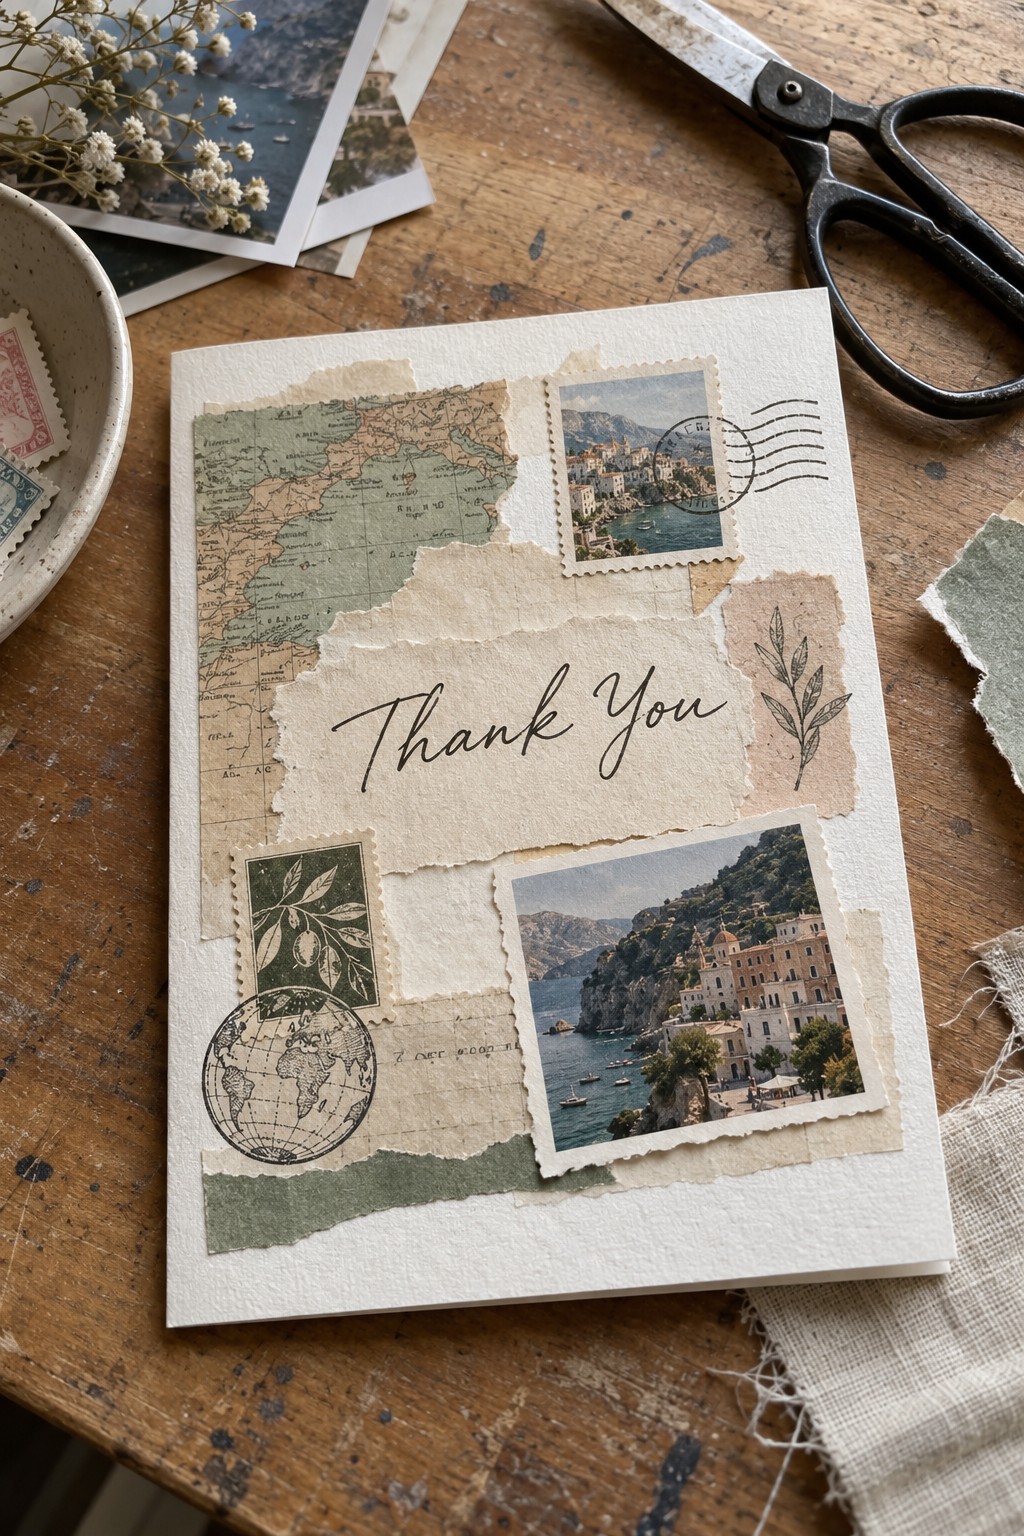
Layer map fragments, faux postage shapes, one tiny travel photograph, and a few cancellation marks into a tactile collage. Limit the materials to one story, such as a destination wedding or honeymoon route, so the card feels curated rather than scrapbook-busy.
30. Guest Portrait Mini-Print
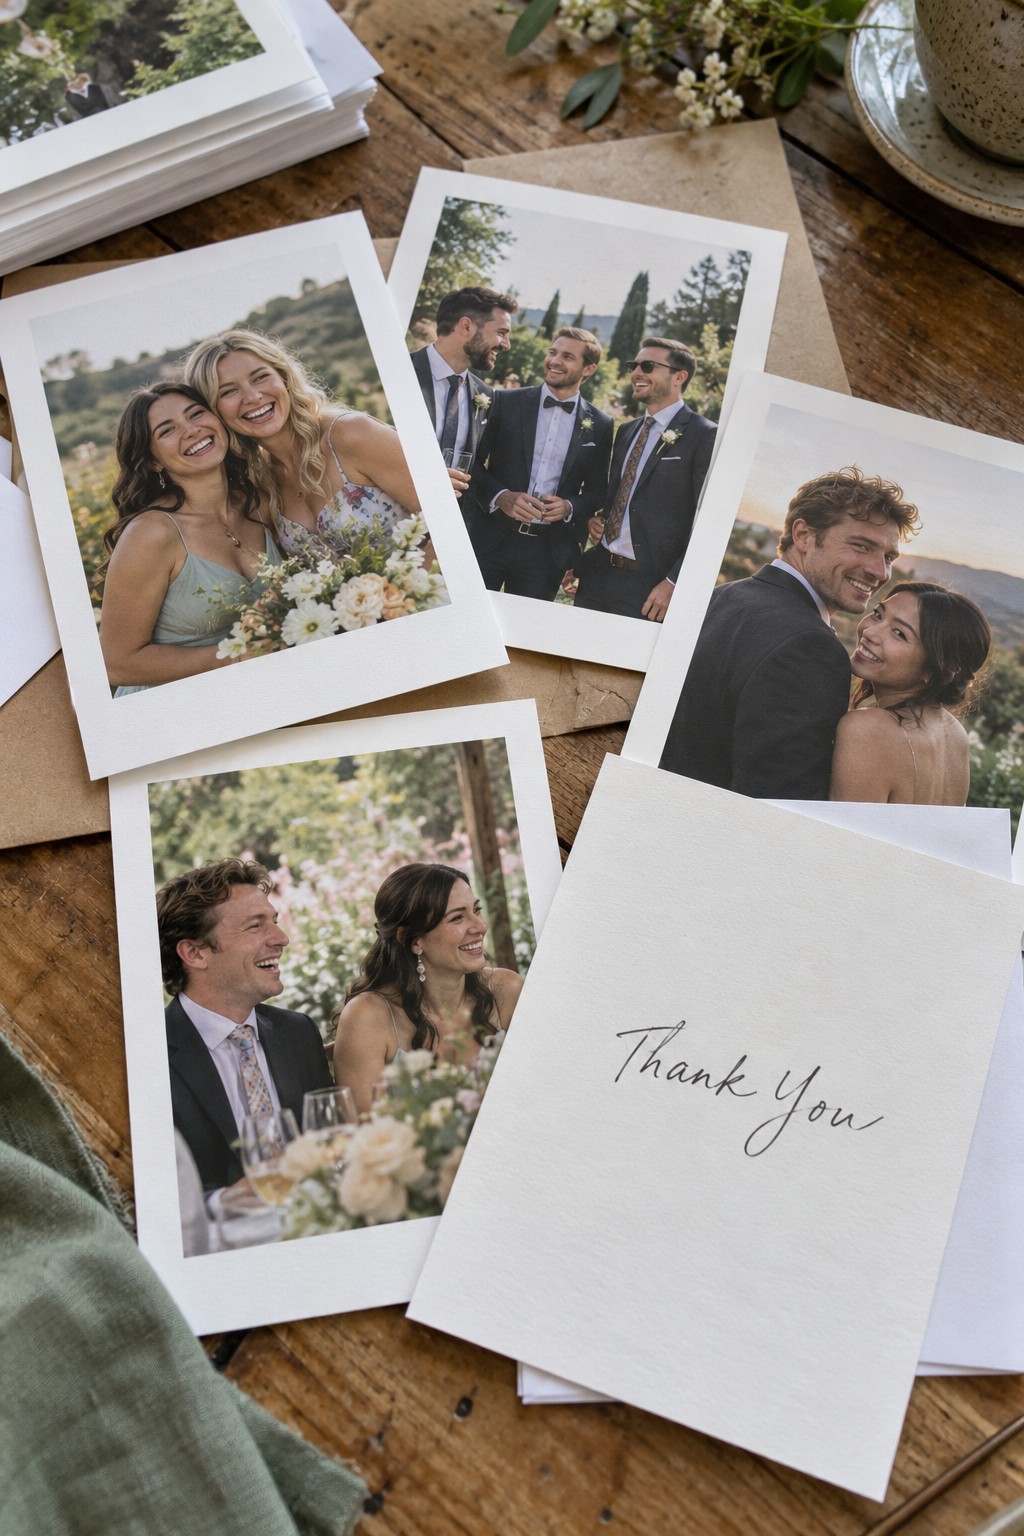
Print a different candid guest portrait for each household and handwrite the note on the back. This takes more sorting, but the recipient receives a photograph they may never have seen and the design becomes genuinely personal rather than merely customized with a name.
Specialty Formats and Envelope Presentation
Paper mechanics and presentation details create useful keepsakes when the construction remains easy to open, write, and mail.
31. Plantable Seed-Paper Thank You
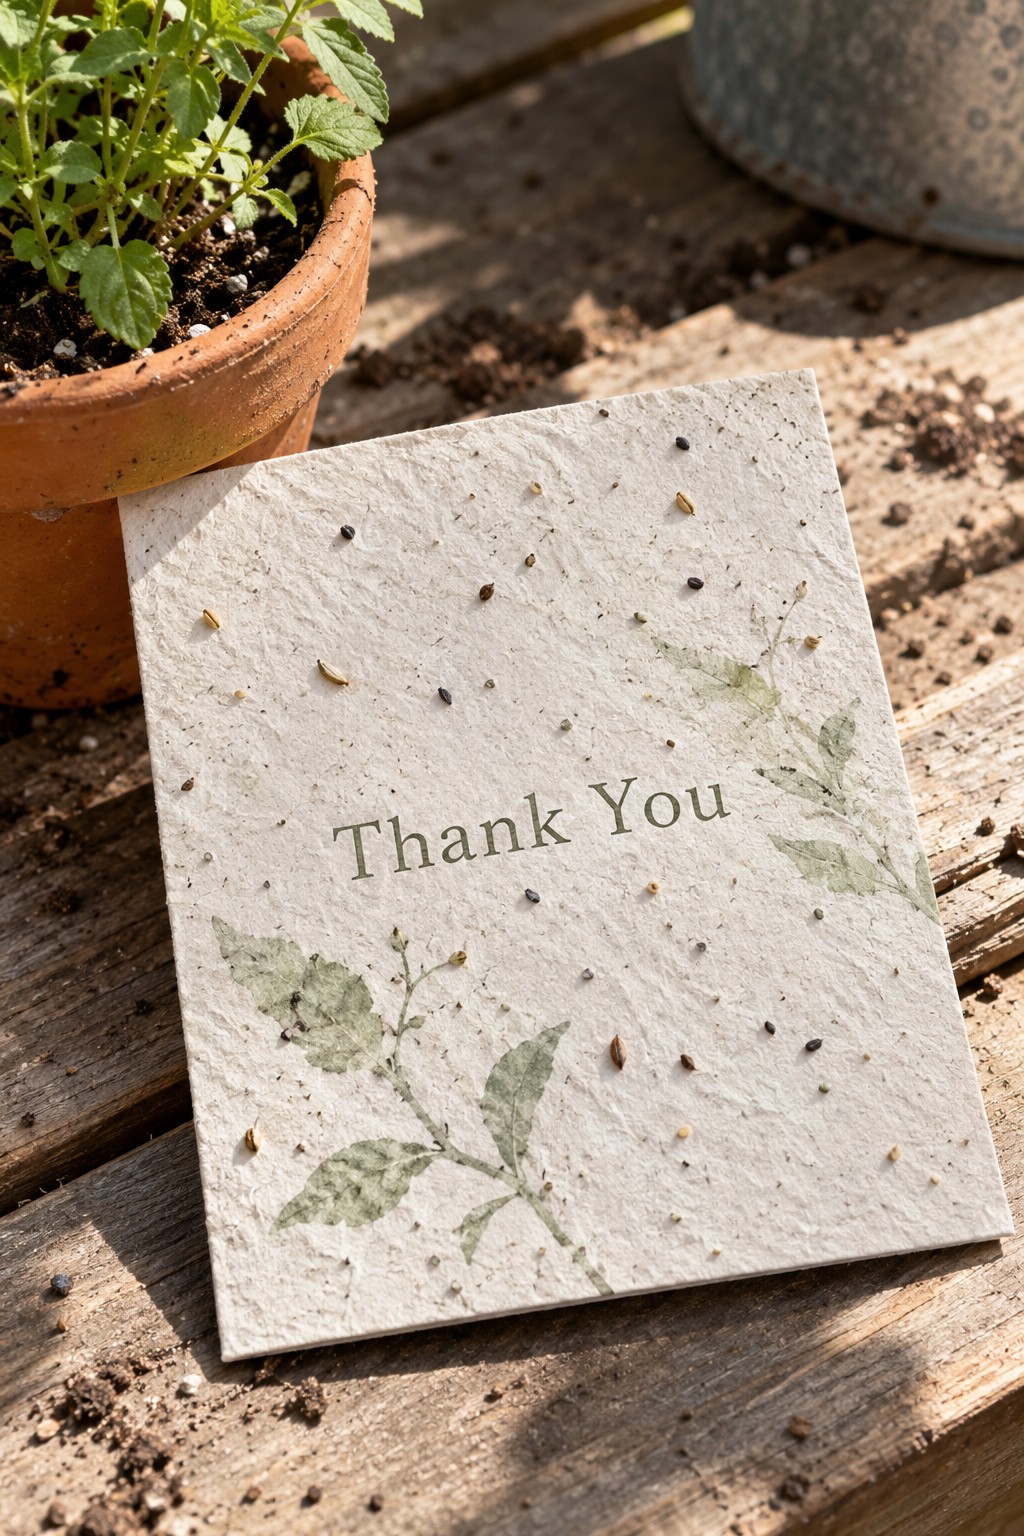
Print a restrained design on plantable paper with visible fibers and seeds, then include simple planting directions separately if needed. Choose a card size that fits the intended pot and verify the paper’s mailing weight before ordering envelopes.
Use this format only when the paper source clearly identifies its seed mix and planting region. The sustainability story should be real, not a decorative claim added to ordinary textured stock.
32. Pressed-Petal Handmade Card
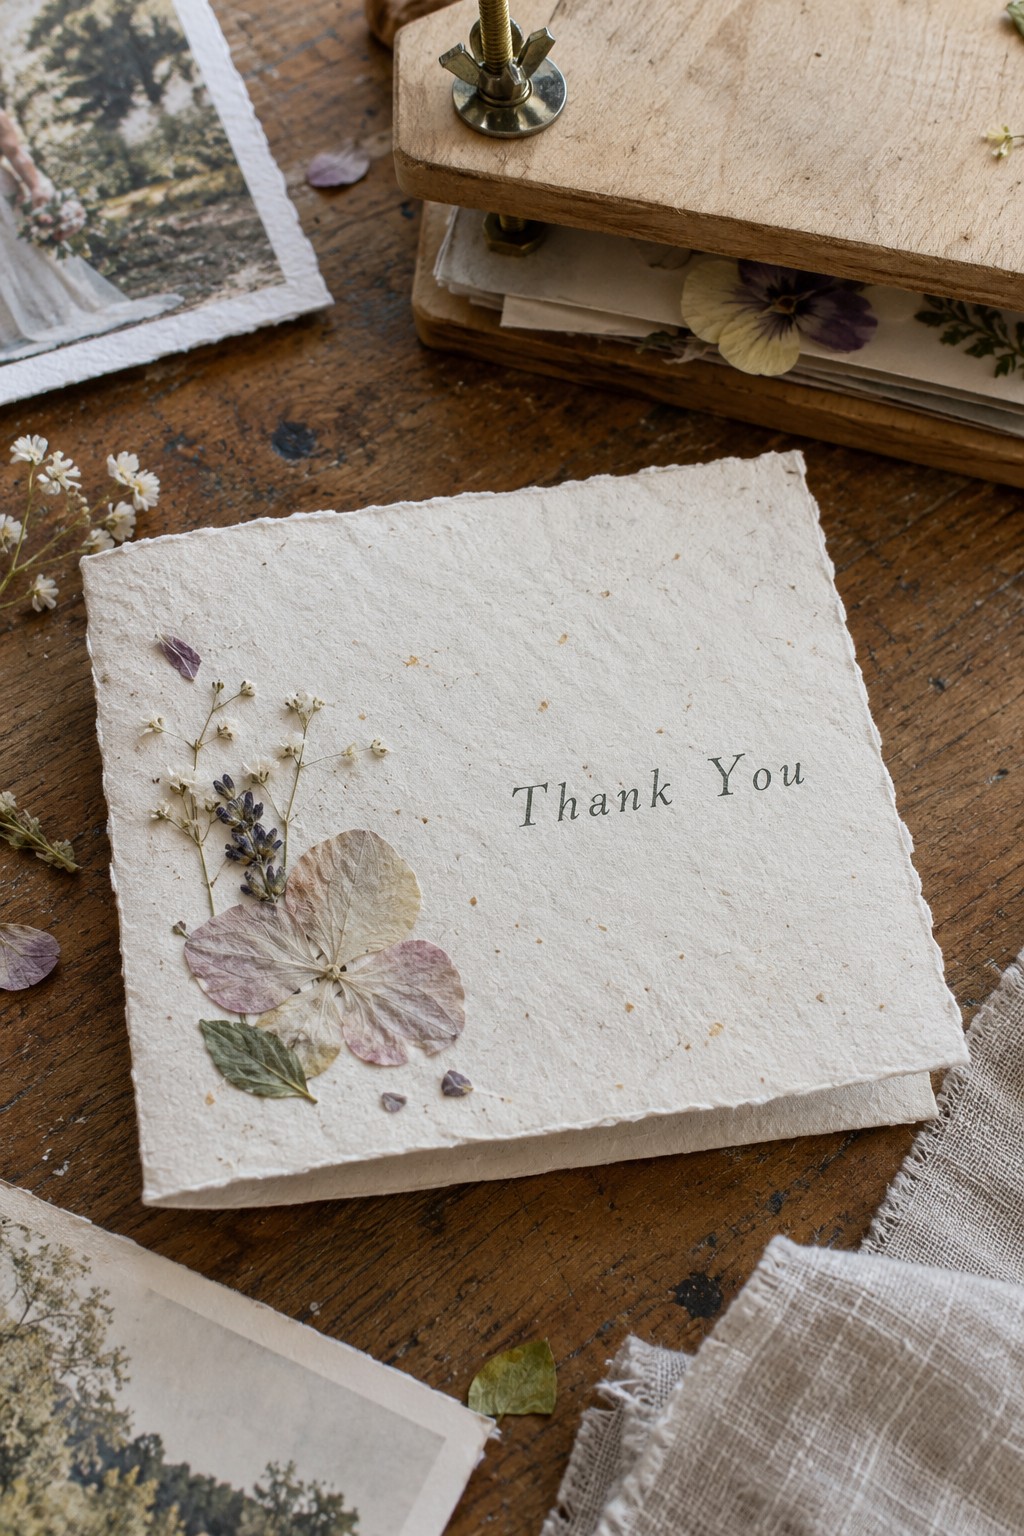
Embed a few flat petals into handmade paper near one corner, leaving most of the surface clear for writing. Slight differences between cards are part of the appeal, but thick stems and loose fragments should be removed so envelopes close smoothly.
33. Gallery-Link Photo Card
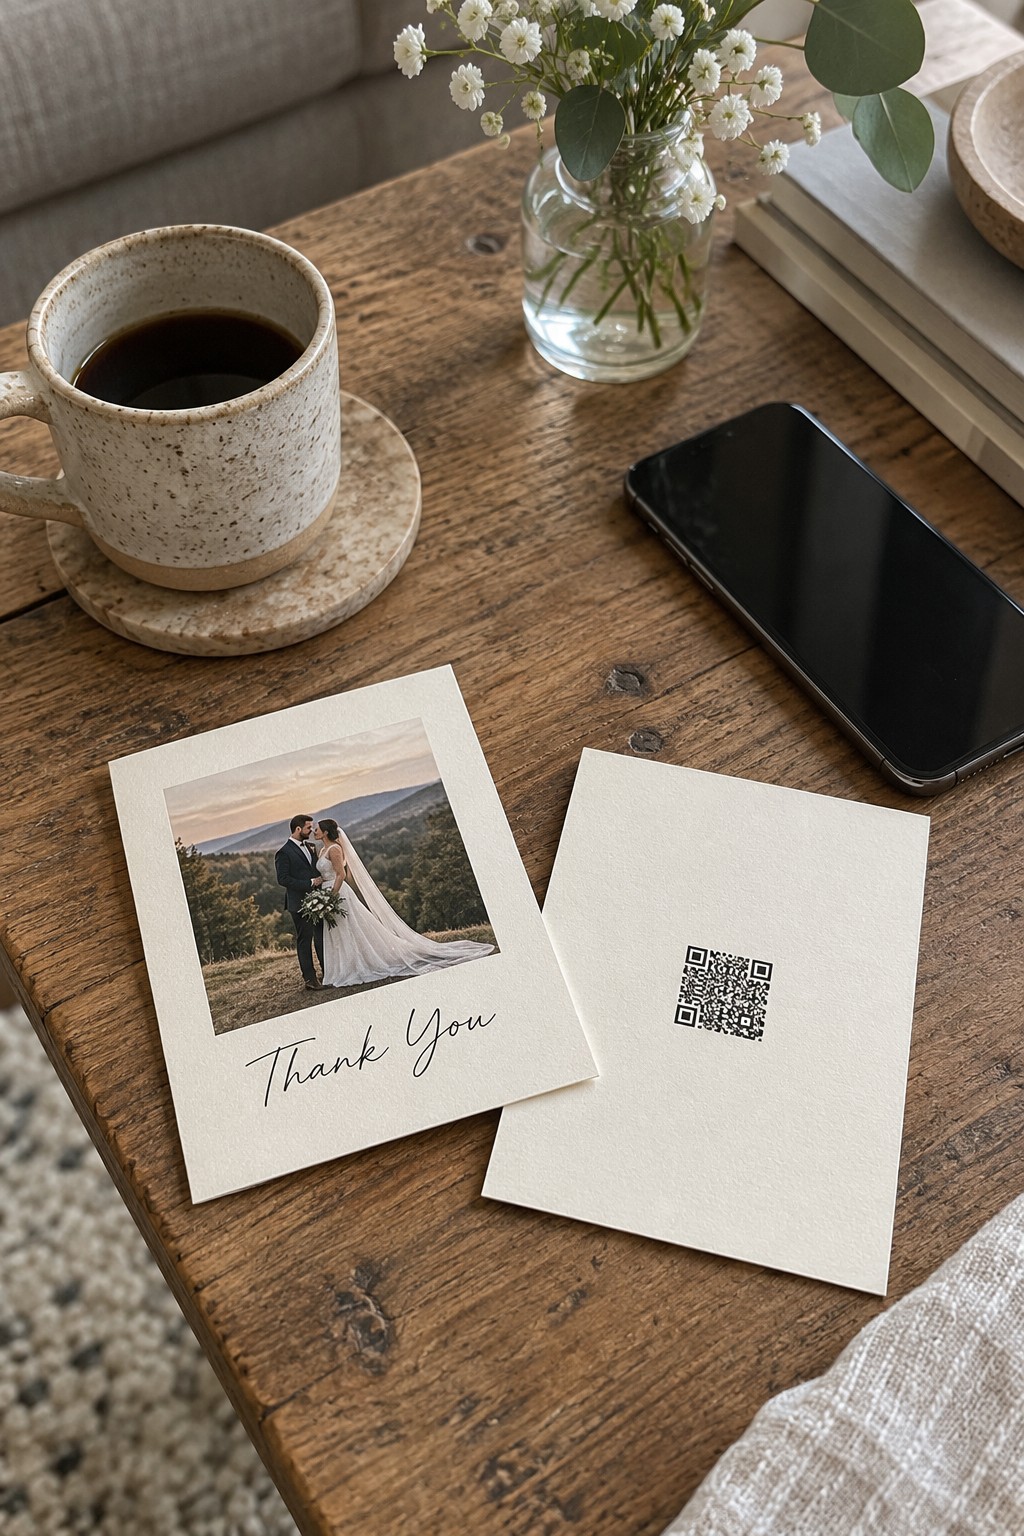
Pair one printed wedding photograph with a small scan code that opens the guest gallery. Keep the code isolated on the reverse, test it from a printed proof, and add a plain-text web address nearby in case a recipient prefers typing.
Set the gallery to a deliberate guest-facing collection before printing. Remove private preparation images and confirm the link will remain active long after the cards arrive.
34. Tear-Off Photo Bookmark Card
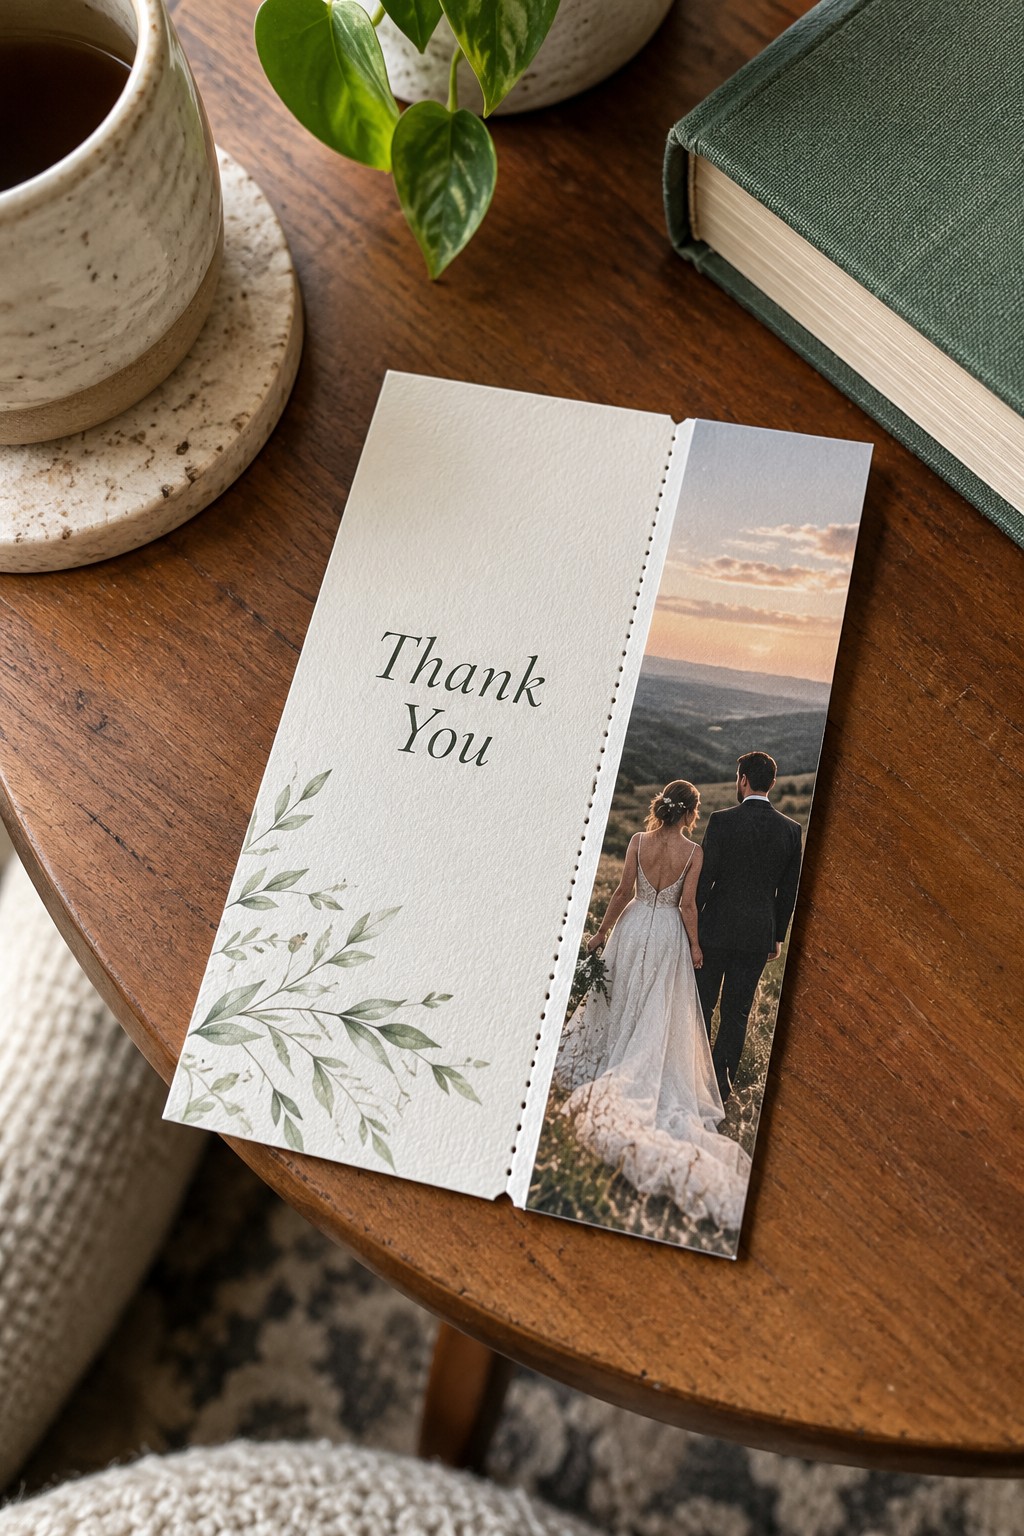
Attach a narrow wedding-photo bookmark to the main thank-you panel with one clean perforation. The guest can keep the image strip after reading the note, while the larger panel provides enough space for a proper handwritten message.
35. Mini Newspaper Wedding Recap
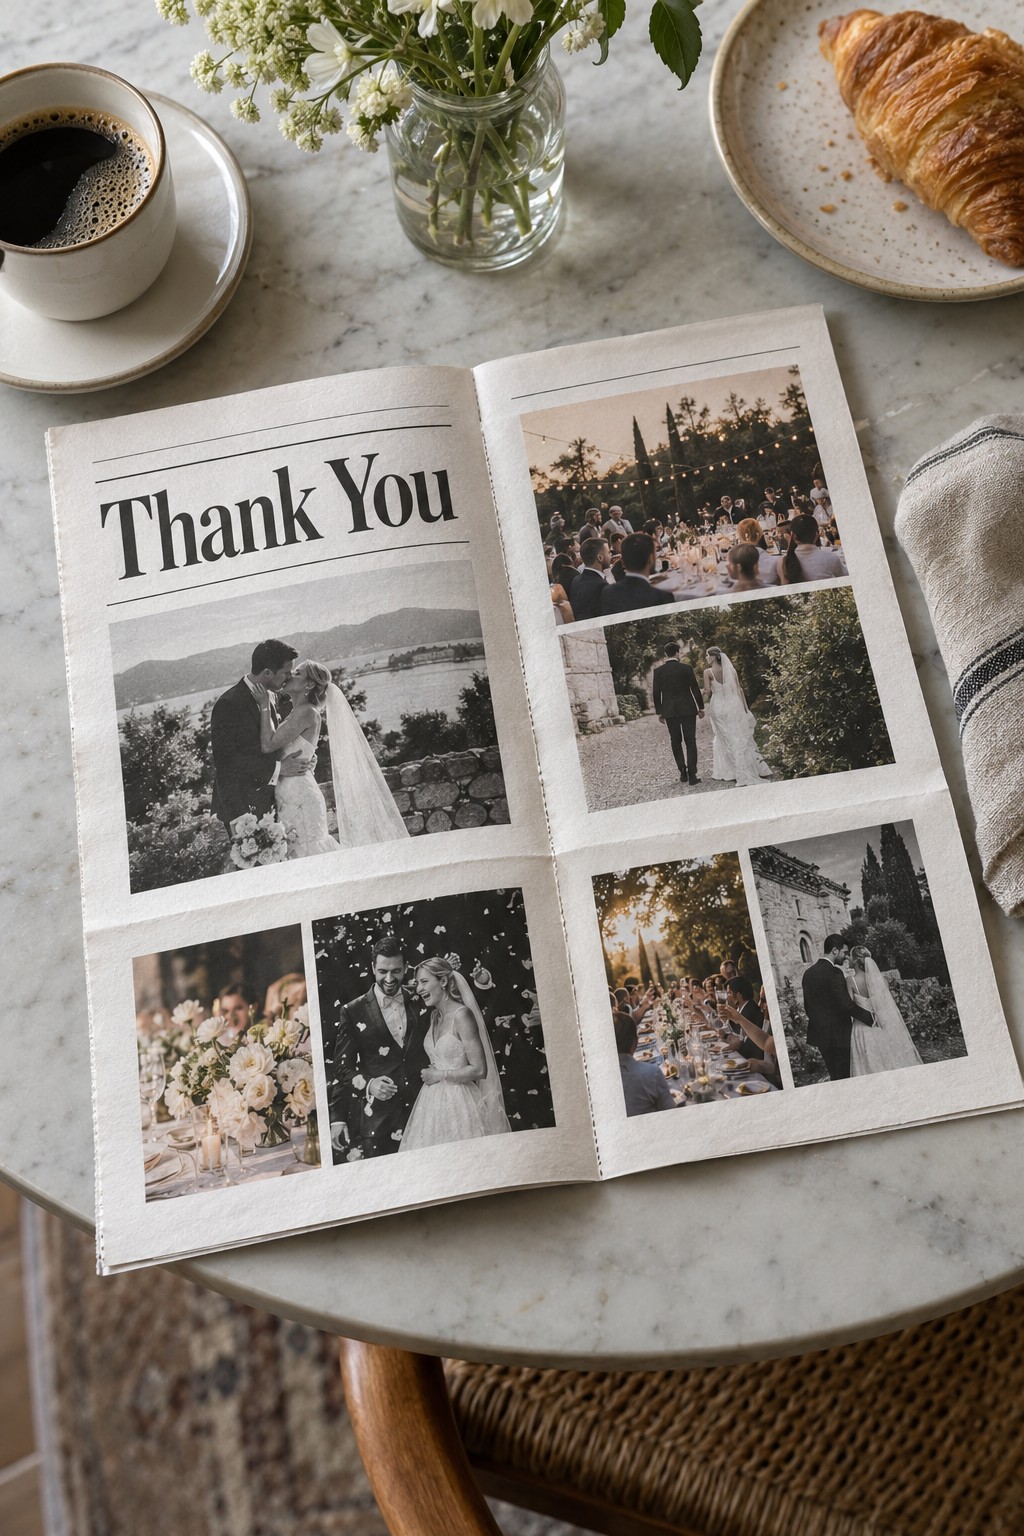
Fold a small newsprint-style booklet with a headline, two short recap columns, and a varied photo grid. Keep the article copy brief and use the back page for the handwritten note so the piece still feels like personal correspondence.
36. Polaroid-Style Photo Note
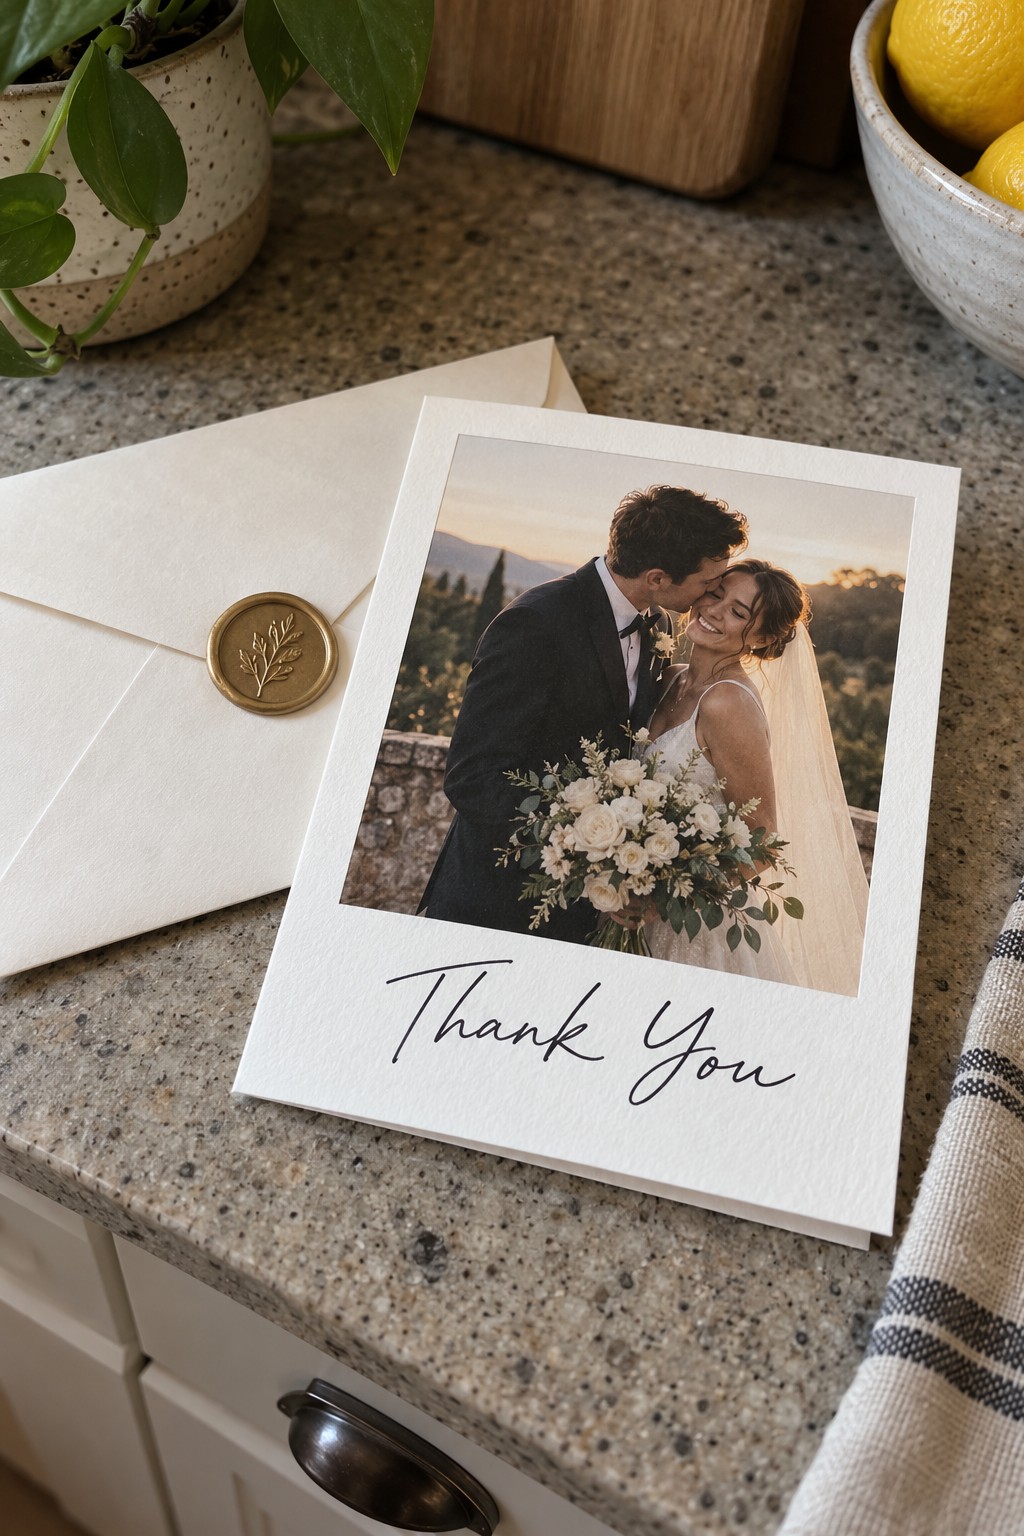
Frame one candid photograph with a thick white border and an extra-wide lower margin for handwriting. The familiar instant-photo shape feels relaxed and tactile, especially when paired with an uncoated envelope rather than a glossy coordinated suite.
37. Ribbon-Tied Photo Folio
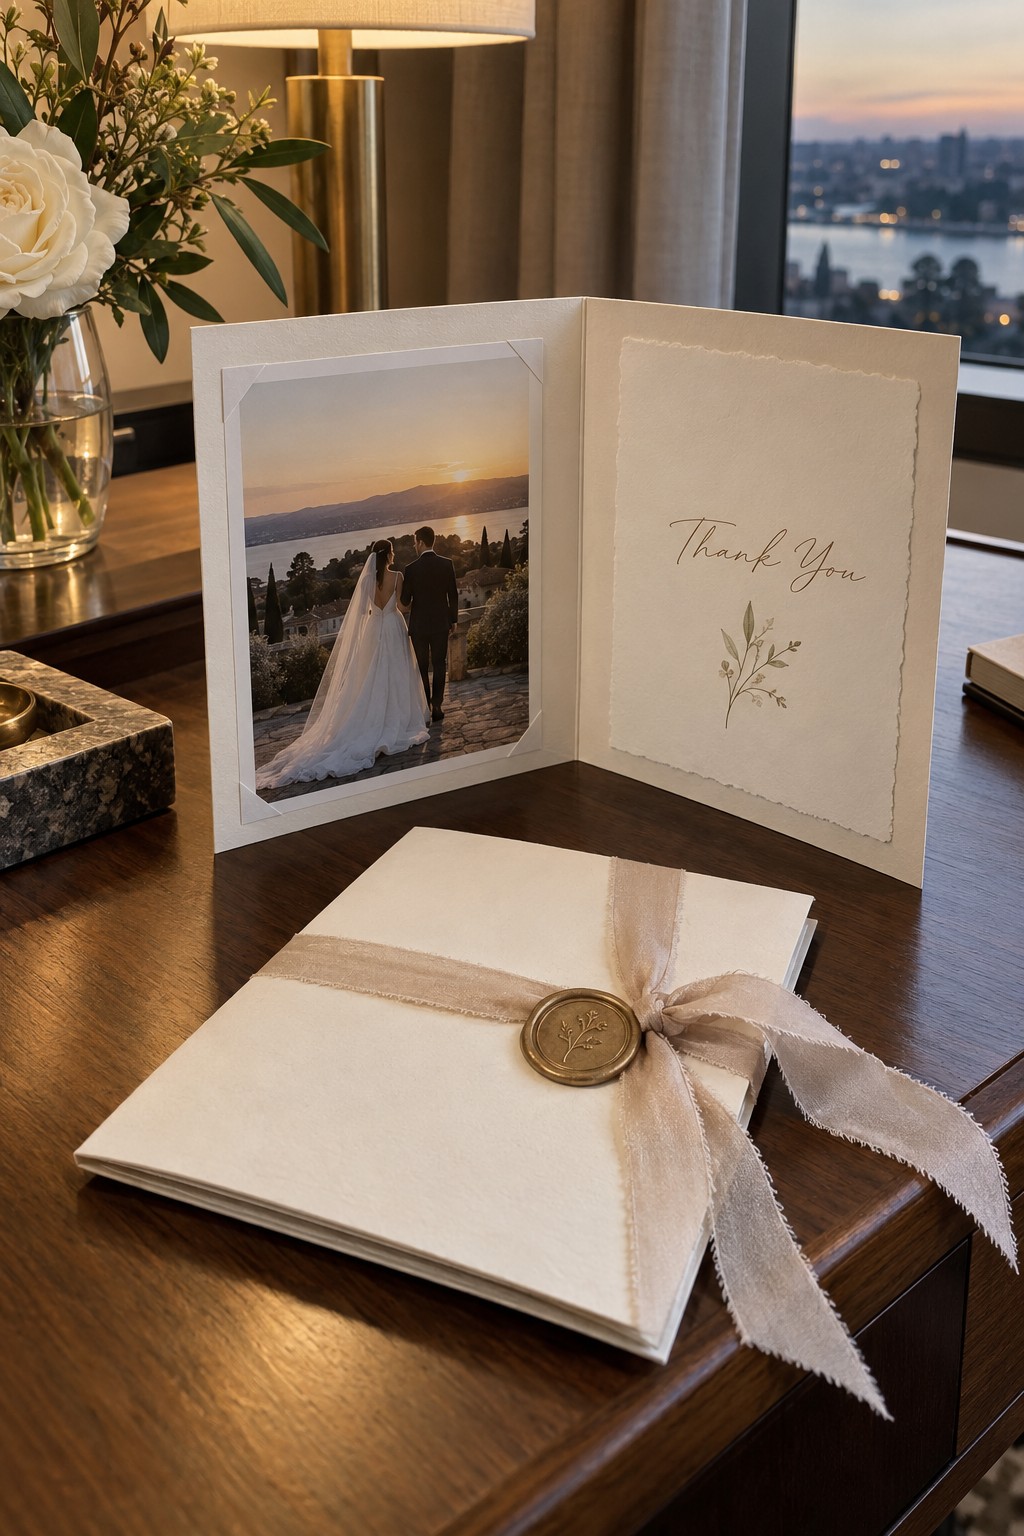
Mount one print inside a two-panel folio and place the written message opposite it. A narrow ribbon closes the piece for presentation, but it should untie easily and stay thin enough that the finished folio fits its envelope without forcing the flap.
38. Wax-Sealed Folded Note
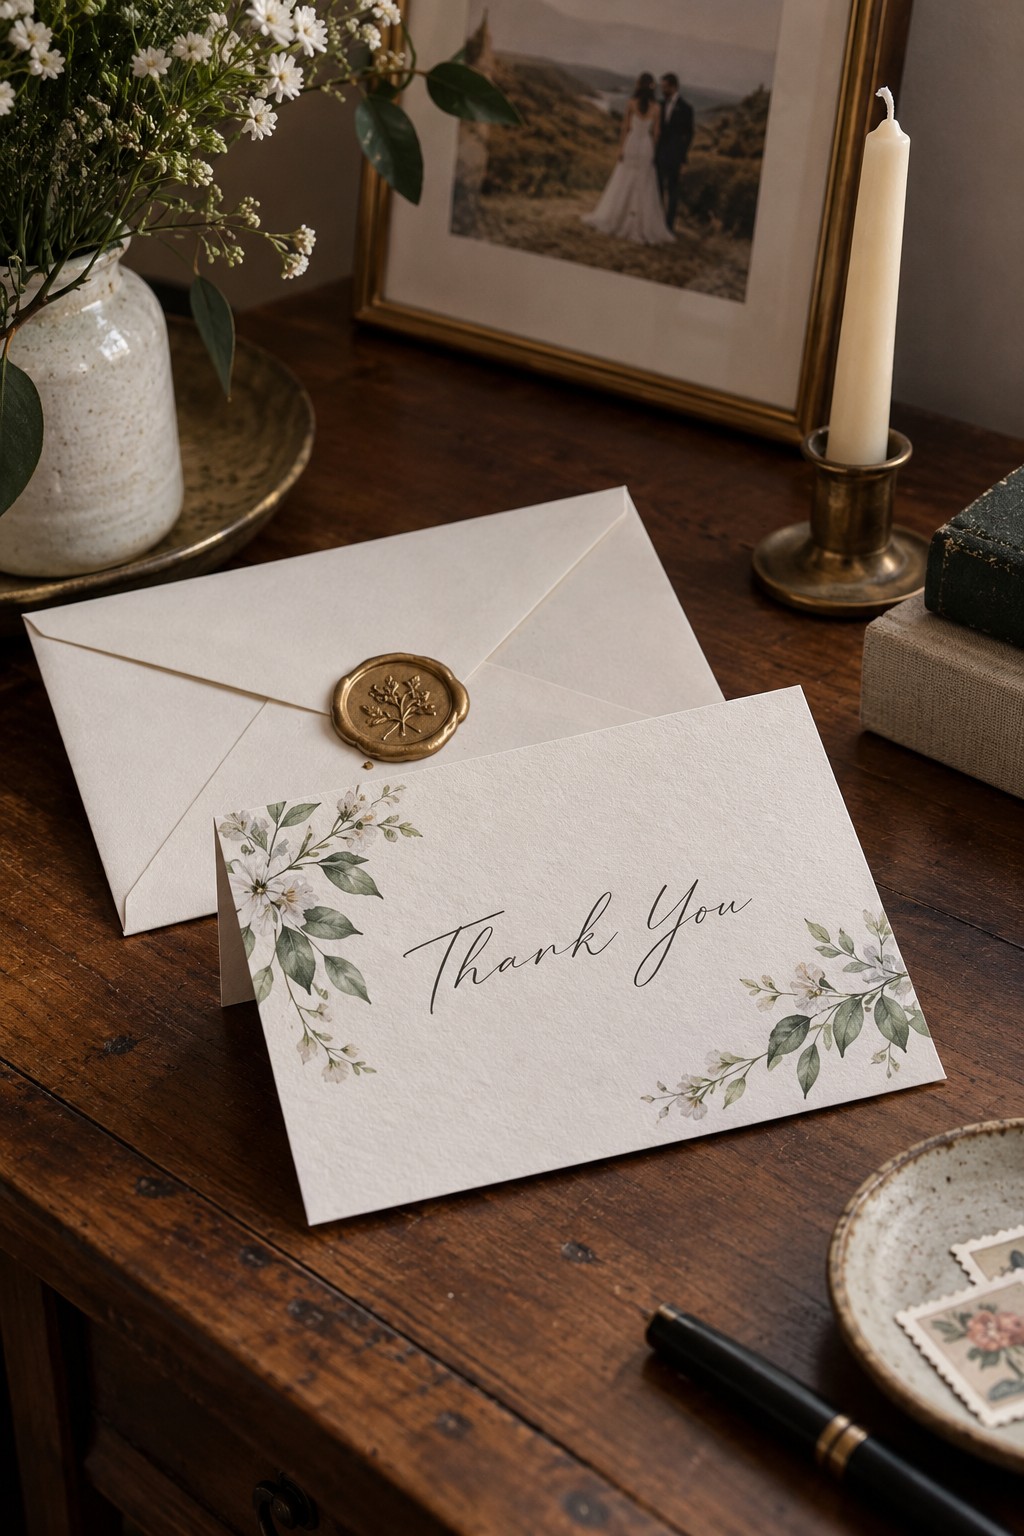
Close the envelope with a small botanical wax seal that is intentionally a little irregular. Use a flexible mailing wax and confirm postal handling requirements; for fragile seals, place the finished envelope inside a plain protective outer envelope.
Make the seals on a silicone mat first, then attach the best ones with adhesive dots. This keeps hot wax away from finished envelopes and makes thickness easier to control.
39. Invitation-Motif Envelope Liner
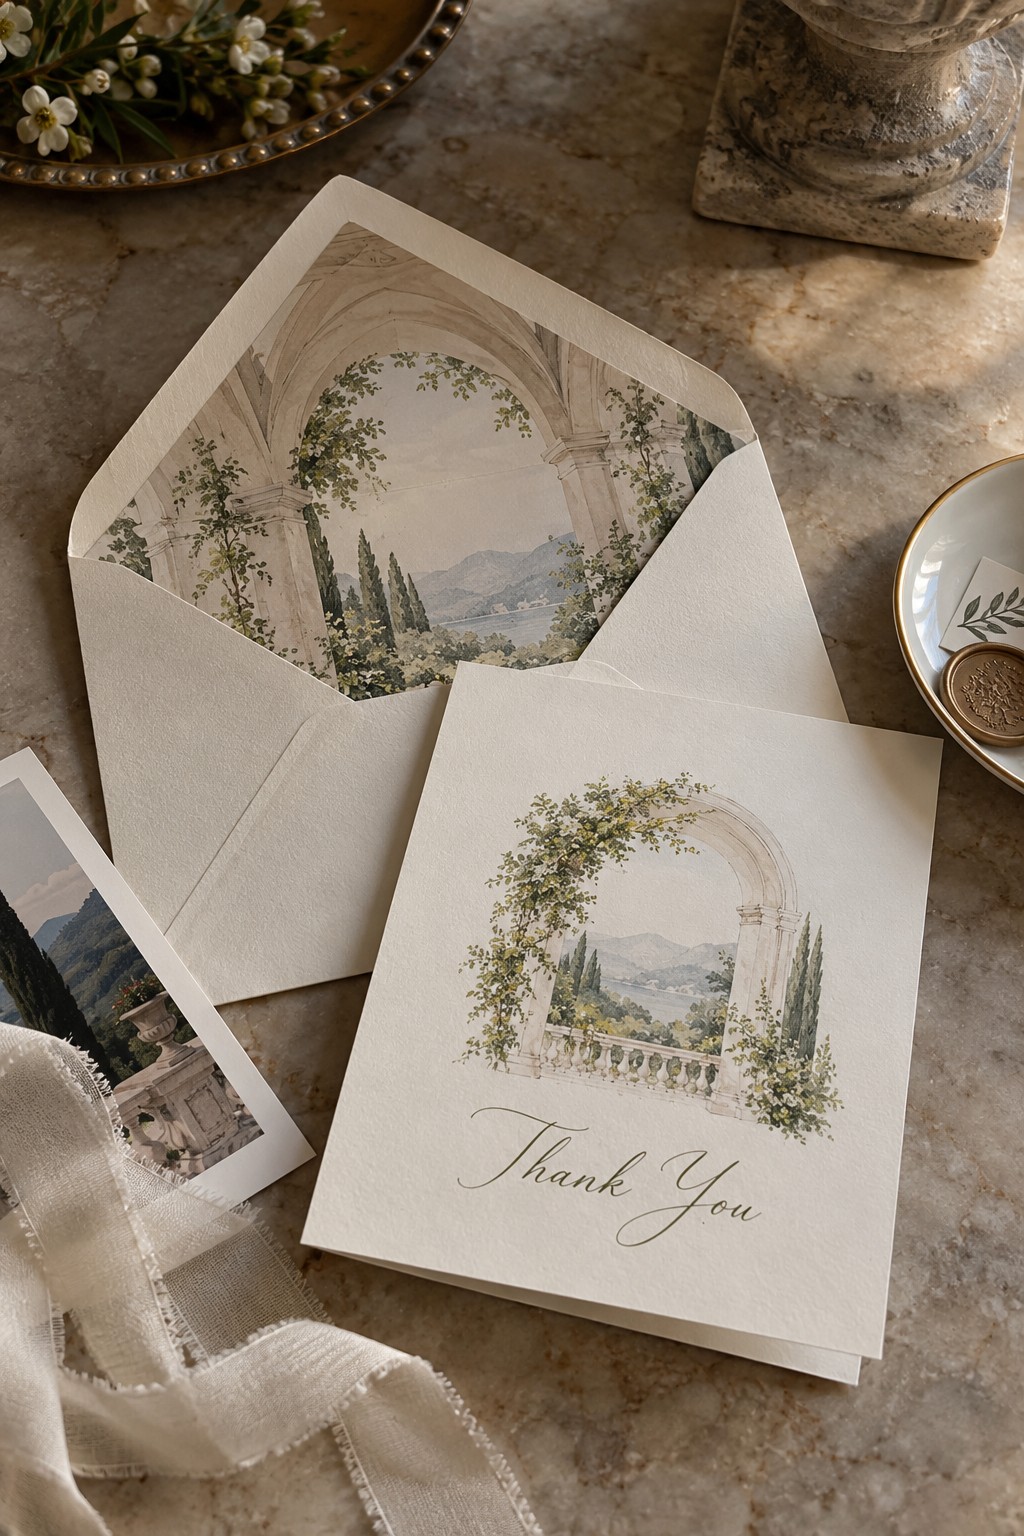
Repeat one recognizable invitation detail inside the envelope, such as an arch, map, floral drawing, or venue line art. The note itself can stay simple because the liner creates the connection when the guest opens the flap.
40. Translucent Belly-Band Suite
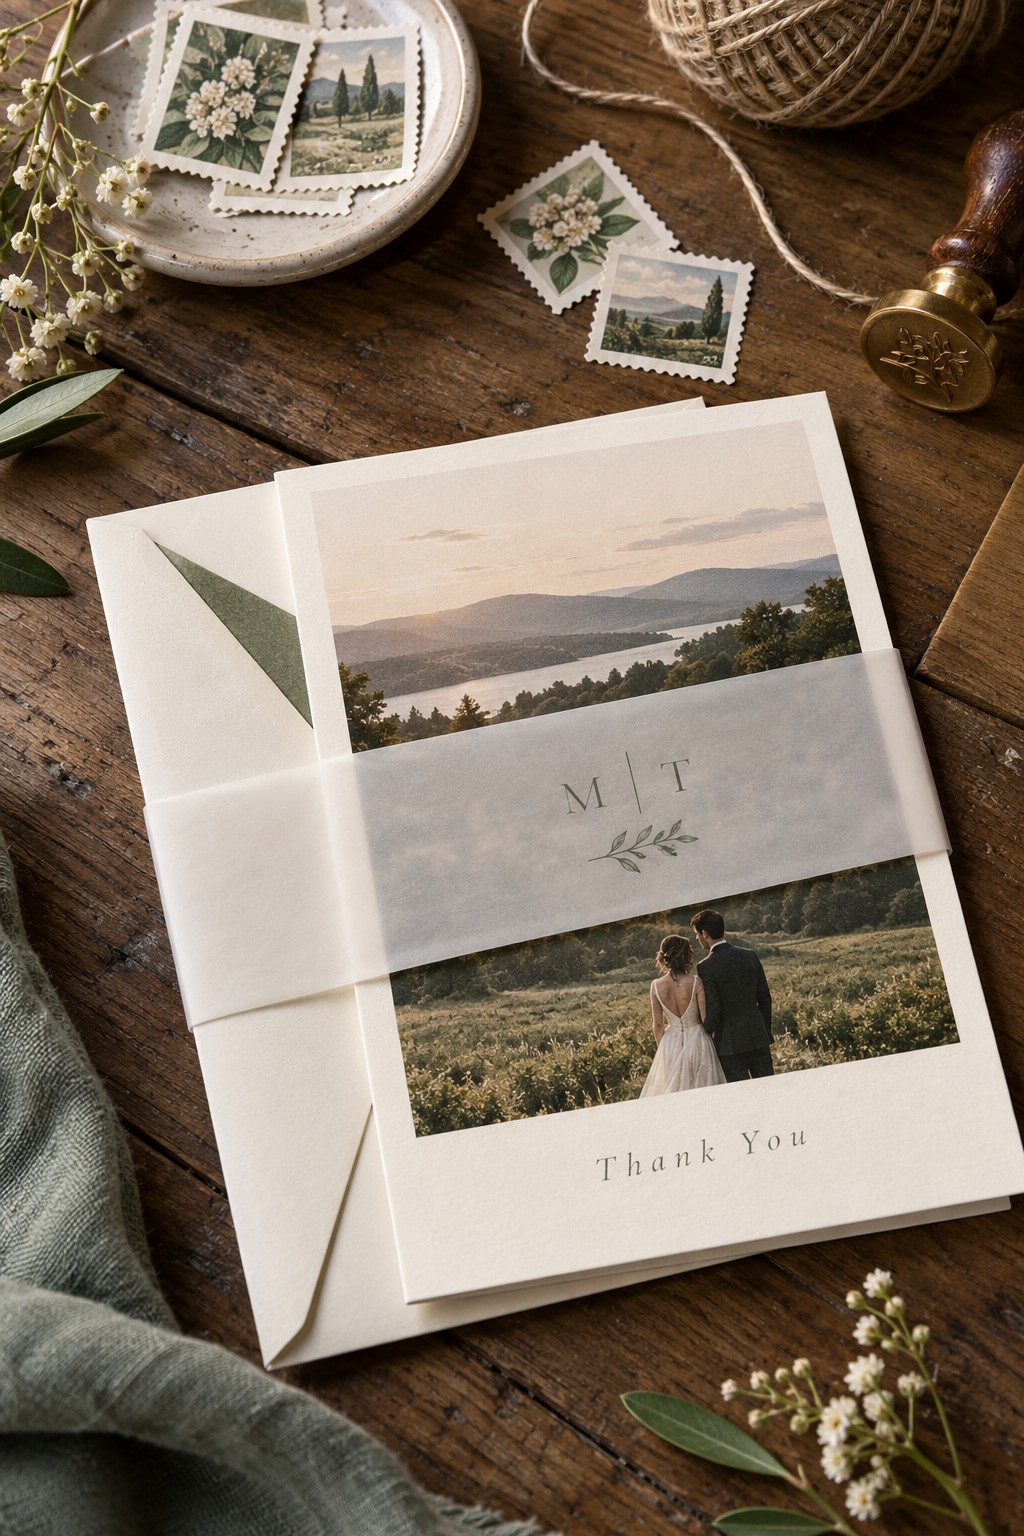
Wrap the flat card and envelope together with a slim translucent band carrying only the couple’s initials. Score the band before folding, overlap it neatly on the back, and keep the assembly loose enough to slide off without bending the card.
Wording Structures for Specific Recipients
The final group pairs a visible card concept with a clear message structure for gifts, travel, family, vendors, and life updates.
41. Three-Part Gift-Specific Note
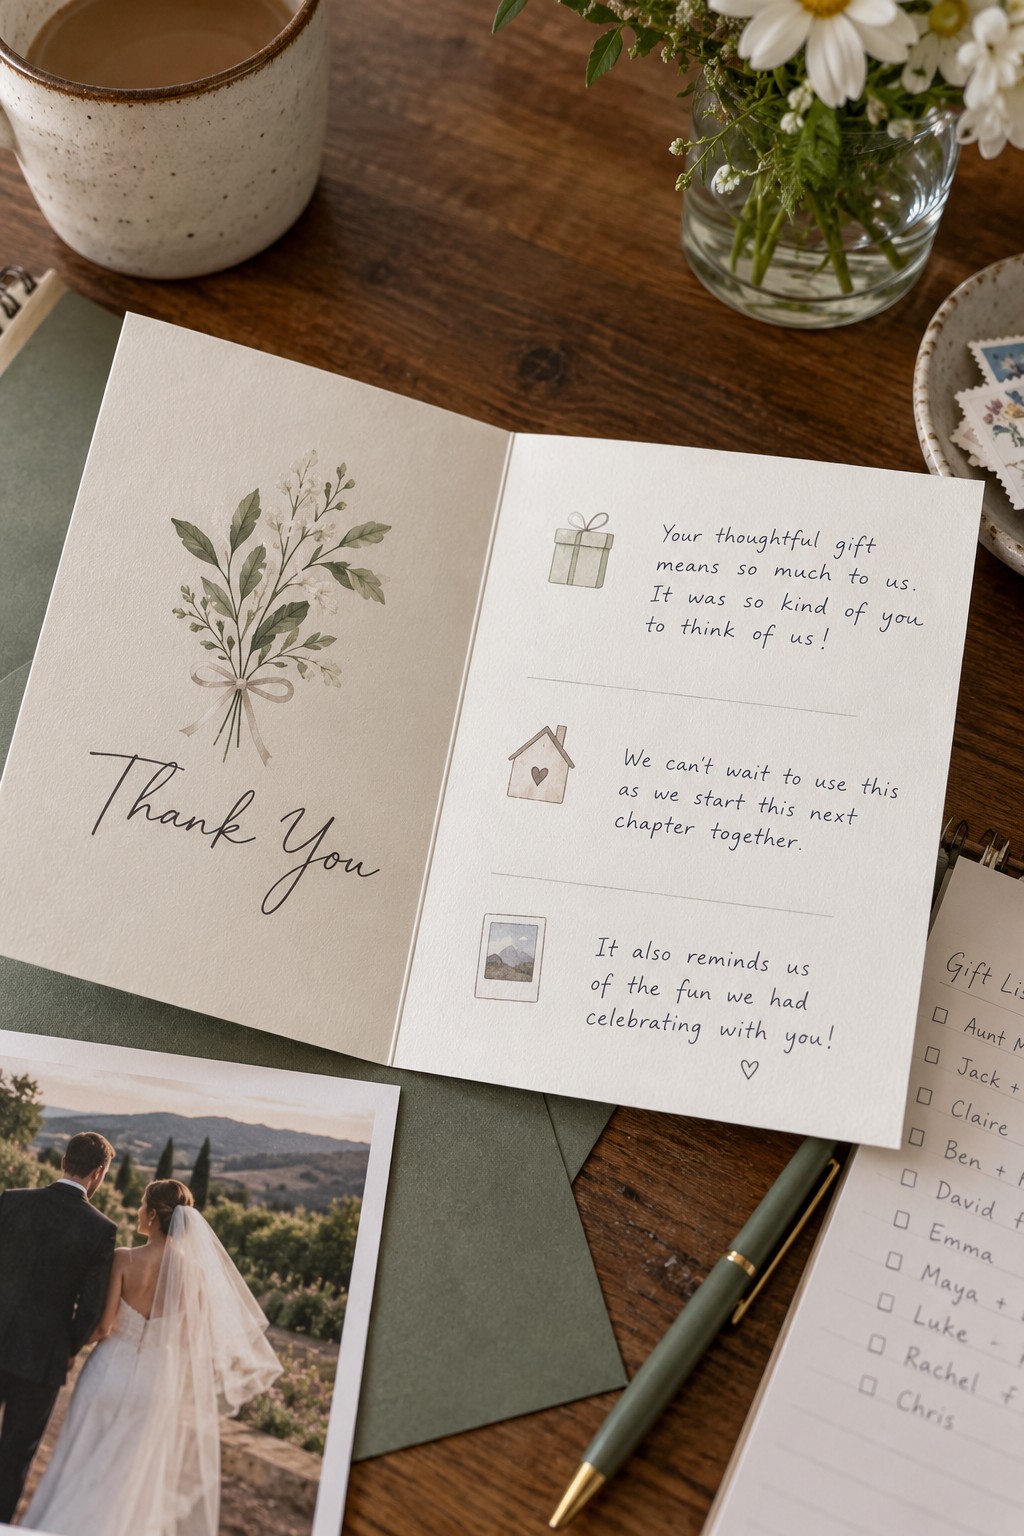
Structure the message around three beats: name the gift, explain how it will be used, and recall one shared wedding moment. Subtle interior icons can guide the writer, but the finished note should read naturally rather than like a visible fill-in-the-blank form.
Example structure: thank the guest for the serving bowl, mention the first dinner you plan to host with it, then close with a memory from the dance floor. Specificity makes a short note feel generous.
42. Future-Use Cash Gift Card
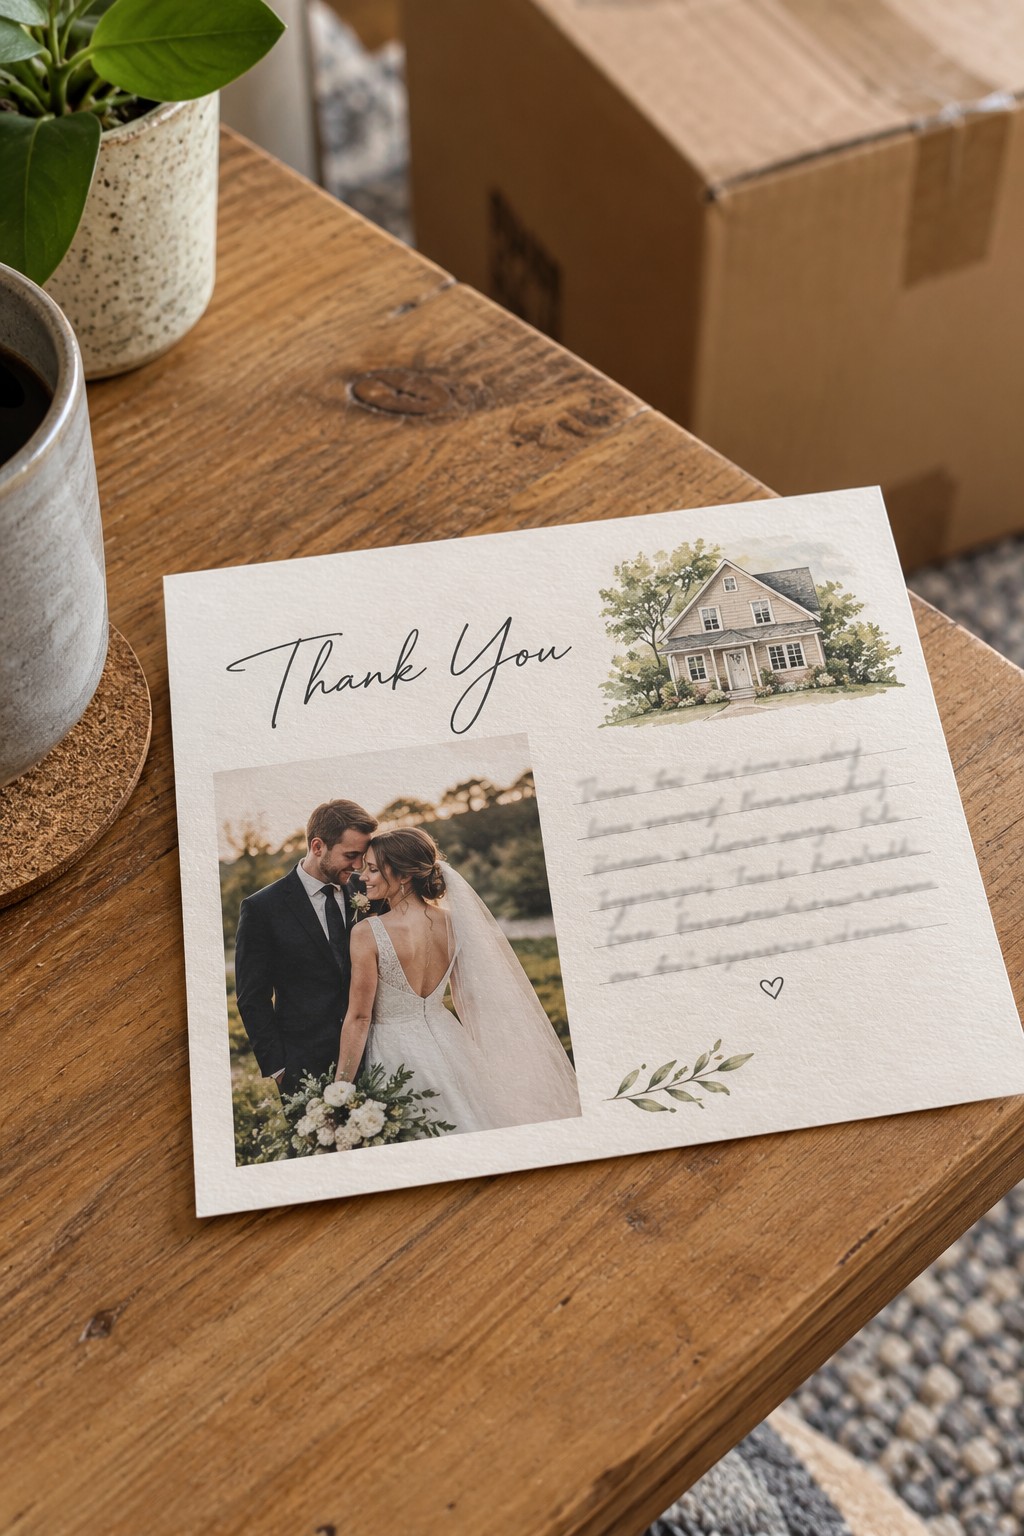
Anchor the note with a small house, travel, or dinner-table illustration, then state the future use of the cash gift without naming the amount. A line about the first meal, trip, or home project gives the contribution a visible destination.
43. Travel-Guest Map Stamp Card
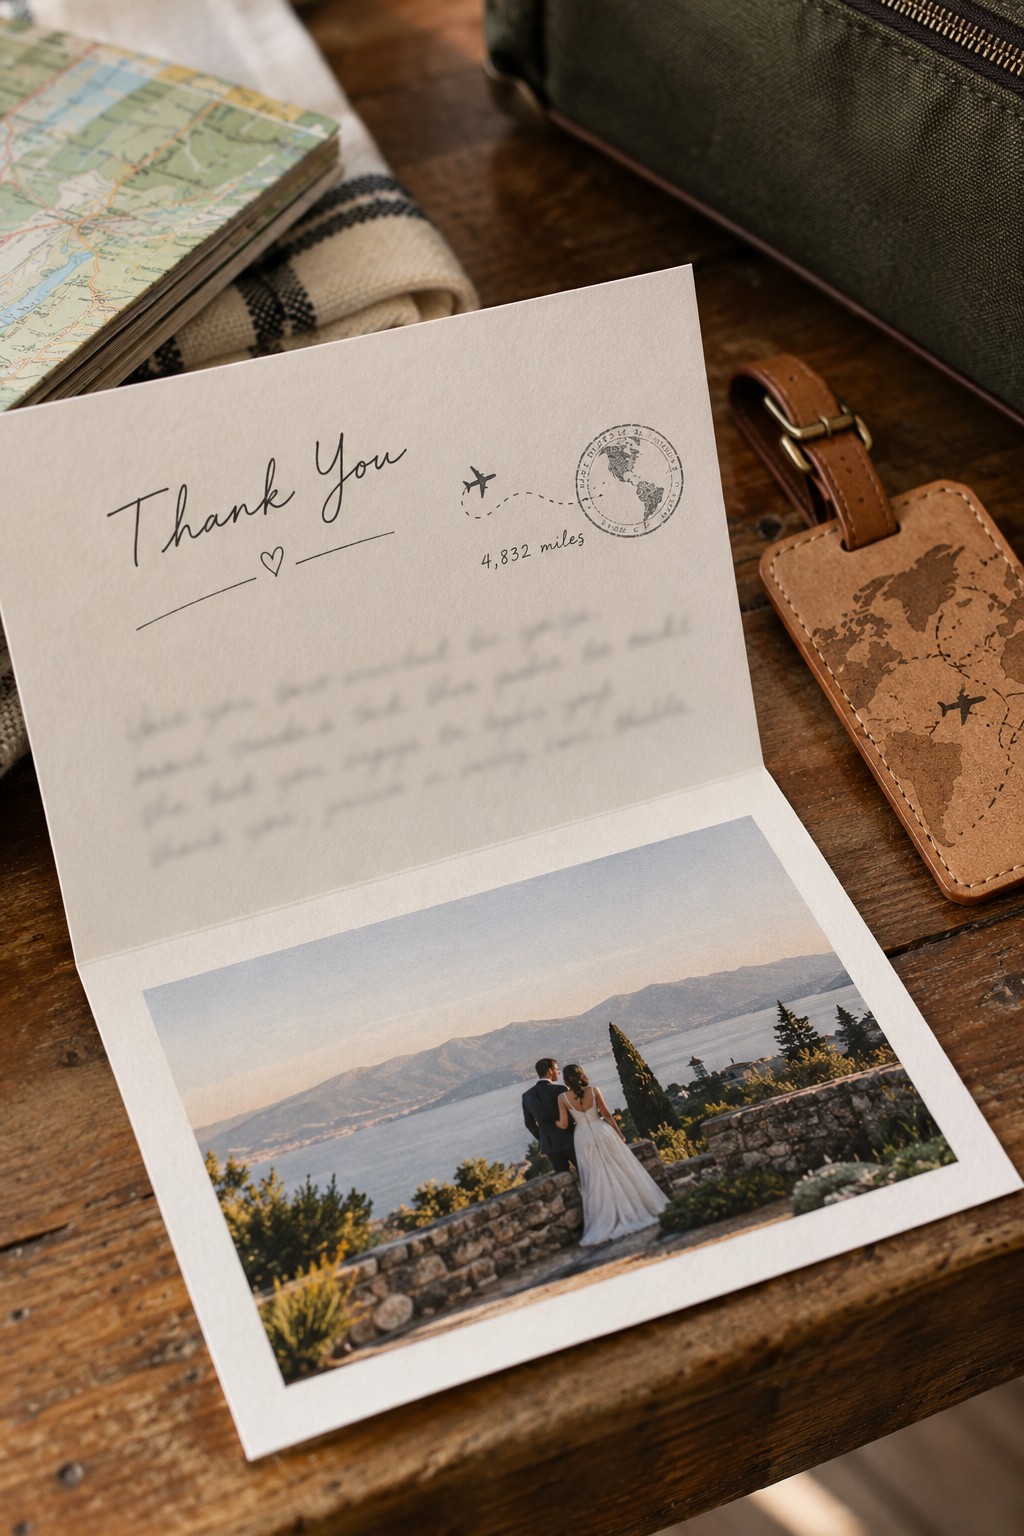
Add a tiny route stamp and mention the guest’s journey in the opening lines. Thank them for the time and effort of traveling before discussing any gift, then connect the note to a moment you shared after they arrived.
44. Presence-Only Dance-Floor Card
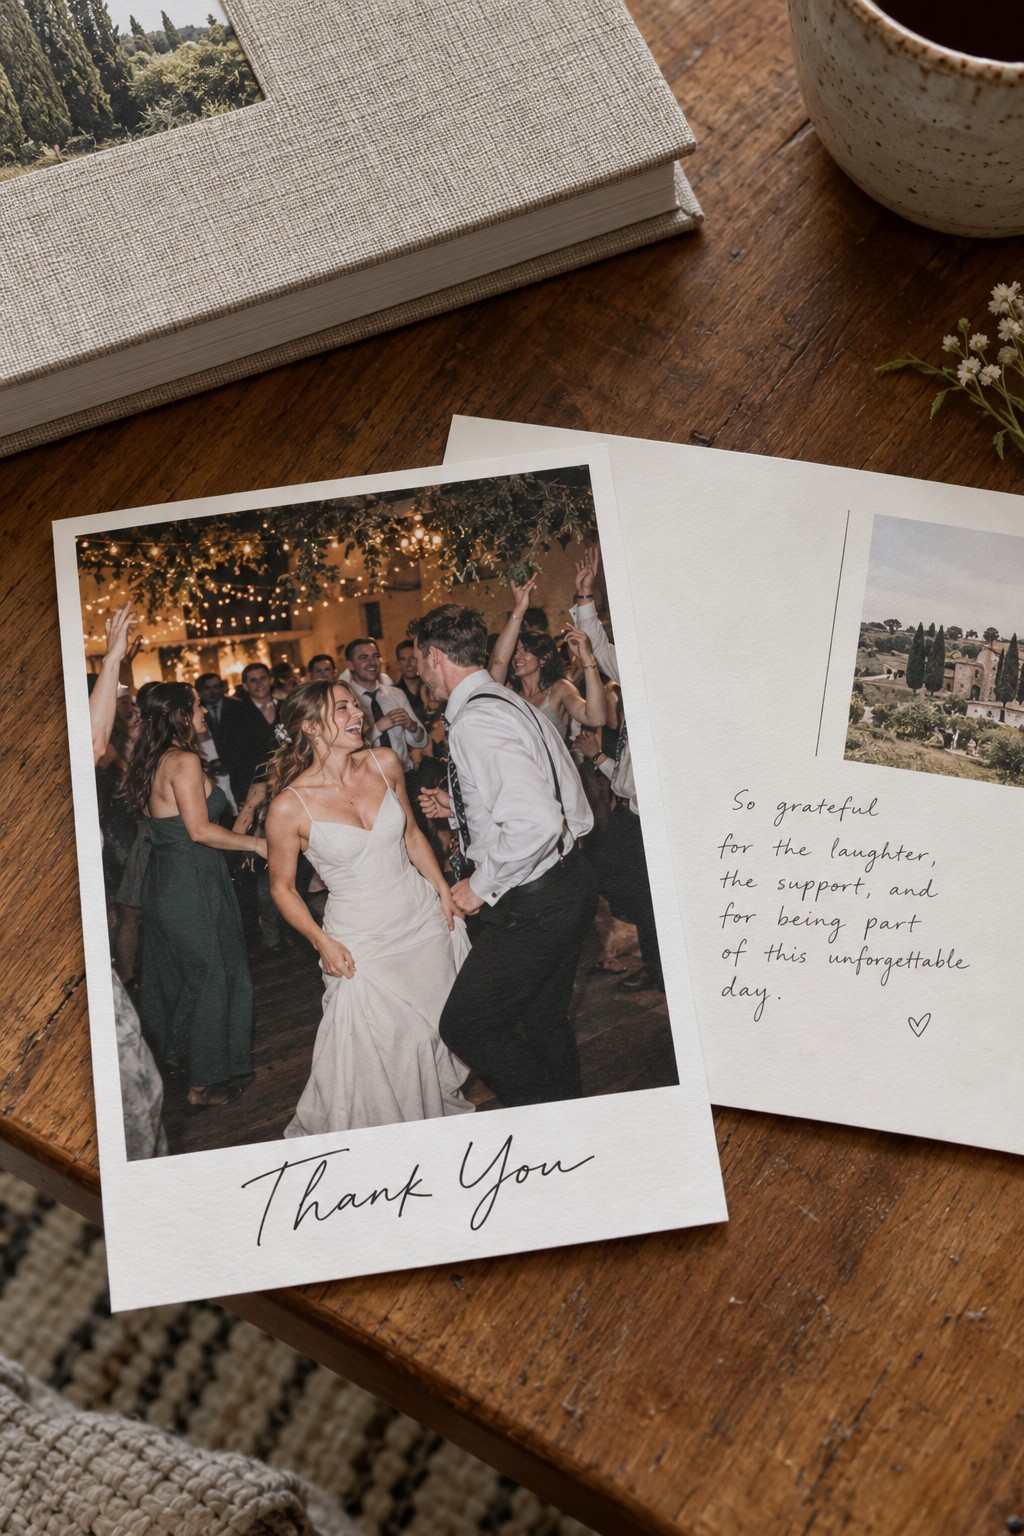
Use a wide dance-floor photograph and write about the guest’s presence rather than implying a gift. A specific laugh, song, toast, or conversation gives the note substance and makes attendance feel valued on its own.
45. Vendor Behind-the-Scenes Card
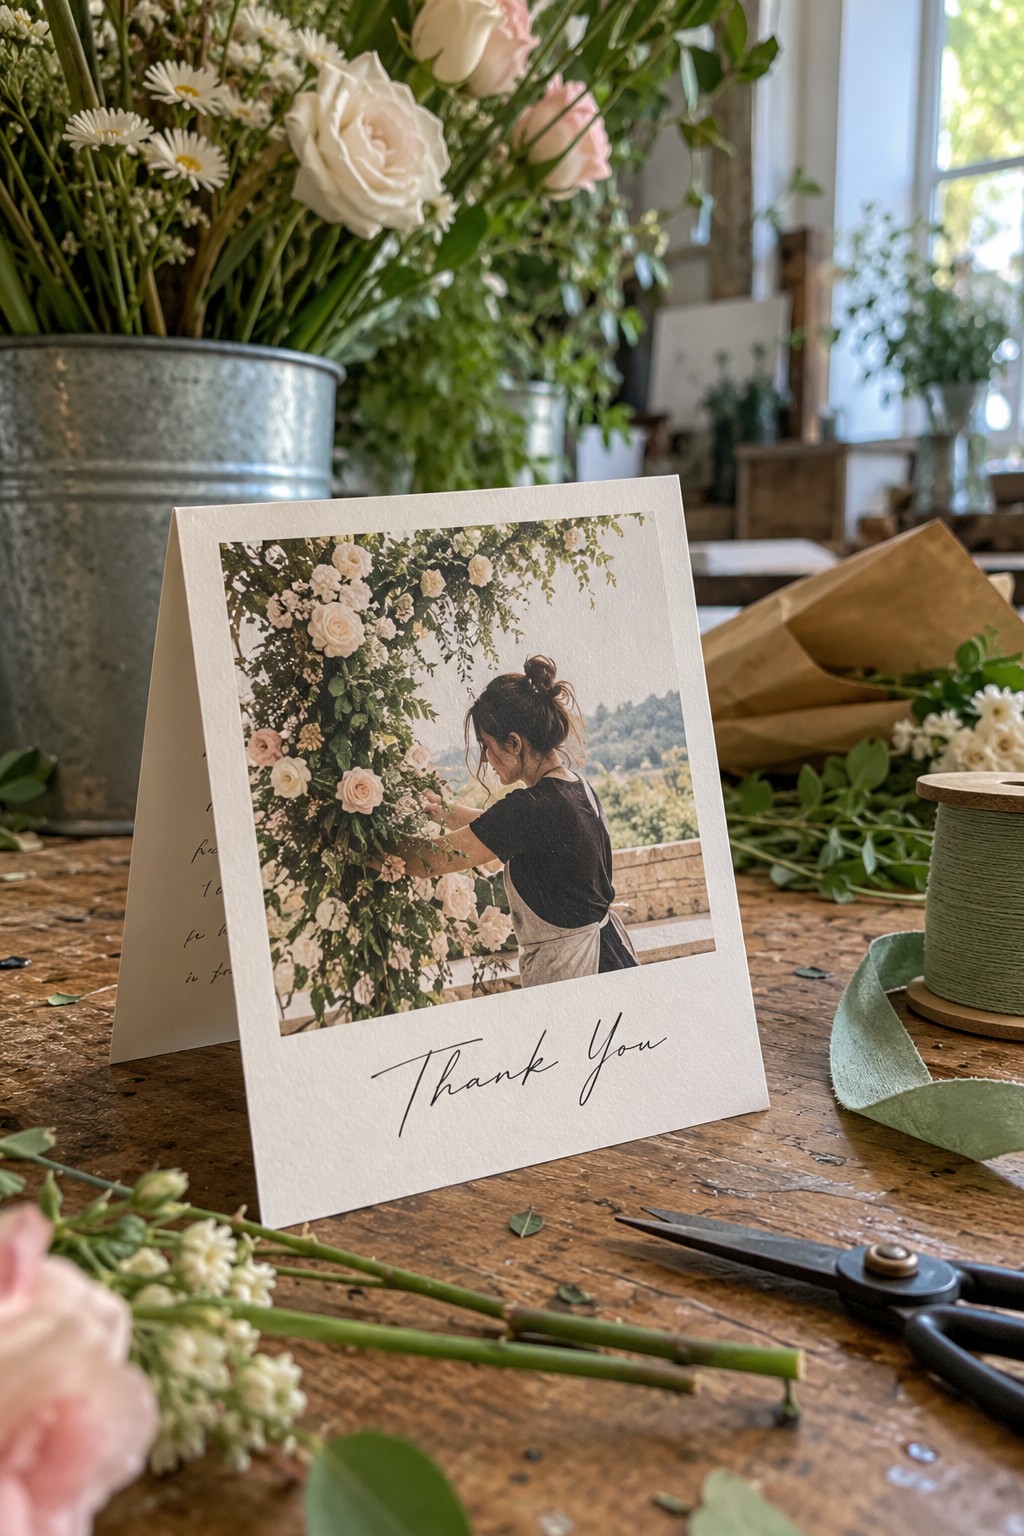
Choose a candid image of the vendor working and name the exact contribution that improved the day. A florist, planner, photographer, musician, baker, or venue team will appreciate one concrete observation more than a generic compliment.
46. Wedding-Party Group Portrait Card
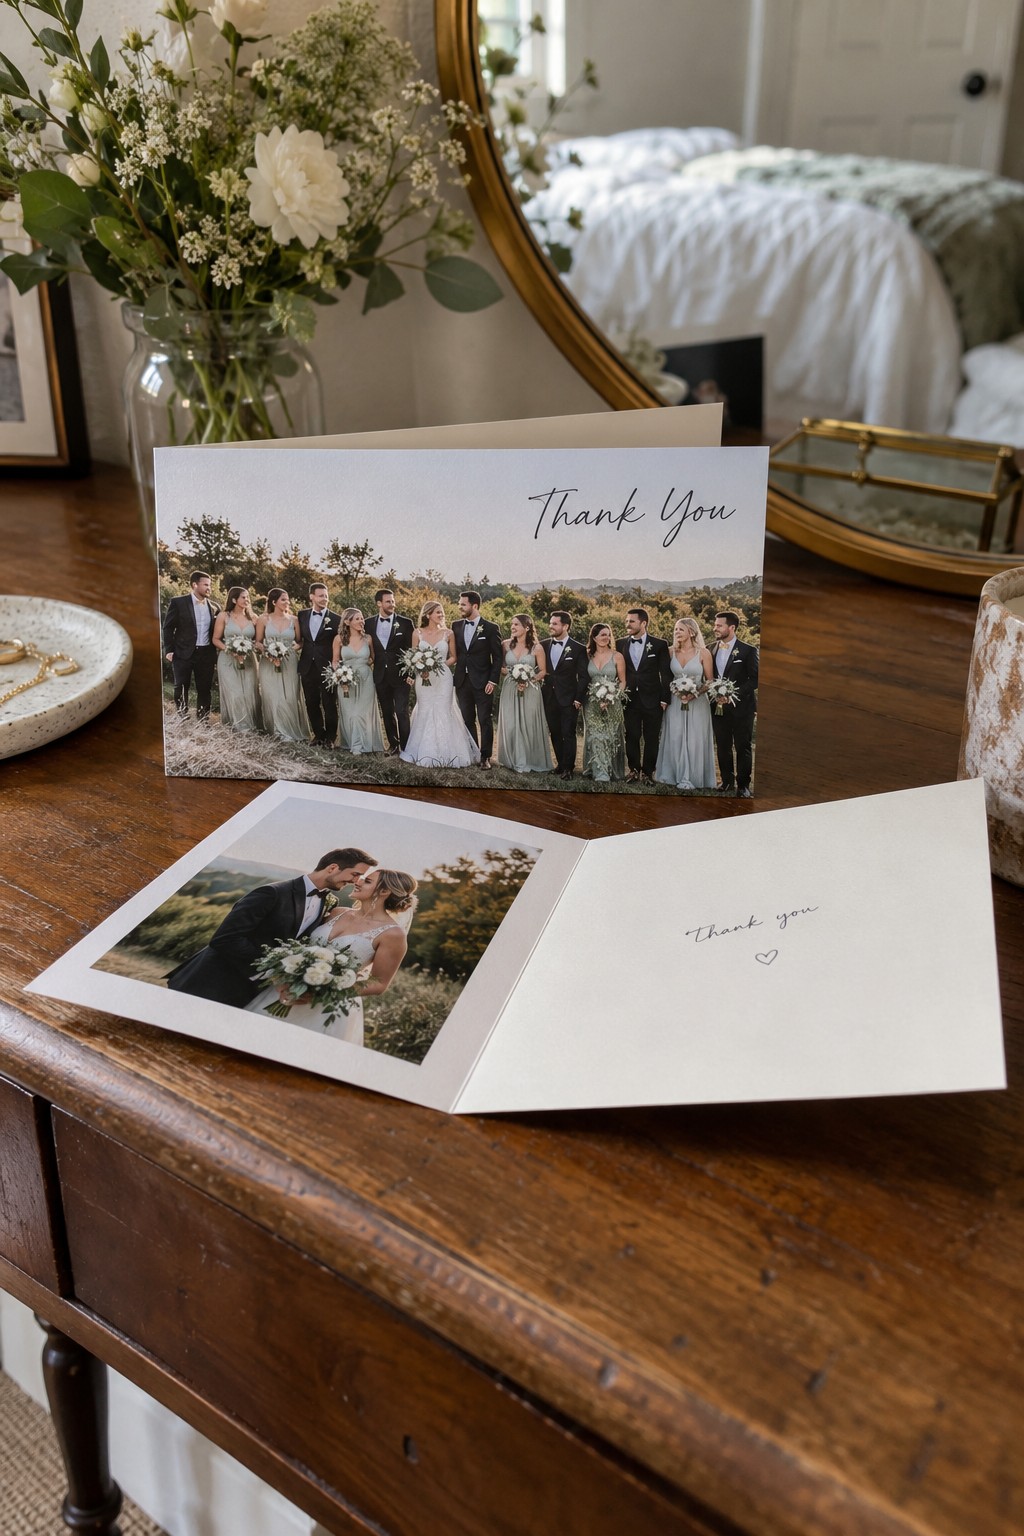
Wrap a panoramic wedding-party portrait across the cover, then write a different interior message for each person. Mention one responsibility, supportive moment, or memory that belongs to that recipient instead of sending the same printed paragraph to the whole group.
47. Parent Letter Card
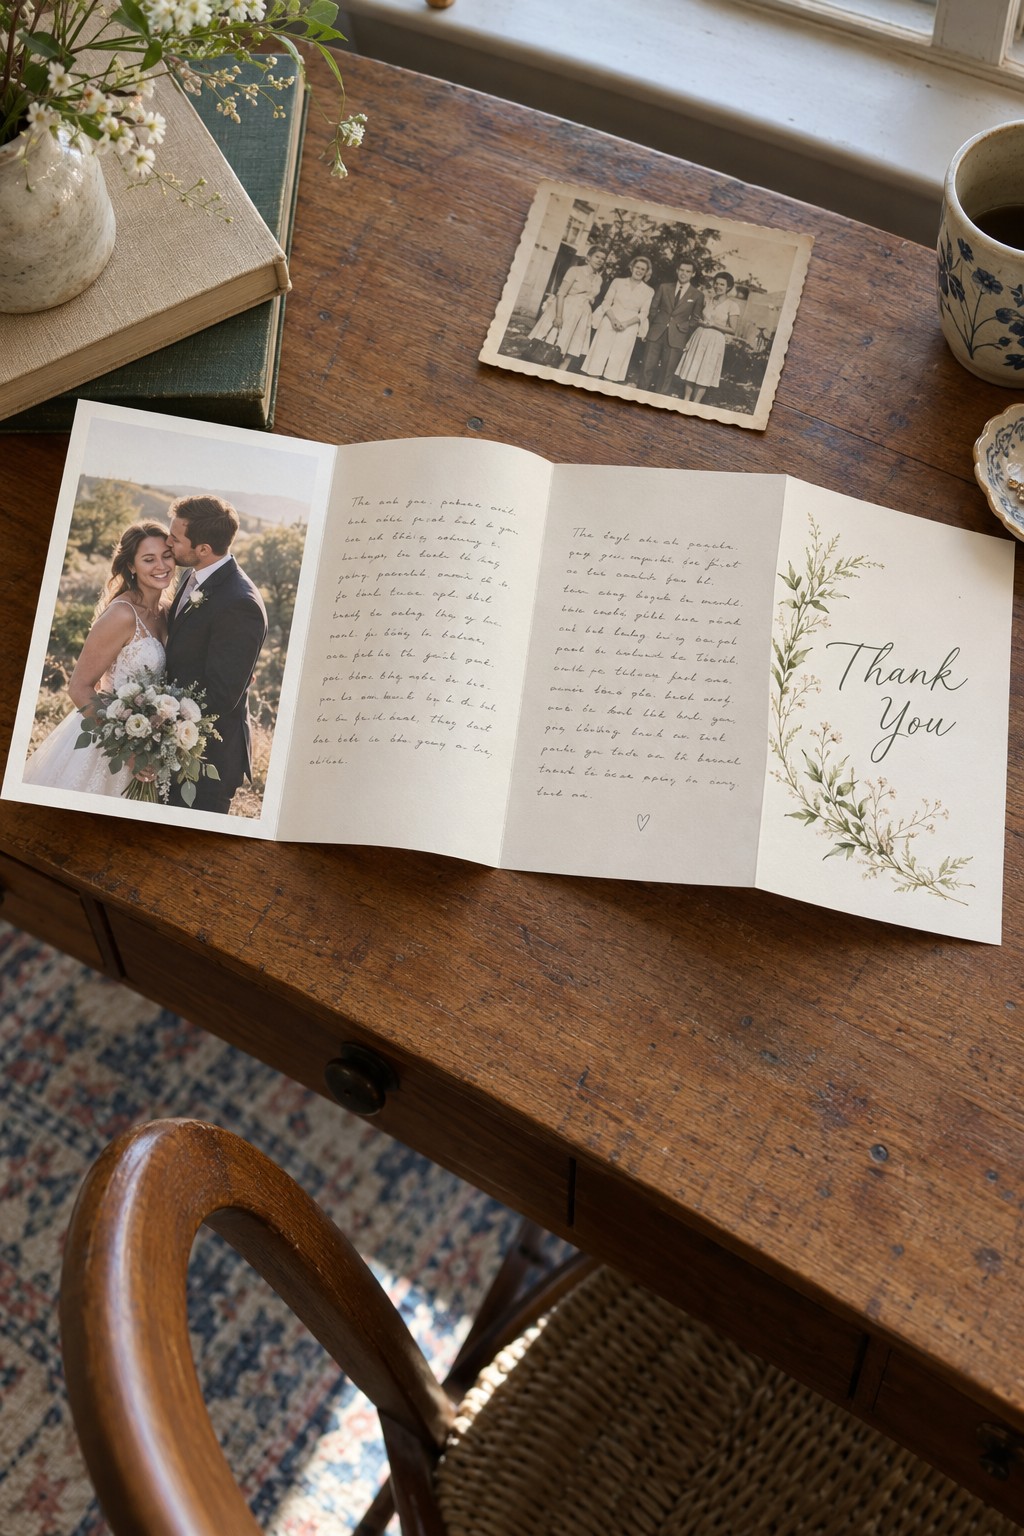
Use a tall four-panel foldout for parents or caregivers who deserve more than a brief note. Place one wedding photograph on the first panel, write the letter across the middle panels, and close with an older family picture or meaningful date.
Draft the letter separately before writing on the final card. This protects the keepsake from crowded corrections and helps both partners contribute specific memories and gratitude.
48. Bilingual Split-Layout Thank You
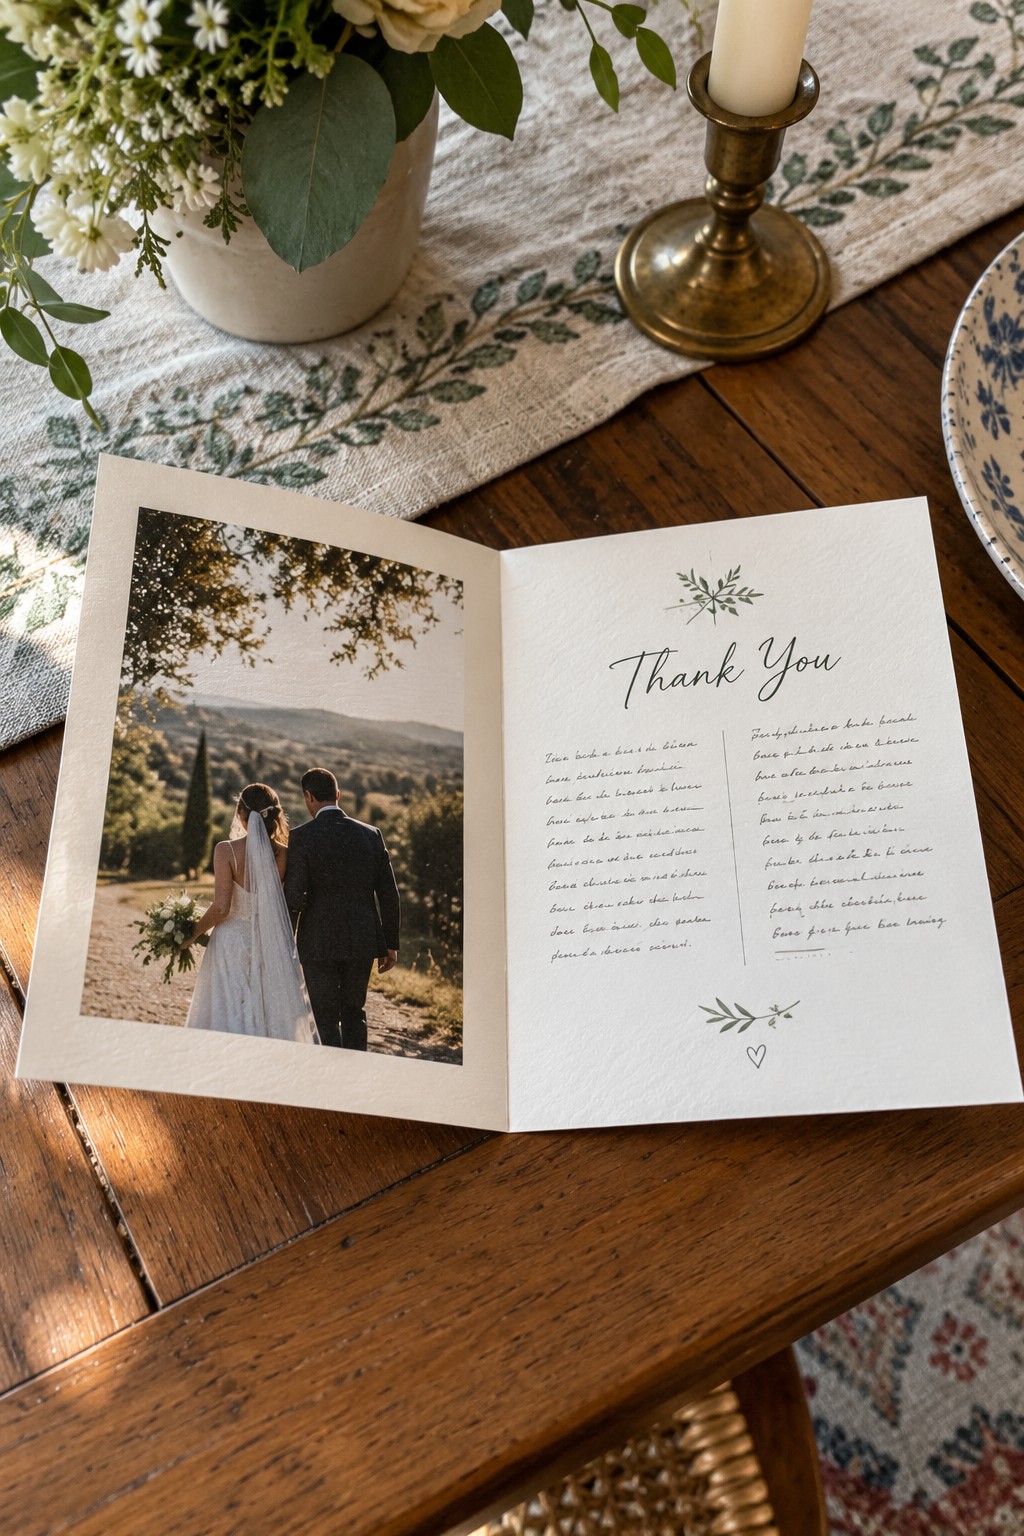
Divide the interior into two balanced language columns and use one shared signature area. Have a fluent speaker review both versions for warmth and natural phrasing; the two texts should feel equally considered, not like a primary note with a smaller translation.
Match the type size, line spacing, and visual weight across both columns even when one language runs longer. A slightly wider gutter keeps the two messages easy to follow.
49. Anniversary Update Thank You
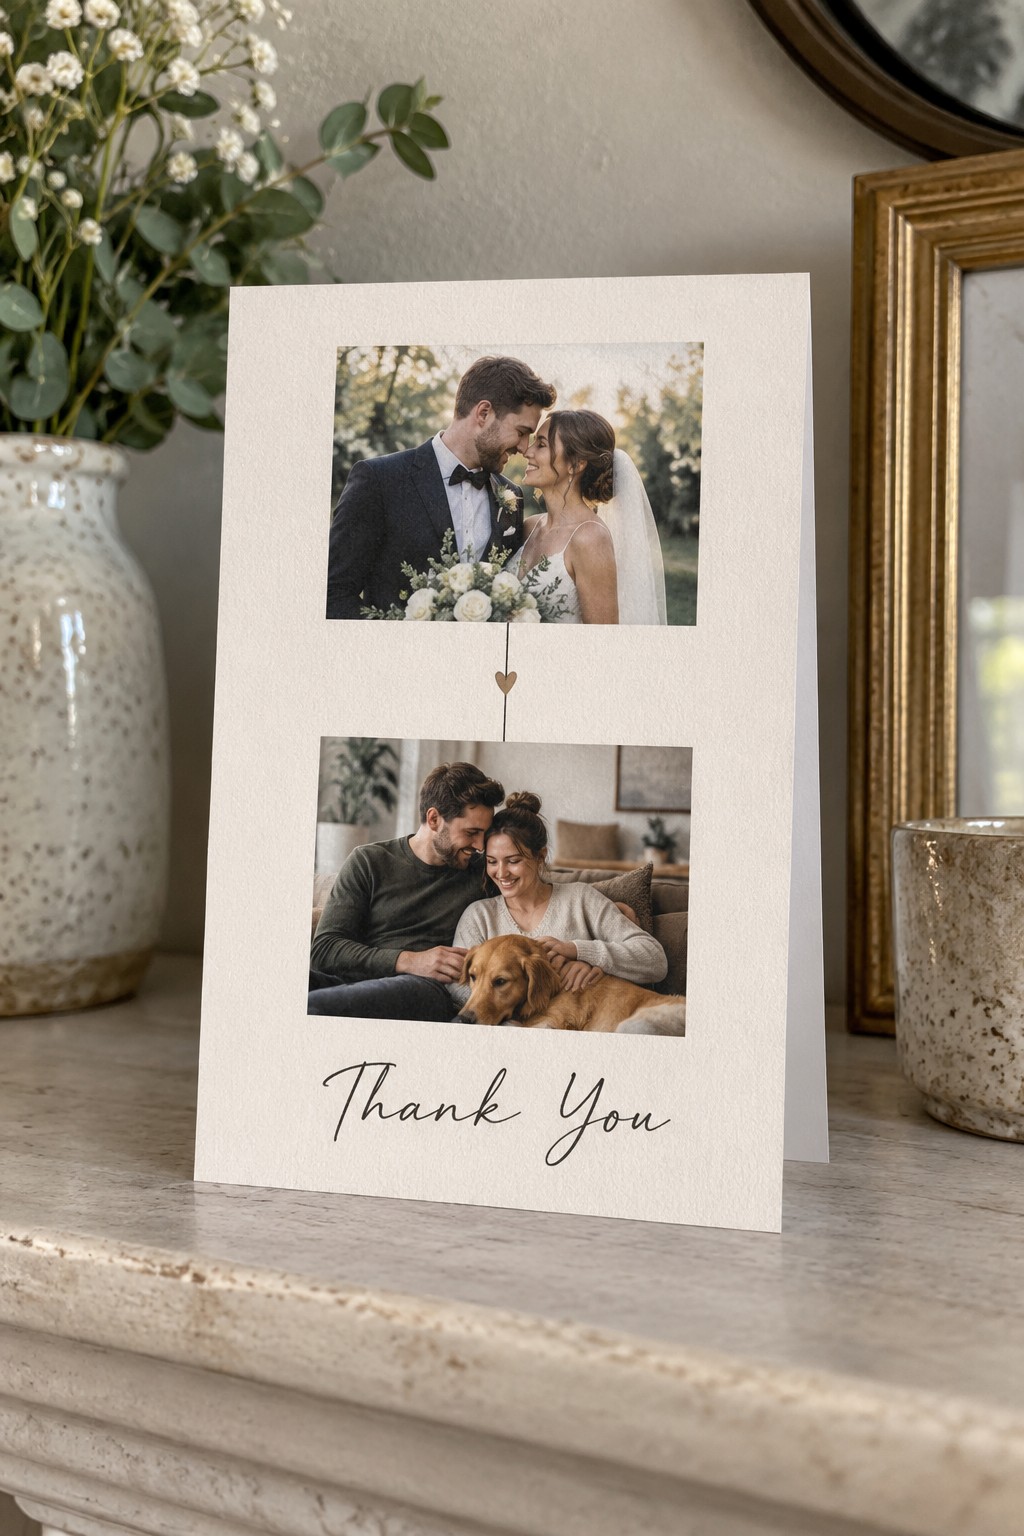
When cards are genuinely late, pair a wedding image with a one-year-later snapshot and acknowledge the delay briefly. Lead with gratitude, share one concise life update, and avoid turning the anniversary format into an excuse for postponing the note again.
50. New-Address Thank You Card
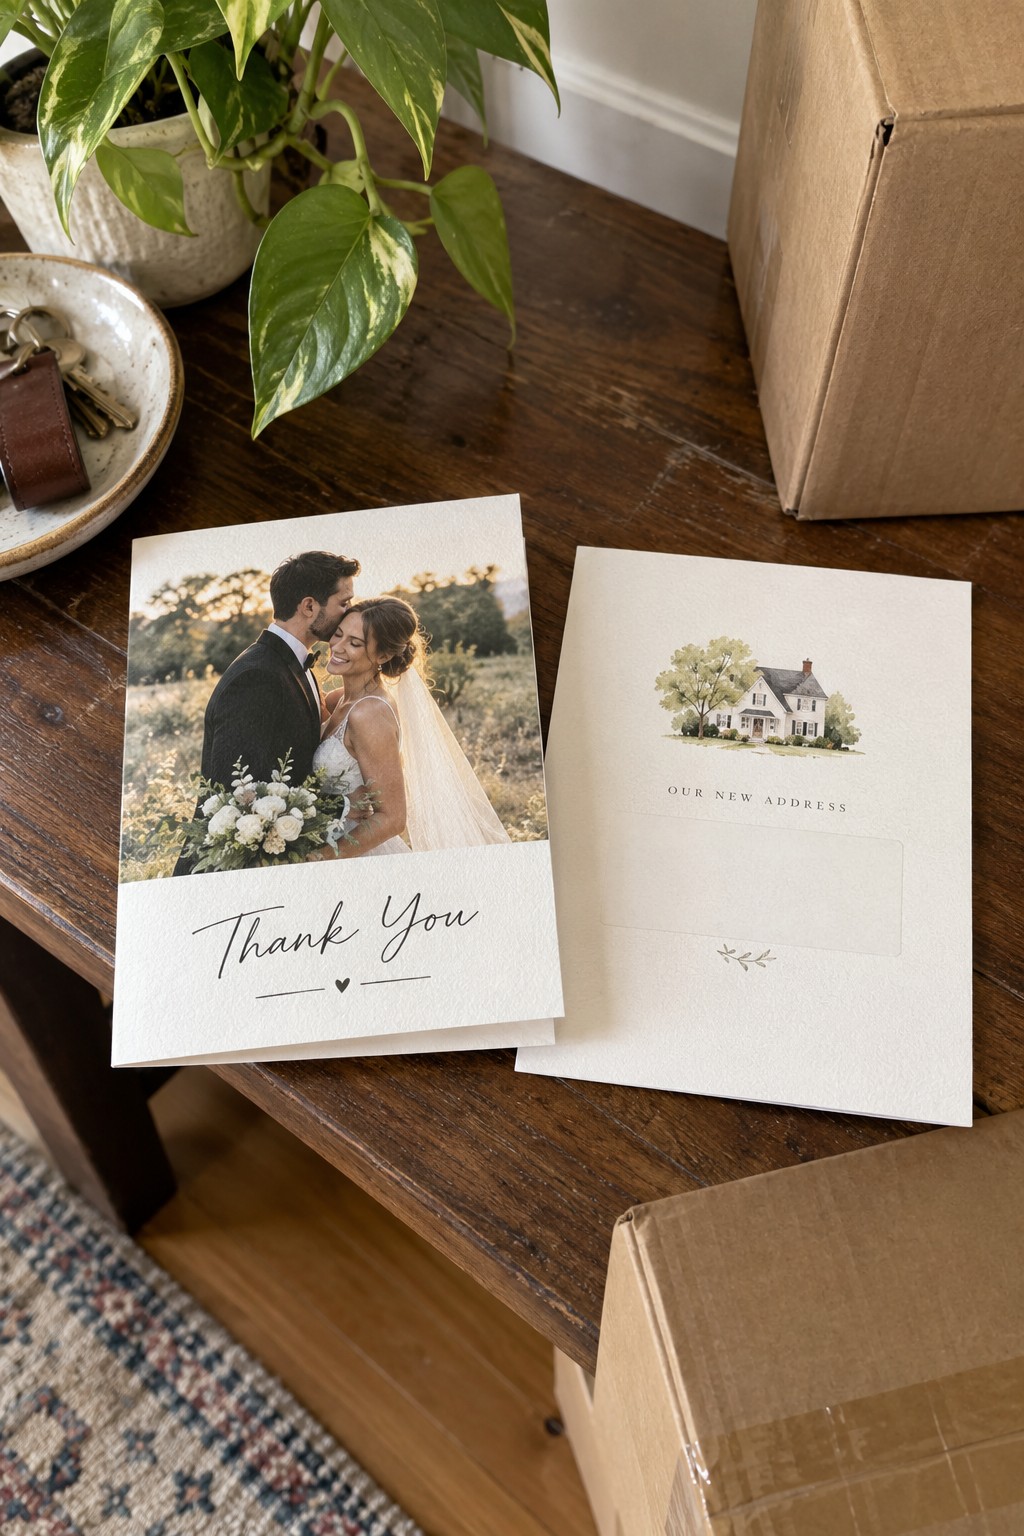
Combine a wedding thank-you with a clear new-address announcement when the move is part of the couple’s next chapter. Keep the address on a separate reverse panel so the handwritten gift message remains personal and guests can save the practical information easily.
Choose the Card Guests Will Want to Keep
Start with the idea that best fits your photographs, handwriting space, budget, and mailing timeline. A thoughtful paper choice or fold matters more than adding several decorative treatments to the same card.
Order a complete proof with the real envelope, write one sample message, and mail it to yourself. That single test reveals cropping, ink smudging, postage, thickness, and scanning issues before the full batch is printed.
Wedding Thank-You Card FAQs
What should a wedding thank-you card say?
Address the recipient by name, thank them for the specific gift or support, explain why it matters or how you will use it, and mention their presence or a shared wedding memory. Close in the voice you naturally use with that person.
Should wedding thank-you cards be handwritten?
A handwritten personal message is the most meaningful choice, even when the cover and base greeting are printed. If volume or accessibility makes that difficult, personalize the salutation, gift detail, shared memory, and signature rather than relying on one generic message.
Can wedding thank-you cards include photos?
Yes. Use one strong portrait, a guest photograph, a short photo strip, or a small recap grid. Choose images with safe cropping space, order a printed proof, and leave enough uncoated paper for a personal note.
What do you write when a guest gave money?
Thank the person for their generosity without repeating the amount. Name a genuine future use, such as part of a home project, honeymoon experience, or dinner set, and connect the message to their presence or relationship with you.
What if the thank-you card is late?
Send it anyway. Acknowledge the delay in one brief line, then focus on sincere gratitude and a specific detail. A simple late note is more considerate than letting embarrassment prevent the message entirely.
This post may contain affiliate links: full affiliate disclosure.